
Order Desk can import orders from your shopping carts, add your print details, and automatically send the orders to Print Geek Original for fulfillment. When an order ships, its tracking details will automatically be sent back to Order Desk.
Setup
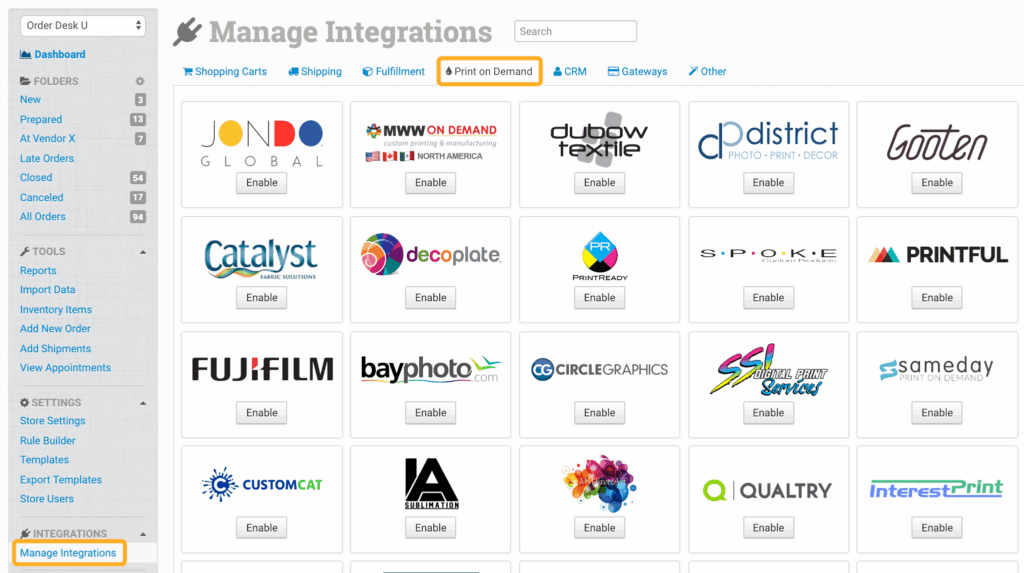
To connect to Print Geek Original, click Manage Integrations in the left sidebar. Under the Print on Demand tab, find and enable Print Geek Original.
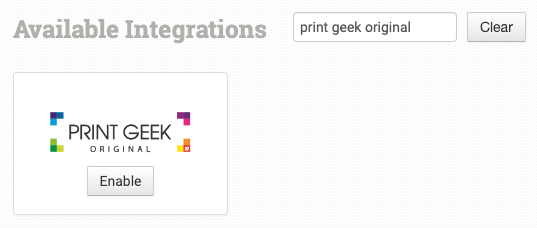
You can also search for Print Geek Original using the available integration search.
Choose either the Production or Staging environment, enter your Print Geek Original API key, then click Connect.
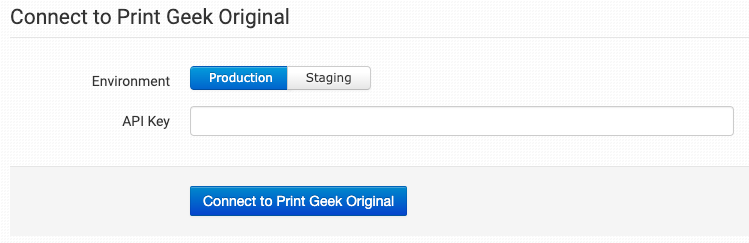
Order Desk can’t find or reset your Print Geek Original credentials. You’ll need to get them directly from the Print Geek Original team.
Integration Settings
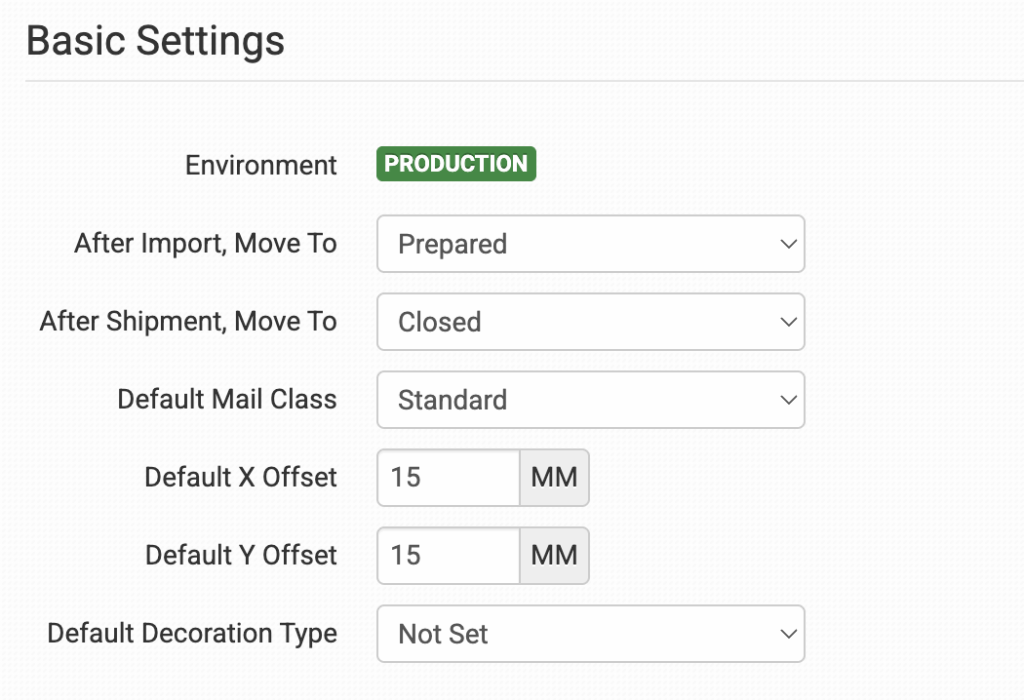
Once you’re connected, you can adjust the following settings for the integration.
Environment
Shows the environment you selected when connecting the integration: Production or Staging.
After Import, Move To
Select the folder where orders should be moved after they’re successfully sent to Print Geek Original.
You can use one of your store’s default folders or create your own. See the Working with Folders guide for more information.
After Shipment, Move To
Select the folder where orders should be moved after Print Geek Original sends shipment details back to Order Desk.
Default Mail Class
Choose the shipping class you want Print Geek Original to use for your orders.
To use different shipping methods for specific orders, match your shipping method names with the names Print Geek Original uses in the Shipping Class Match section below.
Default X Offset
Set the default horizontal position of the printed artwork on your products.
Default Y Offset
Set the default vertical position of the printed artwork on your products.
Default Decoration Type
Select the default decoration type you want Print Geek Original to use for your products.
Product Settings
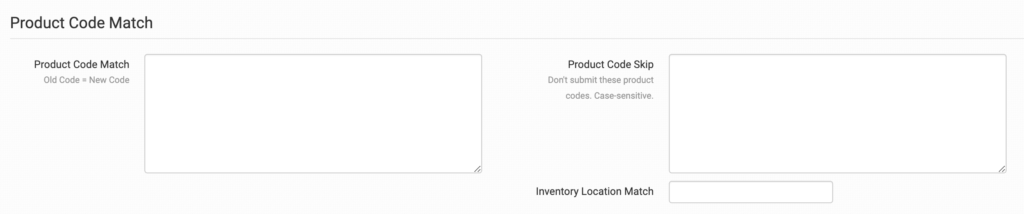
For details about what these settings do and how to use them, see the Print on Demand Product Settings guide.
Shipping Class Match

The shipping methods in your shopping cart may not use the same names as the methods available through Print Geek Original. If Order Desk can’t find a match, it will use the Default Mail Class selected above.
Use Shipping Class Match to connect your shipping method names with the corresponding methods used by Print Geek Original. For detailed instructions, see the Shipping Class Match guide.
Custom Details for Print Geek Original
Preparing orders for Print Geek Original takes some initial setup. For a detailed walkthrough of using Order Desk with print-on-demand orders, see the Print on Demand Fulfillment guide.
Preparing Item Details
You can set the following fields as variations or item metadata on each item in an order.
Fields ending in _x can be used for up to two print files. Replace x with the number of the corresponding print file, such as 1 or 2.
| Field Name | Field Value |
|---|---|
| print_sku | Required. The Print Geek Original product ID. |
| print_url_x | The URL of the artwork file. You can add up to two, such as print_url_1 and print_url_2. |
| print_preview_x | A preview image of the artwork. You can add up to two, such as print_preview_1 and print_preview_2. |
| print_location_x | The print location, such as front or back. You can add up to two, such as print_location_1 and print_location_2. |
| decoration_type_x | The decoration type for the corresponding print file. You can add up to two. Valid values are dtg, dtf, and emb. |
| x_offset_x | The horizontal position of the printed artwork. You can add up to two. If you don’t enter a value, Order Desk will use the Default X Offset from your integration settings. |
| y_offset_x | The vertical position of the printed artwork. You can add up to two. If you don’t enter a value, Order Desk will use the Default Y Offset from your integration settings. |
| size | The item size. |
| color | The item color. |
| text_product_id | Sets contextual product information, such as a neck label identifier. |
| UPC | The UPC you want to send for the item. |
Embroidery Item Details
If decoration_type_x is set to emb, you can also set the following item-level fields.
Each field can be used for up to two print files. Replace x with the number of the corresponding print file.
| Field Name | Field Value |
|---|---|
| embroidery_stitch_count_x | The stitch count for the corresponding embroidery file. |
| embroidery_art_width_x | The width of the embroidery artwork for the corresponding print file. |
| embroidery_art_height_x | The height of the embroidery artwork for the corresponding print file. |
| thread_colors_x | The thread colors for the corresponding embroidery file. Enter each color as {color_code}:{color_name}, such as 1801:Red. Separate multiple colors with commas, such as 1801:Red, 1802:Navy, 1801:Red. |
Preparing Order Details
You can set the following field as checkout data or order metadata to change what gets sent to Print Geek Original.
| Field Name | Field Value |
|---|---|
| currency | The currency used for the order. If no value is provided, the default is CAD. |
If checkout data is new to you, see the How to Work with Checkout Data guide.