This guide covers some of the first steps you’ll need to take when setting up your Order Desk store.
Before You Begin
To help merchants and fulfillment providers new to Order Desk find their way around and quickly set up an account, we’ve created this short series of guides. If you haven’t done so already, we strongly recommend checking out our Getting Started guide first, as it serves as a great starting point before you dive into the setup process.
In these guides we will cover a brief overview of the Order Desk app is, what it does, show you how to connect integrations, how to add and submit orders to different types of fulfillment services, how to add inventory items to Order Desk, and we’ll discuss how and where to customize Order Desk to make a powerful and functional app that runs automatically the way each individual store needs it to run.
This first guide will give an overview of Order Desk, connecting integrations and working with folders. The second guide covers Orders and Inventory, and the third guide is about Customizing Order Desk.
Connecting Integrations
Order Desk offers integrations with many other apps, websites and services. An integration isn’t necessary for using Order Desk, but it does make setup and fulfillment quite a bit easier. If you use any of our integrations, enable these first and adjust the settings of each one to your preferences.IMPORTANT
Many integrations have an option to download or submit orders automatically. It’s best to leave these disabled until you are familiar with Order Desk. You can still download, move and submit orders manually until you are ready to automate your store.
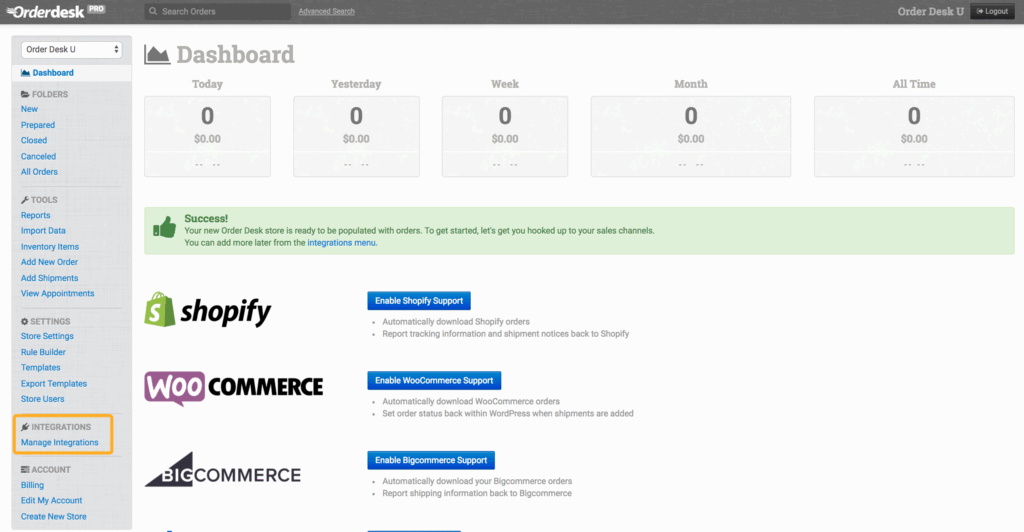
To connect to an integration, look at the left sidebar of your screen and under the Integrations menu click on Manage Integrations:
From the Manage Integrations page, select the integrations you want to enable and enter your credentials for each one to make the connection:
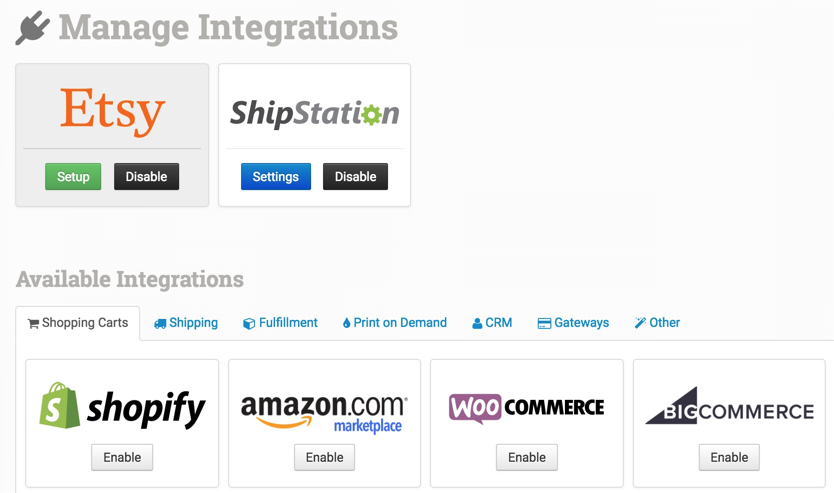
For more information on our different integrations and their settings, read through our integration specific help guides. We have a guide for most of our integrations, such as Shopify, Etsy, Squarespace, ShipStation and MWW to name a few. Search our help site for others. We are always working on updating and creating new guides, so keep checking back or contact Order Desk Support for any questions you can’t find answered in a guide.
Working with Folders
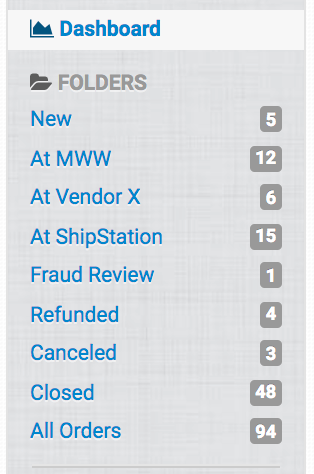
Every Order Desk store starts with a few default folders:
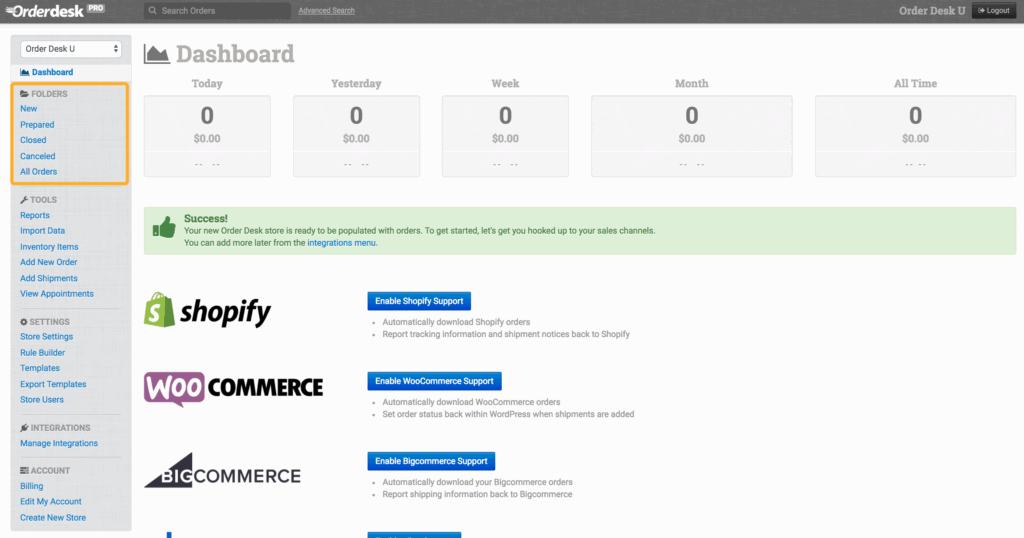
New orders will be added to the New folder by default. This can be changed with rules, which we’ll go over in the last guide of this series, or with the settings in certain shopping cart integrations.
Some merchants find that these default folders work for their needs. Most, however, will add more folders. Think of folders as buckets where you can store files. If you need a simple or complex storage system for your orders, especially as they move through the submission process, consider creating new folders that fit into the workflow unique to your store.
Please note that moving an order into a folder does not automatically update the order status in any integrations. Check your integration settings and the Rule Builder to see what options your integrations have for when folders are changed.
Create Folder
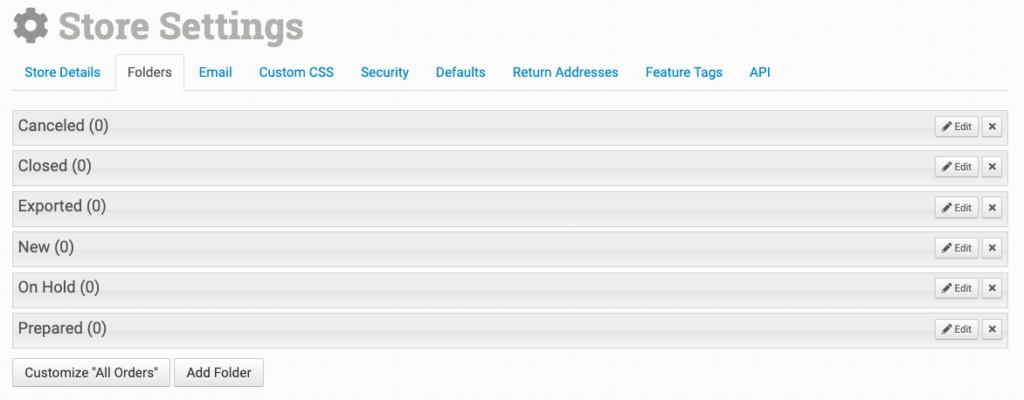
To create a new folder, look under the Settings menu in the left sidebar and click on Store Settings:

On the Store Settings page, click on Folders and then Add Folder:
A good method for setting up your folders is to think of where an order currently is. For instance, if you send orders to more than one vendor or fulfillment/shipping integration, you can move orders into folders that say they’ve been sent but have not yet been fulfilled, such as “At Vendor X” or “At MWW” or “At ShipStation”.
Moving Orders Through Folders
Orders won’t move on their own if your settings don’t tell them to move somewhere.
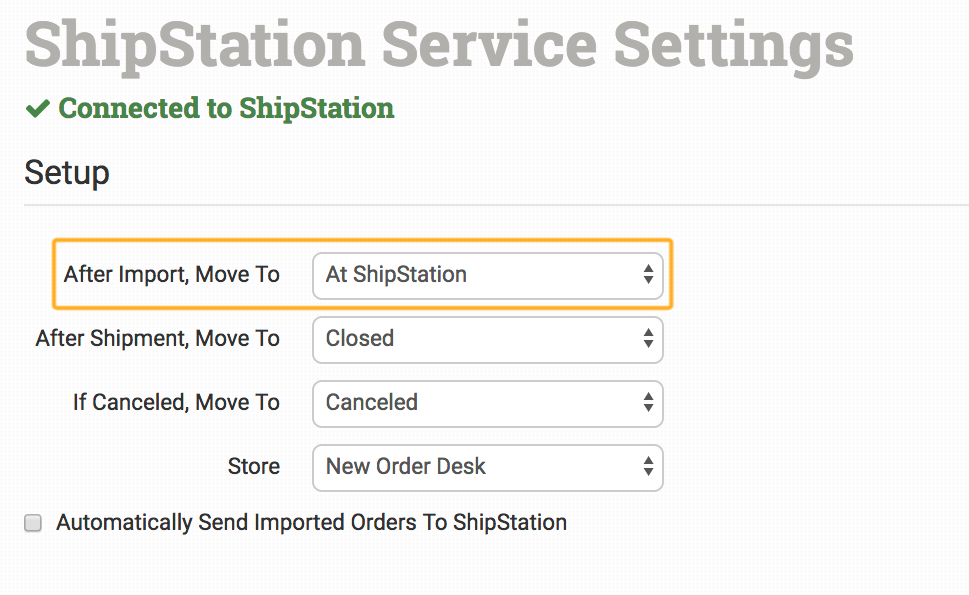
Many integration settings include an option for which folder to move orders to after being submitted, for instance:
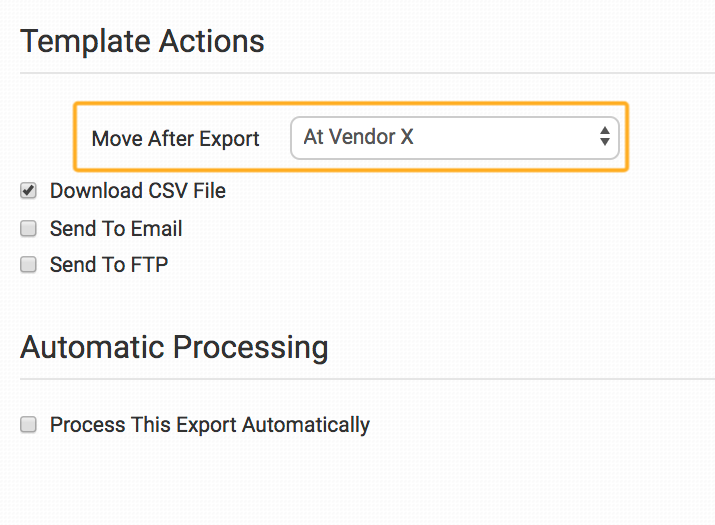
If sending to a third party vendor through an export template, you can tell the export template where to send orders after they’re exported:
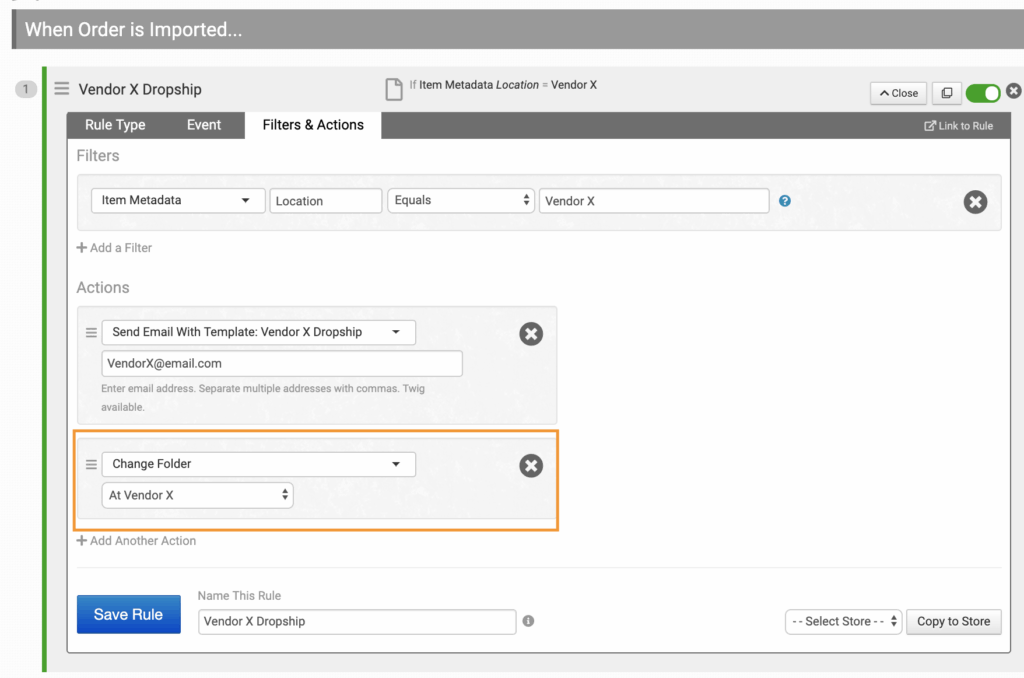
If sending a dropship email to a third party vendor, you can add an action in your rule to move the order after the email is sent:
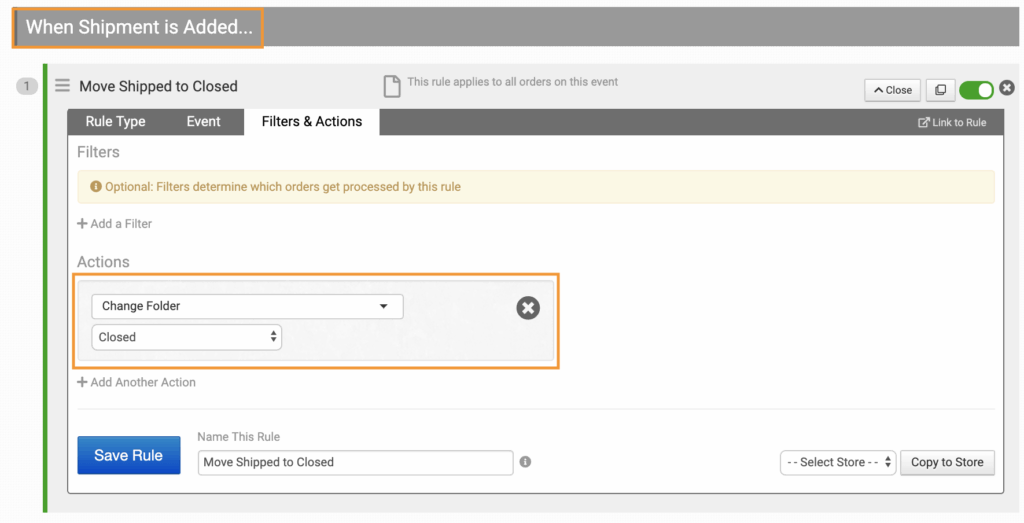
If using an integration, check to see if you can change the folder when shipment is added. If that isn’t an option or you aren’t using an integration for some orders, you can set up a rule to move orders to the closed folder when shipment is added:
Another good case for having custom folders is to filter orders, whether to flag them for review, assign them to a specific person on your team, or send them to a hold folder that sets them aside before they are ready to move to the next stage in the fulfillment process.
Once you create the folders you need, you can adjust them as you become more familiar with Order Desk and decide how you want to use the app to best process and fulfill each of your orders.