In several print on demand integrations, there are product settings under the Product Code Match section. In most cases, you will not need to use these settings, however, this guide will cover what they are used for in case you do have a reason for them.

Please note that many other fulfillment integrations also have these same features, but the product code match settings work differently in print on demand integrations than regular fulfillment integrations. If you are trying to find more information about these settings for an integration that is not a print company, please refer to this guide instead.
If you are here because you use a print on demand company to fulfill your orders, make sure you fully understand the print on demand fulfillment process before attempting to use these settings.
Product Code Match
Match Product Codes
In print on demand integrations, the product code match feature allows you to set up and send a product to more than one printer. Every printer has their own product code for an item, so in order to send the same product to more than one printer, you will need to match the print_sku from one printer to the print_sku another printer uses for the same item.
To set this up, make sure you already have your item(s) saved in your Order Desk inventory. Go into the integration for the printer you want to also support for an item you already have. In the Product Code Match field, set the original print_sku to = the new printer’s print_sku.
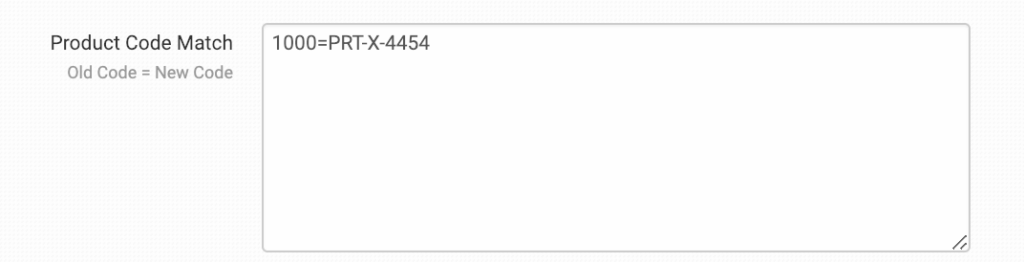
As an example, if one printer uses the print_sku 1000, and another uses PRT-X-4454 for the same item, match the print_skus as:
1000=PRT-X-4454
As long as the print details are saved in the item where the print_sku is set up as 1000, they can also be sent to the second printer.
For information on storing multiple print_skus in your Order Desk inventory, take a look at our guide on How to Work With Inventory Details.
Color Conversion
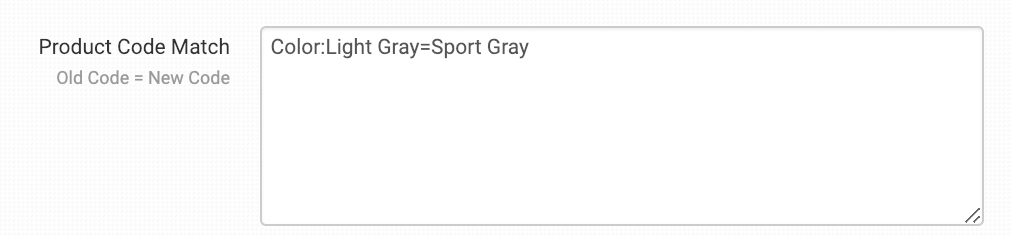
If you need to convert the the color variation or metadata of an item, you can do so with the product code match feature. To do this, add Color: to the product code match box in the print integration where the color needs to be converted. Then set the color match behind it using an = to map the colors to each other. For example:
Color:Light Gray=Sport Gray
Notes about the color conversion feature:
- Variation is checked before item metadata, so if a different color is set for variation and metadata on the same item, the variation color will be used.
- The variation/metadata name as well as the color match name support both spellings—color and colour.
Color Conversion by SKU
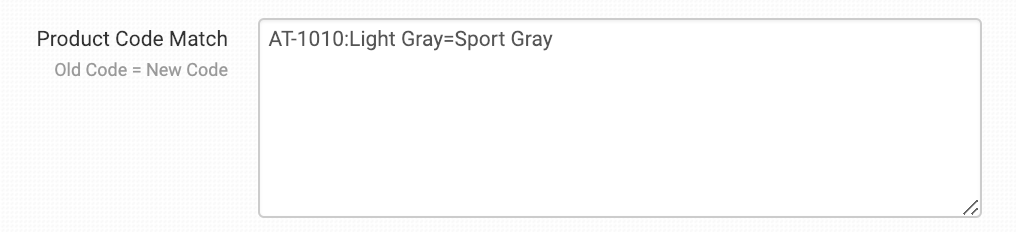
Color conversion can also be applied to a specific SKU instead of to an entire color variation or metadata field. To do this, set your personal SKU for the item first. Using AT-1010 as an example, follow it with the color match:
AT-1010:Light Gray=Sport Gray
Creating Bundles
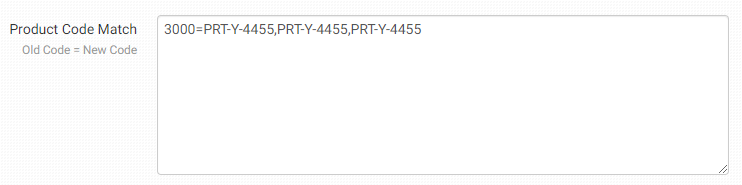
Product bundles can be created for a specific SKU by following the original SKU with multiples of the replacement SKU. Using 3000 and PRT-Y-4455 as examples:
3000=PRT-Y-4455,PRT-Y-4455,PRT-Y-4455
Product Code Skip
In the product code skip box, you can add any SKUs that you do not want sent to this print on demand integration. Separate multiple SKUs with a comma or add them on separate lines.
If no part of an order can be submitted to the printer, it will be skipped.IMPORTANT
This feature should only be used if you have a relatively simple setup. If you have a more complex process in place, especially if you are sending orders to more than one integration or vendor, splitting your orders will be a better option for you.
Inventory Location Match
You can submit your orders to the print on demand integration by using the inventory location match field. For instance, if the inventory location on your items is set as “printerz” for the PrinterZ integration, add printerz in this field. When an order comes in with items in it that have “printerz” in the location field, those items/orders will be submitted to this integration.
This is case and space sensitive. If you use this, please be mindful that the inventory location name you set on each item matches what you put in this field exactly. Orders where the inventory location field is not an exact match will not be submitted to the printer.
For more information on the inventory location for an item, please see the Inventory Details guide.IMPORTANT
Like with Product Code Skip, splitting your orders properly is a much better method. This field is designed for merchants with a simple setup who do not need to split orders.
Picklist Message Field
In some print on demand integrations, you may also see a Picklist Message Field.
If this option is available in the integration you are using and you want to send a message through to your printer to be added to their picklist, you can do so by placing the message as checkout data on the order you send to them. Set the exact checkout data field name for that message here. This is case and space sensitive.
For information on what checkout data is and how to use it, please read the How to Work with Checkout Data guide.
Gift Message Field
Some print on demand integrations will also have a Gift Message Field.
If you want to send gift messages through to your printer to include with the order, add the checkout data field name here.
For information on what checkout data is and how to use it, read the How to Work with Checkout Data guide.