Order Desk can import orders from your shopping carts, sync your print details, and automatically send them to Meno OnDemand (Meno) for printing and fulfillment. When orders are shipped, tracking details will be sent back to Order Desk automatically and synced to your cart service.
Setup
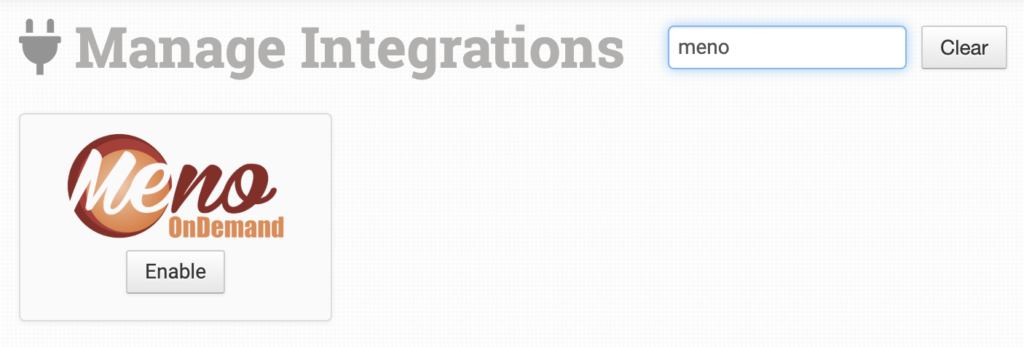
To enable the integration, click Manage Integrations in the left sidebar. Under the Print on Demand tab, find and enable the Meno integration.

Alternatively, search for meno from the available integration search.
On the next screen, enter your Meno Client ID, then click Connect.
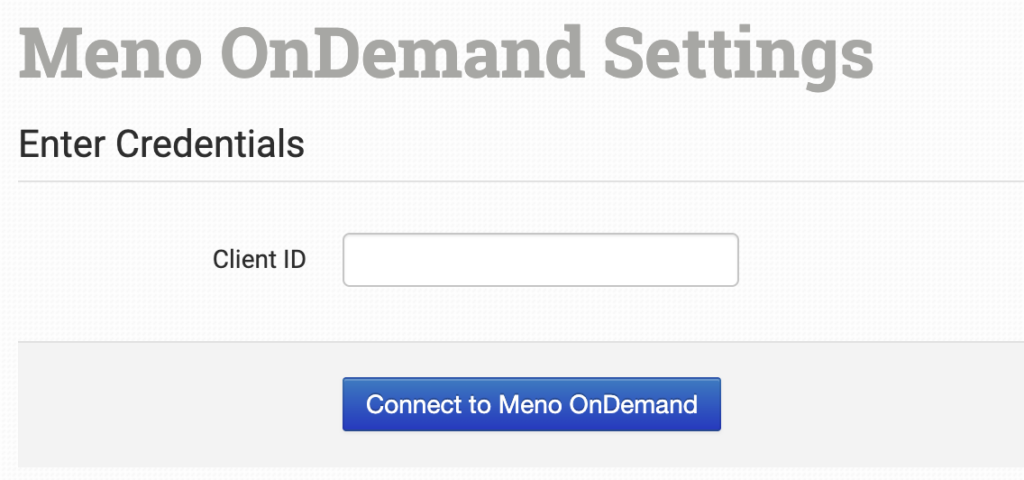
Order Desk isn’t able to help find or reset your Meno Client ID, as this can only be provided by the Meno team.
Integration Settings
Once connected, you’ll have some shipment and integration settings to adjust based on your preferences.
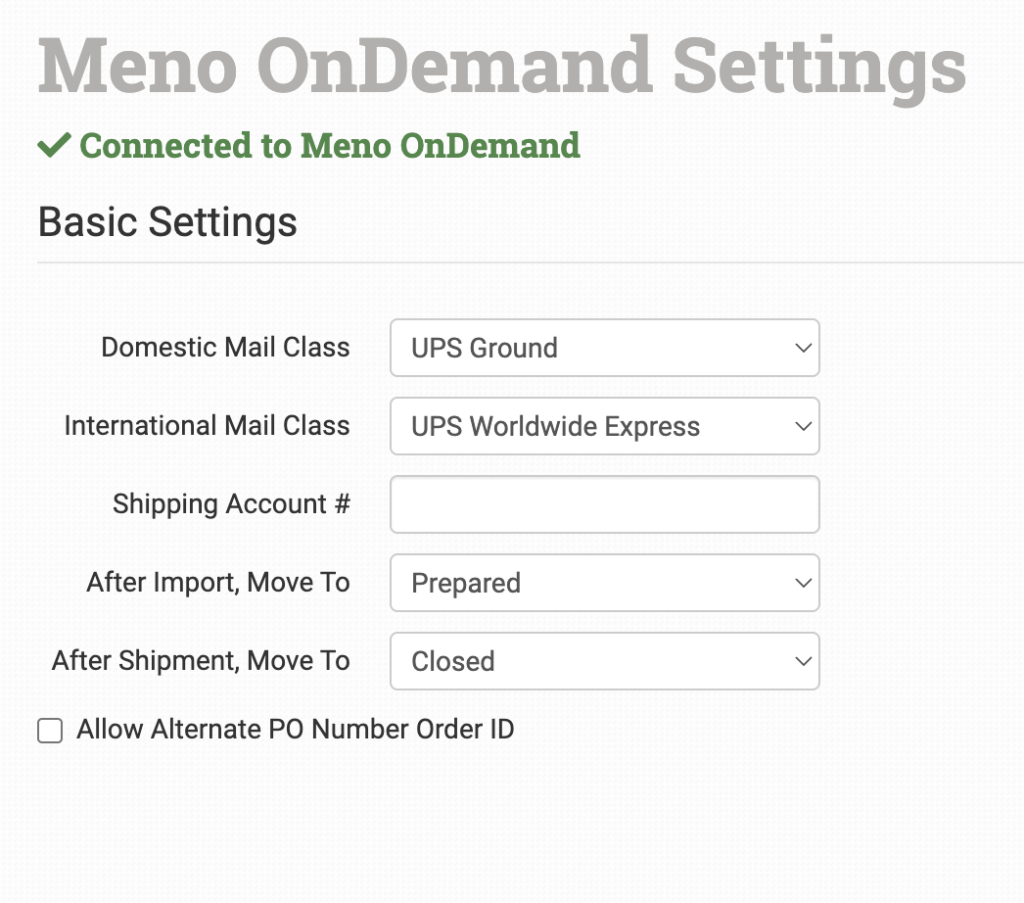
Domestic Mail Class
Choose the shipping class you want Meno to use for your US orders.
If you need to apply specific shipping methods for certain orders, match your method names to Meno’s names in the Shipping Class Match section below.
International Mail Class
Choose the shipping class you want Meno to use for your international orders. If you plan to ship internationally, you’ll need to set this up with Meno directly before it can be used.
If you need to apply specific shipping methods for certain orders, match your method names to Meno’s names in the Shipping Class Match section below.
Shipping Account #
Enter your preferred shipping account number here. You can also set this at the order level if you want it to apply on a per-order basis. See the Order Level Details section below.
After Import, Move To
Select the folder you want orders to be moved into after they are successfully sent to Meno.
You can use one of the default folders already in your store or create your own. Read the Working with Folders guide for more information.
After Shipment, Move To
Select the folder you want orders to be moved into when Meno sends shipment details back to Order Desk.
Allow Alternate PO Number Order ID
Enable this if you’d like to use an alternate order number for orders sent to Meno. This allows you to set a PONumber on a per-order basis. You can learn more about this in the Order Level Details section below.
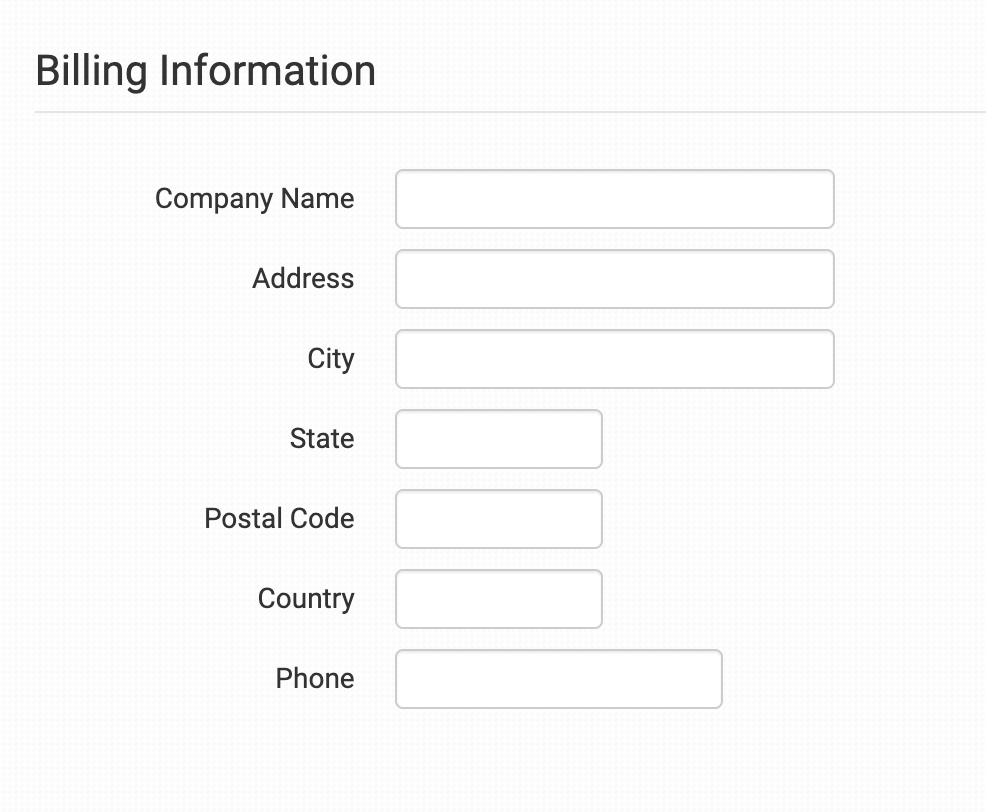
Billing Information
You can adjust your billing details here.
Product Settings
For more information about what the product settings within the Meno integration do, read the Print on Demand Product Settings guide.
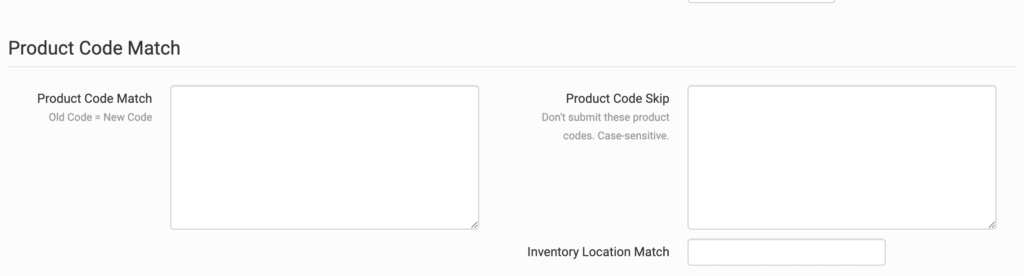
Shipping Class Match

If the shipping methods you set up in your shopping carts don’t match the shipping method names Meno uses, Meno won’t know which methods you want them to use. When this happens, the default mail classes selected above will be used for your orders instead.
To tell Meno which methods to use, match your method names to theirs in the Shipping Class Match section. For detailed instructions on setting this up, read the Shipping Class Match guide.
Sending Orders to Meno OnDemand
Getting your orders ready to send to Meno will take some setup time. For a detailed walkthrough of how to use Order Desk with your print on demand orders, read the Print on Demand Fulfillment guide.
Preparing Your Orders
The following fields can be set as checkout data or order metadata on each order.
| Field Name | Field Description |
|---|---|
| OrderType | Your preferred order type to send to Meno. If this is left blank, Order Desk will send Drop Ship as the order type. If set to Freight, Order Desk will also send Pickup_Freight as the shipping method. |
| ShippingAccount | The shipping account number Meno should use for the order. This overrides the default shipping account set in the integration settings. This is only used if a shipping label is not included. |
| ShippingLabel | A link to the shipping label you want to use for the order. If this is present, Order Desk will set the shipping method to PRESHIP. |
| PackingSlip | The URL for the PDF packing slip that should be included with the order. If you want to generate this document in Order Desk, see the guide on creating PDF files. |
| PONumber | Your preferred alternate order number to send to Meno. This only works if Allow Alternate PO Number Order ID is enabled in the integration settings. |
| Reference | Your preferred content for the reference field sent to Meno. |
If you’re unfamiliar with checkout data, see the How to Work with Checkout Data guide.
Preparing Your Items
The following fields can be set as variations or item metadata for each order item.
| Field Name | Field Description |
|---|---|
| print_sku | Meno’s product code for the blank item that should be printed on. Required. |
| print_upc | The UPC for the item. |
| print_url | The URL for the artwork file. Required. |
| PrintWidth | The preferred print width. This is used for Fabric By The Yard orders. |
| PrintHeight | The preferred print height. This is used for Fabric By The Yard orders. |
| ImagePrintWidth | The preferred width of the artwork image. This is used for Fabric By The Yard orders. |
| ImagePrintHeight | The preferred height of the artwork image. This is used for Fabric By The Yard orders. |
| ImageDropDirection | The direction the artwork should be offset when repeated. This is used for Fabric By The Yard orders. |
| ImageDropDistance | The distance the artwork should be offset when repeated. This is used for Fabric By The Yard orders. |
| Repeats | The number of times the artwork should repeat. This is used for Fabric By The Yard orders. |
Rules Reference
In addition to the general set of rule events and actions in Order Desk, Meno includes a number of rule events and actions that are specific to the integration. These aren’t found directly on the integration page. Instead, you’ll need to use the Rule Builder to access them. If you’re new to using rules in Order Desk, we recommend starting with the How to Work With Rules guide.
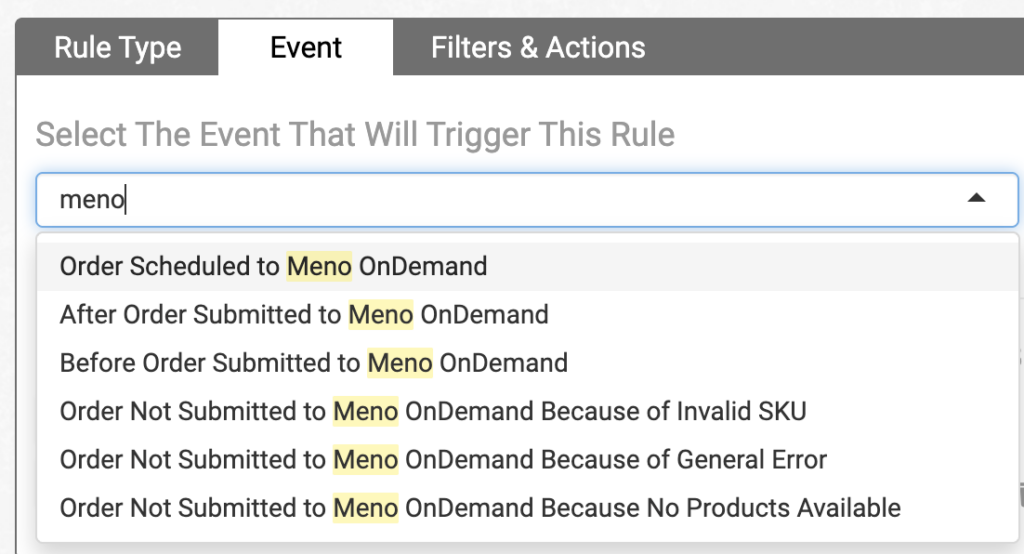
Rule Events
The following events are specific to Meno. To find them, type meno in the Event dropdown menu in the Rule Builder:
| Event | Description |
|---|---|
| Order Scheduled to Meno OnDemand | Triggered when an order is scheduled to be sent from Order Desk to Meno OnDemand. This triggers immediately after the order is scheduled, so it can be used when you want to take action on the order at that point. |
| After Order Submitted to Meno OnDemand | Triggered after an order has been successfully submitted to Meno OnDemand. |
| Before Order Submitted to Meno OnDemand | Triggered just before an order is sent from Order Desk to Meno OnDemand. This is useful when you want to make last-minute updates before an order is sent. |
| Order Not Submitted to Meno OnDemand Because of Invalid SKU | Triggered when an order submission fails because one or more SKUs aren’t valid in Meno OnDemand. |
| Order Not Submitted to Meno OnDemand Because of General Error | Triggered when a general error prevents the order from being submitted to Meno OnDemand. |
| Order Not Submitted to Meno OnDemand Because No Products Available | Triggered when an order submission fails because no valid products were found for submission. |
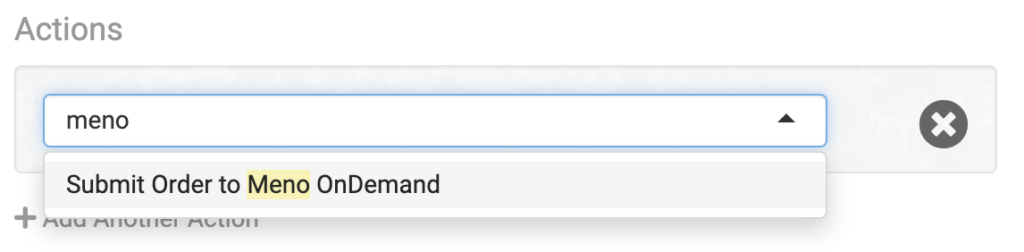
Rule Actions
Meno also supports specific rule actions that you can apply to your orders. These can be found in the Actions dropdown by searching for meno:
| Action | Description |
|---|---|
| Submit Order to Meno OnDemand | Sends an order from Order Desk to Meno OnDemand. |