Order Desk can submit your print on demand orders to GearLaunch. As orders are fulfilled, the shipment info will automatically be pulled back into Order Desk and sent back to the original shopping cart.
Setup
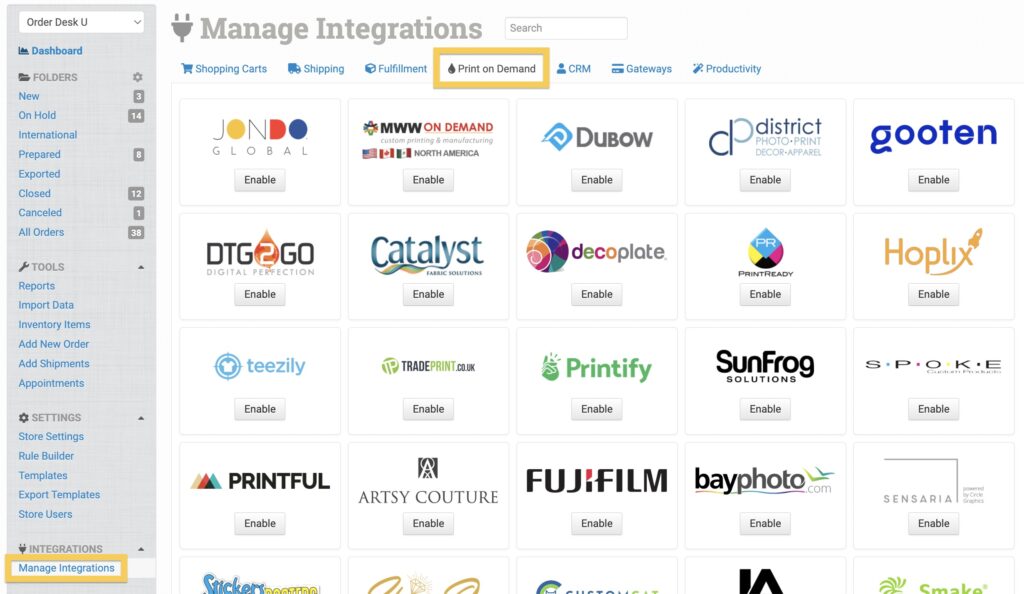
To connect to GearLaunch, click on Manage Integrations in the left sidebar. Under the Print on Demand tab, find and click to enable the GearLaunch integration.
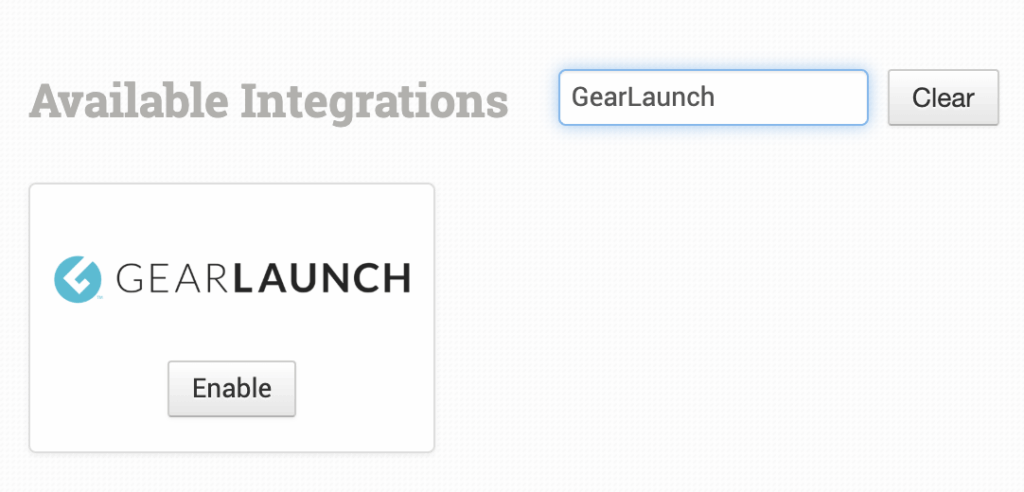
Alternatively, search for GearLaunch from the available integration search.
Enter your GearLaunch API Key and click to connect.
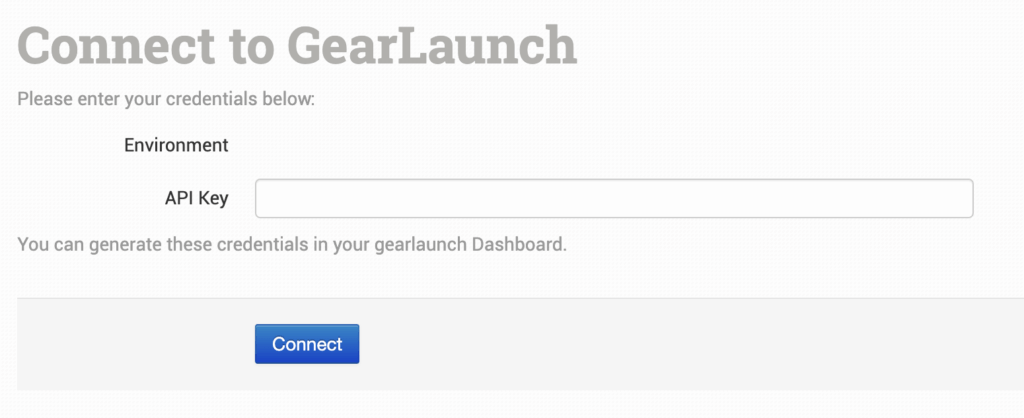
Please note that Order Desk isn’t able to help find or reset your credentials, as they can only be provided by GearLaunch.
Integration Settings

Once connected, you’ll have some shipment and integration settings to adjust per your preferences.
After Import, Move To
Select the folder you want orders to be moved into after they are successfully sent to GearLaunch.
You can use one of the default folders already in your store or create your own. Read the Working with Folders guide for more information.
After Shipment, Move To
Select the folder you want orders to be moved into when GearLaunch sends tracking details back.
Default Mail Class
Choose the shipping class you want GearLaunch to use for your orders.
If you need to apply specific methods for certain orders, match your method names to the names GearLaunch uses in the Shipping Class Match section below.
If Canceled, Move To
The folder the order should be moved to if canceled at Monster Digital.
If Rejected, Move To
The folder the order should be moved to if rejected at .
Webhook URL
You will need to set this webhook URL in your GearLaunch account for Order Desk to download your shipment notifications.
Default Shipment Return Address
Set your default return address for GearLaunch to use on your order shipments.
If you need to customize the return address for certain orders, you can save different return addresses to your Store Settings and use a rule to set the return address on specific orders. If a return address is not added to the order, the default address set here in the Spoke Custom settings will be used.
For information on adding additional return addresses and applying them to specific orders with a rule, read the Store Settings guide.
If the order does not have a phone number on it, the Shipper Phone Number is used.
Product Settings
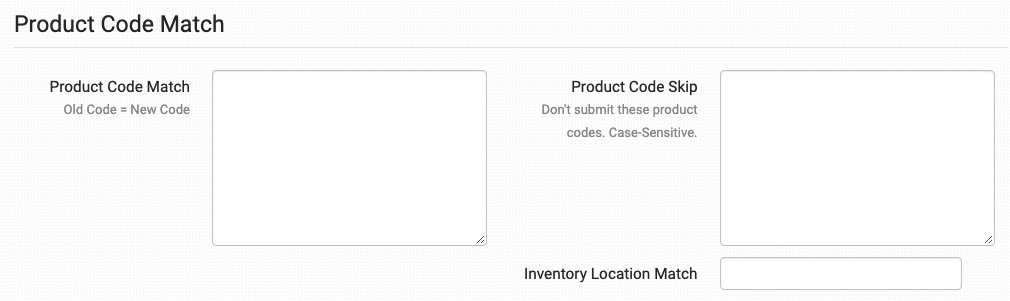
For more information on what these product settings within the GearLaunch integration are for, please refer to the Print on Demand Product Settings guide.
Shipping Class Match

sing the shipping class match feature, you can match as many different shipping methods as you offer to the methods GearLaunch uses to ensure your customers are getting the closest shipping option to what they selected at checkout.
For information on how to set up your shipping preferences, please read the shipping class match guide.
Sending Orders to GearLaunch
Getting your orders ready to send to GearLaunch will take some set up time. For a detailed walkthrough of how to use Order Desk with your Print on Demand orders, please read through our Print on Demand Fulfillment guide.
Item Details
The following fields can be set as variations or item metadata for each item in an order.
| Field Name | Field Description |
| print_sku | Required. GearLaunch’s product code for the item. |
| print_url_x | Required. Link to your artwork file. Up to 2 (e.g. print_url_1, print_url_2, etc.). |
| print_location_x | Use to set the location of the print area on the item. Up to 2. Must be paired with the matching print_url_x (e.g. print_url_1/print_location_1, print_url_2/print_location_2, and so on) Default value is front. |
| print_preview_x | The location of the printable file preview. For multi-print items, use print_preview_1, print_preview_2, etc., up to 2. |
Customize Order Details
You can add custom details to your orders to be passed through to GearLaunch. Add these details as checkout data or metadata fields. The field names must be an exact match to this table.
| Field Name | Field Description |
| ioss | Send the tax number eg. IOSS number or VAT number that you want to be used on the order to ShipHero. Where applicable, this will override the default IOSS number from the Store Settings. |
For instructions on how to apply these fields to checkout data, please read the How to Work with Checkout Data guide.