Order Desk can import orders from your shopping cart(s), sync in your print details and then automatically send them on to Printify for fulfillment. When orders are shipped, the tracking details will be sent back to Order Desk automatically.
This guide explains how to set up and use the Printify integration for submitting print on demand orders. If you are a printer looking to receive orders from Printify, please refer to our Printify Supplier guide.
Setup
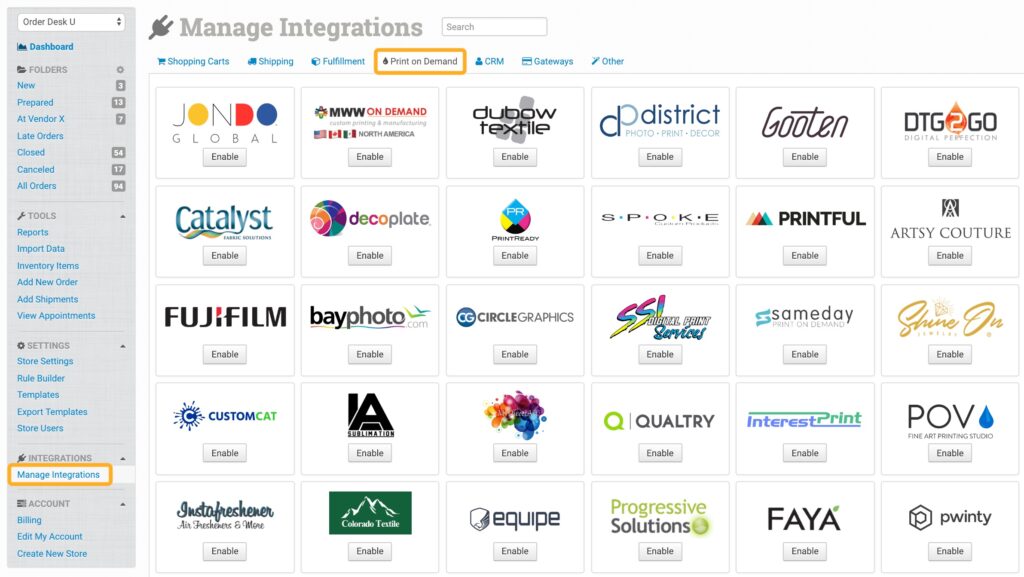
To connect to Printify, click on the Manage Integrations link under the Integrations menu in the left sidebar, and under the Print on Demand tab find and enable Printify.
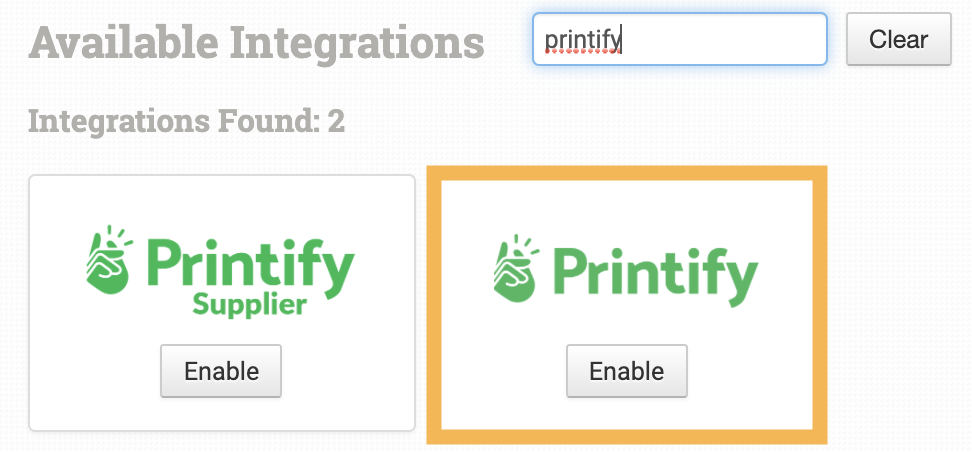
Alternatively, search for Printify from the available integration search.
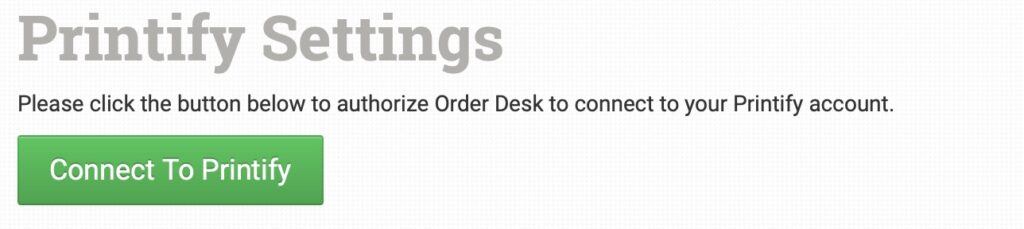
Click the Connect To Printify button to connect to your account.
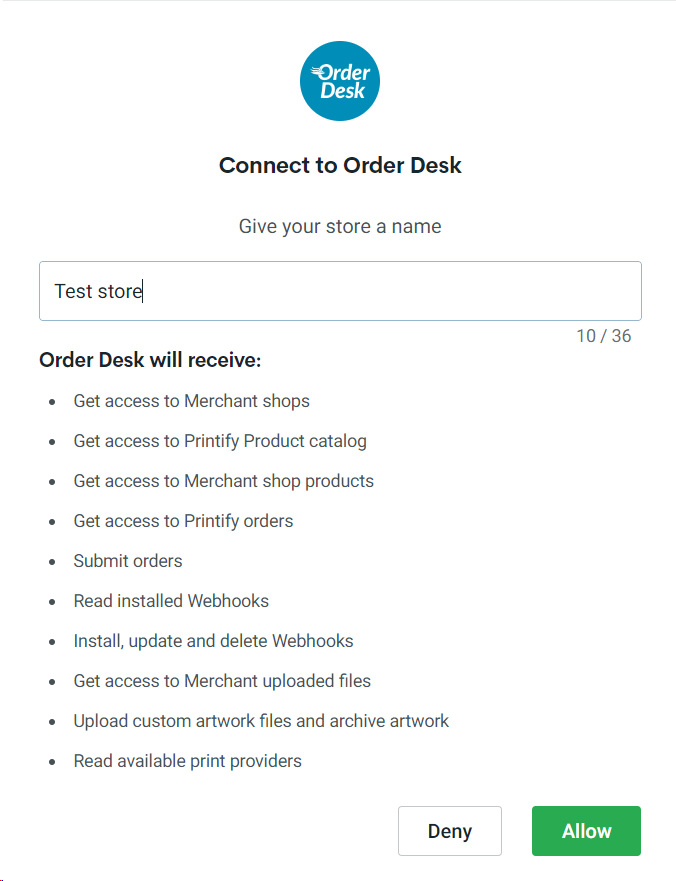
You will be redirected to Printify to complete the setup process by entering a store name and clicking Allow to grant Order Desk access to your account.
Please note that Order Desk isn’t able to help find or reset your credentials, as they can only be provided by Printify.
Integration Settings

Once connected, you’ll have some shipment and integration settings to adjust per your preferences.
View Available Products
Click this link to view the products you have already set up in your Printify account. You’ll be able to access the Name, Product Code, Product SKU, Variant ID, Color, Size, Print Provider ID, and Blueprint ID of each item. This information will be necessary to set up your print details for order submission.
After Import, Move To
Select the folder you want orders to be moved into after they are successfully sent to Printify.
You can use one of the default folders already in your store or create your own. Read the Working with Folders guide for more information.
After Shipment, Move To
Select the folder you want orders to be moved into after Printify sends shipment details back to Order Desk.
If Import Fails, Move To
Select the folder orders should be moved to if the import fails.
Default Mail Class
Choose the default mail class you want Printify to use for your orders.
If you need to apply specific methods for certain orders, match your method names to the names Printify uses in the Shipping Class Match section below.
Shop
Select the Printify shop you would like to connect to. It’s important that you connect to a shop as we cannot submit an order without a shop.
Automatically Produce Orders
When enabled, your orders will automatically go into production after they’re submitted to Printify. Orders are submitted in draft mode by default.
Product Settings

For more information on what these product settings within the Printify integration are for, please refer to the Print on Demand Product Settings guide.
Sending Orders to Printify
Getting your orders ready to send to Printify can take some time to set up properly. For a detailed walkthrough of how to use Order Desk with your print on demand orders, please take a few moments to read through the Print on Demand Fulfillment guide.
Preparing Your Orders
The following fields can be set as checkout data or order metadata to specify what gets sent to Printify.
| Field Name | Field Description |
| send_shipping_notification | Set this to 1 or 0 to have Printify send a notification to the customer once the order has shipped. Default is 0. |
If you are unfamiliar with checkout data, please read the How to Work with Checkout Data guide.
Preparing Your Items
You can send your items for printing at Printify in one of two ways:
1. Pre-saved Items
If you’ve already uploaded your products to Printify, you can set your Product SKU at Printify and then set that SKU on your products in your cart. We will use the Product SKU we receive from the cart to order the product at Printify.
2. Print on Demand
If you would like to send your artwork for printing, please set the following fields:
| Field Name | Field Description |
| product_id | This is the Product Code for the item from the View Available Products page in your Printify Integration Settings. It’s a long number. Required |
| print_sku | This is the Variant ID from the View Available Products page in your Printify Integration Settings. Required. |
| print_url_1 | The URL of your first artwork file. Required |
| print_url_2 | The URL of your second artwork file. |
| print_location_1 | Location of the print on the product. Default is front. |
| print_location_2 | Location of the print on the product. Default is front. |
| print_provider_id | This is optional. If you do not enter this field and the blueprint_id field, we can look these up for you based on the Product ID and the Print SKU (Variant ID). You can learn more about when the field is required here. |
| blueprint_id | This field is optional if you’ve already set a product_id and print_sku on your items. We will use those to automatically look up the right blueprint_id in Printify. You can learn more about when the field is required here. |
| print_scale | Set a value to increase or decrease the size of the print on the product. Default is 1. |
| print_angle | Adjust the angle of the print on the product. Default is 0. |
| print_x | Location of the print on the X-axis of the product. Default is 0.5. |
| print_y | Location of the print on the Y-axis of the product. Default is 0.5. |
| PrintOnSide | Use to set side parameters for print area. Options are regular (extends print area to the sides of canvas), mirror (keep original print area and mirror it to the sides), and off (no printing on sides). |
💡 TIP
There is also a scenario where you can provide all the key details associated with your print product for Printify. This will have us create a new product there without doing any look up for you. (You provide all the details)
Use this if you’re creating a new product in Printify and want full control by providing all required product, print, and artwork details yourself.
Required Fields:
print_provider_idblueprint_idvariant_idprint_url_1print_location_1
You can also send multiple artwork files using numbered fields such as print_url_2 and print_location_2 for other print areas.