Order Desk can import orders from your shopping cart(s), sync in your print details and then automatically send them on to Imagine Your Photos for fulfillment. When orders are shipped, the tracking details will be sent back to Order Desk automatically.
Setup
To connect to Imagine Your Photos, click on the Manage Integrations link under the Integrations menu in the left sidebar, and under the Print on Demand tab find and enable Imagine Your Photos.
Once enabled, give your webhook URL to your Imagine Your Photos account rep, then enter your Imagine Your Photos credentials and click to connect. Both Production and Staging environments are supported.
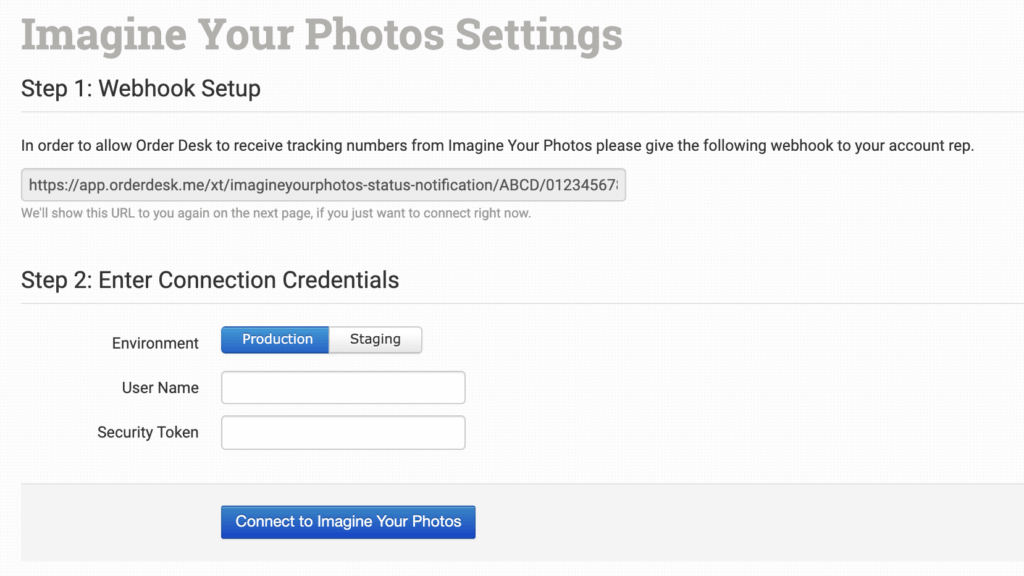
To find your Imagine Your Photos credentials, please contact your rep from Imagine Your Photos. Order Desk support is not able to help with finding or resetting your Imagine Your Photos credentials, as they are created and provided by Imagine Your Photos.
Integration Settings
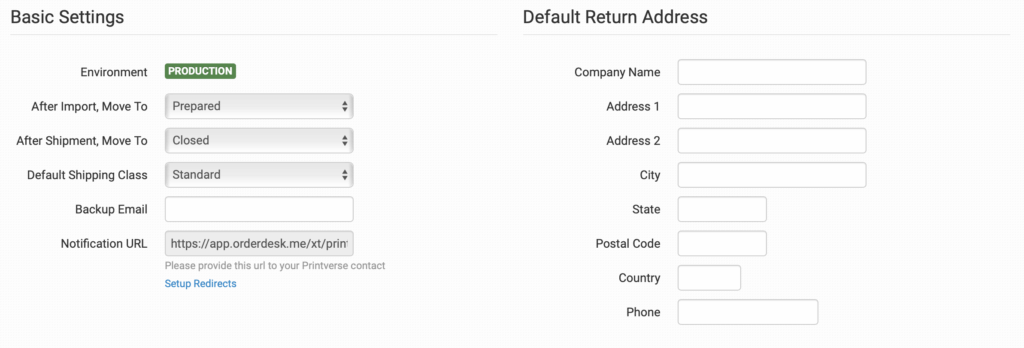
Once connected, you can set your preferences for this integration in the integration settings.
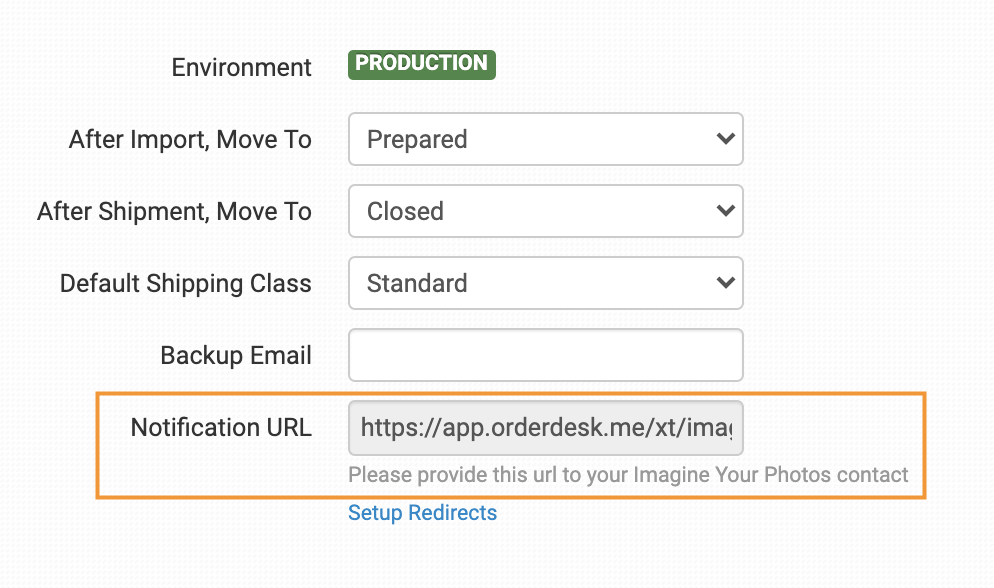
After Import, Move To
Choose the folder where orders should be moved to after they are successfully sent to Imagine Your Photos.
You can choose the default Prepared folder for this, or create your own folders in your Store Settings. Read the Working with Folders guide for more information.
After Shipment, Move To
Choose the folder where orders should be moved to as Imagine Your Photos sends tracking details back.
Default Shipping Class
Set the default shipping class for your orders. You can set a custom method and code on individual orders if necessary, details below.
Backup Email
Set the email address Imagine Your Photos should use for any orders that don’t have one included.
Notification URL
This URL allows Imagine Your Photos to send tracking details back to Order Desk as they ship your orders. Please copy this URL and give it to Imagine Your Photos to apply to your account.
Setup Redirects
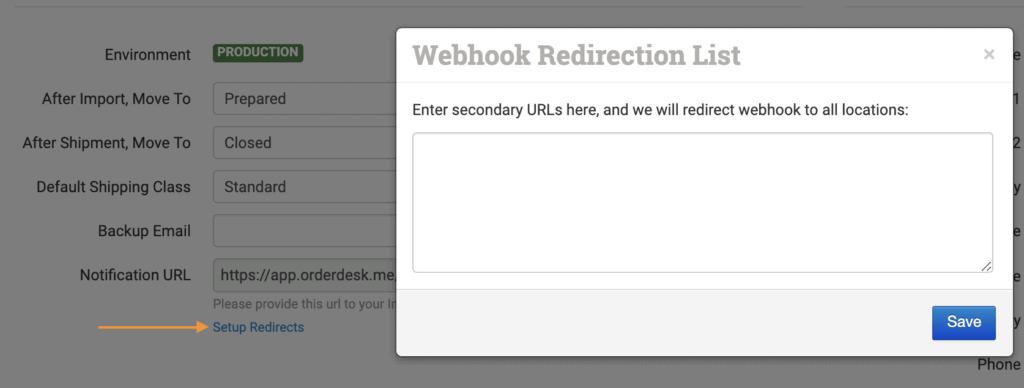
If you connect the same Imagine Your Photos account to more than one Order Desk store, you will need to setup some redirects so when the shipment info comes back from Imagine Your Photos, it will find its way to the right Order Desk store.
In your primary store, where the first connection to Imagine Your Photos was made, you will see Setup Redirects. Click this link to open your Webhook Redirection List. Then, in your other Order Desk stores that are also connected to the same Imagine Your Photos account, find the Notification URL:
Copy this URL and paste it into the Setup Redirects field in your main store. Add one URL per line, making sure all notification URLs from your other Order Desk stores are included.
Default Return Address
Set your default return address for Imagine Your Photos to use on your order shipments.
If you need to customize the return address for certain orders, you can save different return addresses to your Store Settings and then use a rule to set the return address to specific orders. If a return address is not added to the order, the default address set here in the Imagine Your Photos settings will be used.
For information on adding additional return addresses and applying them to specific orders with a rule, read the Store Settings guide.
Product Settings
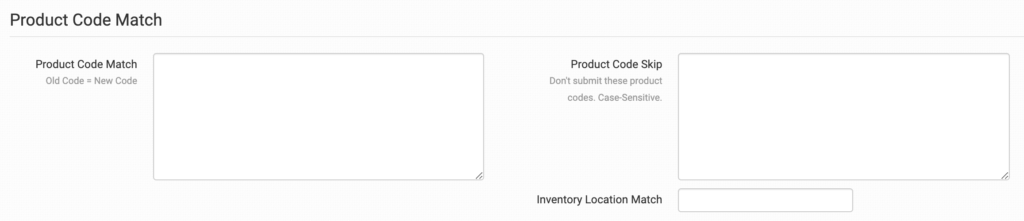
For more information on what these product settings within the Imagine Your Photos integration are for, please refer to the Print on Demand Product Settings guide.
Shipping Class Match

If the shipping methods you set up in your shopping cart(s) don’t match the shipping method names Imagine Your Photos uses, they won’t know what methods you intend for them to use. When this happens, the default mail class applied above will be used instead for all of your orders.
To tell Imagine Your Photos what methods you want them to use, you will need to match your method names to theirs. This can be done in the shipping class match section. For detailed instructions on setting this up, please read through the shipping class match guide.
Sending Orders to Imagine Your Photos
Getting your orders ready to send to Imagine Your Photos will take some set up time. For a detailed walkthrough of how to use Order Desk with your Print on Demand orders, please read through our Print on Demand Fulfillment guide.
Preparing Your Items
The following details can be submitted for an order as either checkout data or order metadata.
| Field Name | Field Description |
| PackingSlip | URL for the PDF to be included as the packing slip with the order. Details here. |
| Insert | Must be pre-approved by Imagine Your Photos. |
| ShipToMethod | If you have a custom ship to method |
| ShipToCode | If you have a custom ship to code |
| ShippingLabel | Use to set order shipping label if required. |
| TrackingNumber | Use to set a tracking number if required. |
If you are unfamiliar with checkout data, see the How to Work with Checkout Data guide.
Preparing Your Items
The following fields can be set as variations or item metadata for each order item.
| Field Name | Field Description |
| print_sku | Required. Imagine Your Photos product code for the item. |
| print_url | Required. URL of the artwork file. |
| imagineyourphotos_print_url | Optional. Custom print_url that only applies to Imagine Your Photos. |
Custom Shipping Options
For custom shipping, set ShippingCarrier and ShippingMethod fields in the checkout data of your orders to override the defaults you selected in the integration settings.
Valid carriers are USPS, FEDEX, UPS, USPSMailInnovations, DHL, DHL Global Mail, and DHL Global Mail International.