Order Desk can import orders from your shopping cart(s), sync in your print details and then automatically send them on to Scalable Press for fulfillment. When orders are shipped, the tracking details will be sent back to Order Desk and back to your shopping cart if your store is set up for it.
Setup
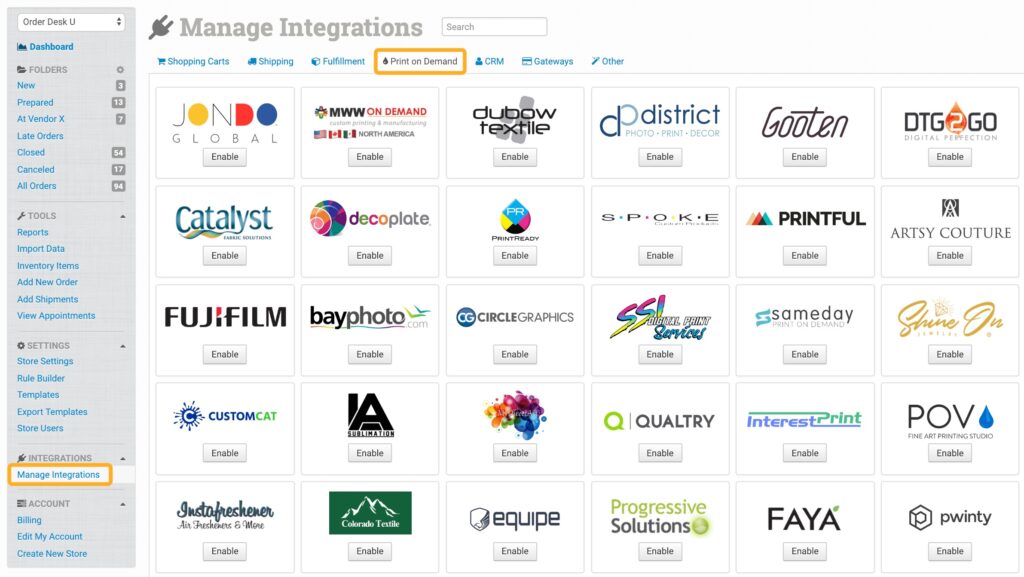
To connect to Scalable Press, click on the Manage Integrations link under the Integrations menu in the left sidebar, and under the Print on Demand tab find and enable Scalable Press.
Alternatively, search for Scalable Press from the available integration search.
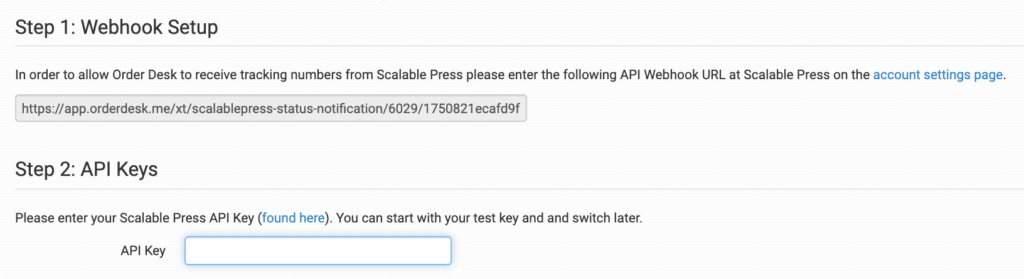
Step 1: Copy the webhook URL and enter it in Scalable Press so Order Desk can receive shipment information from Scalable Press.
Step 2: Enter your Test API Key from your Scalable Press API Details page to set up a test environment and click to connect to Scalable Press
Once testing is complete, disconnect Scalable Press from Order Desk by clicking on the Disconnect button at the bottom of the Scalable Press integration settings page and enter your Live API Key to reconnect.
If you’re having trouble finding your Scalable Press credentials, please contact your rep from Scalable Press. Order Desk support is not able to help with finding or resetting your Scalable Press credentials, as they are created and provided by Scalable Press.
Integration Settings
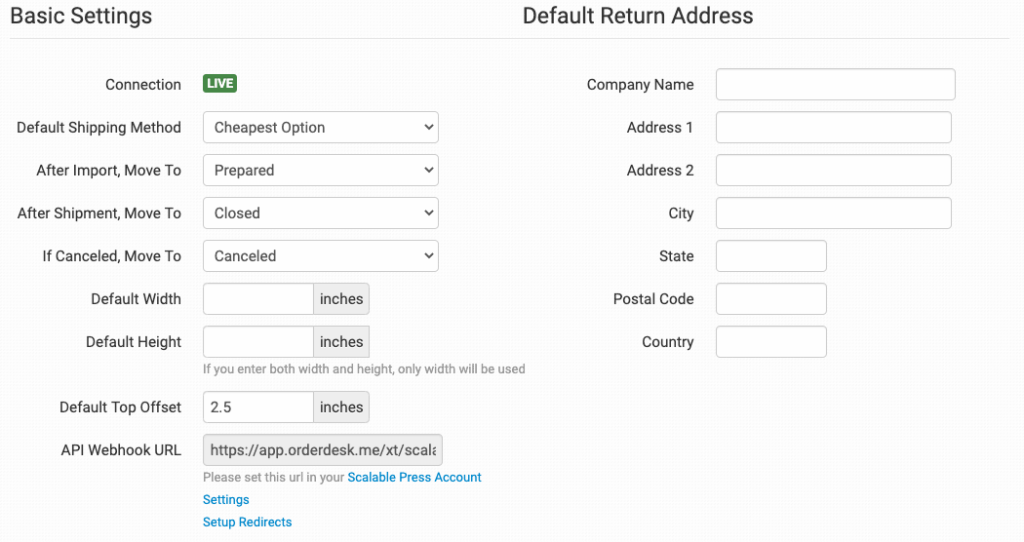
Once connected, you’ll have some shipment and integration settings to adjust per your preferences.
Default Shipping Method
Choose the shipping method you want Scalable Press to use on any orders where the shipment method is not otherwise specified for them to use.
To set up more specific shipping options, you will need to match your method names to the names Scalable Press uses. This can be done in the shipping class match section.
After Import, Move To
Select the folder you want orders to be moved into after they are successfully sent to Scalable Press.
You can use one of the default folders already in your store or create your own. Read the Working with Folders guide for more information.
After Shipment, Move To
Select the folder you want orders to be moved into after Scalable Press sends shipment details back to Order Desk.
If Canceled, Move To
Select the folder you want orders to be moved into if they are canceled at Scalable Press.
Default Width
Set the default width, in inches, of your artwork. To set this on a product by product basis, do so following these instructions.
Default Height
Set the default height, in inches, of your artwork. To set this on a product by product basis, do so following these instructions.
Default Top Offset
Set the default top offset, in inches, for your artwork. To set this on a product by product basis, do so following these instructions.
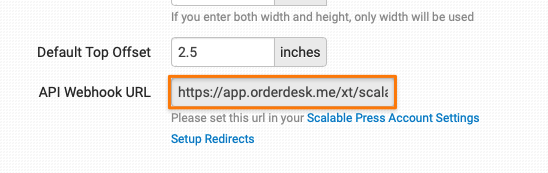
API Webhook URL
To have shipment information automatically passed back into Order Desk as Scalable Press fulfills orders, copy this URL and paste it into your Scalable Press account settings page.
Setup Redirects
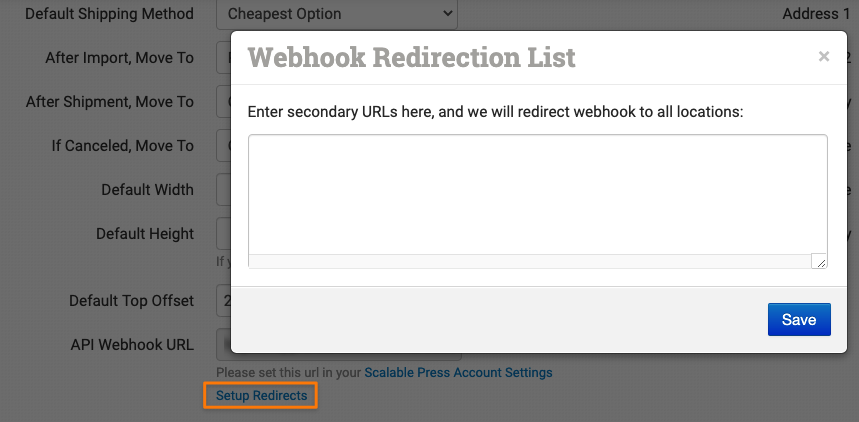
If you connect the same Scalable Press account to more than one Order Desk store, you will need to setup some redirects so when the shipment info comes back from Scalable Press, it will find its way to the right Order Desk store.
In your primary store, where the first connection to Scalable Press was made, you will see Setup Redirects. Click this link to open your Webhook Redirection List. Then, in your other Order Desk stores that are also connected to the same Scalable Press account, find the API Webhook URL:
Copy this URL and paste it into the Setup Redirects field in your main store. Add one URL per line, making sure all notification URLs from your other Order Desk stores are included.
Default Return Address
Set the default return address that Scalable Press should use on your shipments.
If you need to customize the return address for certain orders, you can save different return addresses to your Store Settings and then use a rule to set the return address to specific orders. If a return address is not added to the order, the default address set here in the Scalable Press settings will be used.
For information on adding additional return addresses and applying them to specific orders with a rule, read the Store Settings guide.
Product Settings

For more information on what these product settings within the Scalable Press integration are for, please refer to the Print on Demand Product Settings guide.
Shipping Class Match

If the shipping methods you set up in your shopping cart(s) don’t match the shipping method names Scalable Press uses, they won’t know what methods you intend for them to use. When this happens, the default shipping method applied above will be used instead for all of your orders.
To tell Scalable Press what methods you want them to use, you will need to match your method names to theirs. This can be done in the shipping class match section. For detailed instructions on setting this up, please read through the shipping class match guide.
Sending Orders to Scalable Press
Getting your orders ready to send to Scalable Press will take some set up time. For a detailed walkthrough of how to use Order Desk with your Print on Demand orders, please read through our Print on Demand Fulfillment guide.
Preparing Your Orders
The following fields can be set as checkout data or order metadata to add or change the details that are sent to Scalable Press about the order.
| Field Name | Field Description |
| PackingSlip | The URL of the PDF for Scalable Press to print and include with the shipment. Details here. |
If you are unfamiliar with checkout data, see the How to Work with Checkout Data guide.
Preparing Your Items
The following fields can be set as variations or item metadata for each item in an order.
| Field Name | Field Description |
| print_sku | Scalable Press item ID, e.g. gildan-sweatshirt-crew. |
| print_design_id | The Design ID for your previously uploaded artwork. Order Desk does not support uploading artwork directly to Scalable Press at this time. |
| print_type | Defaults to dtg. Valid values are: screenprint, dtg, case, mug, poster, or embr. |
| color | The color of the item being printed (White, Black, etc.). |
| size | The size of the item bring printed (S, M, L, etc.). |
Dynamic Printing
If you don’t have a print_design_id field, you can use Order Desk to create one. To do this, set up the following fields on your product. Files should be 150 DPI PNG. Screenprint should be EPS files.
| Field Name | Field Description |
| print_url | Link to the artwork file. For multi-print items, use print_url_1 through print_url_4. |
| print_location | Location on the item where the artwork should be placed. Fields are front, back, right, and left. If not entered for print_url_1, defaults to front. If not entered for print_url_2, defaults to back. Use up to print_location_4. |
| print_resize | Set to true or false, defaults to true. Use up to print_resize_4. |
| print_preview | Proof field. If not entered and image thumbnail exists on the item, that will be used for print_preview_1. Use up to print_preview_4. |
| print_width or print_height | Add the width or height in inches of the design. Use up to print_width_4 or print_height_4. If not entered, the integration settings will be used. |
| print_position | Defaults to C. Please refer to the Scalable Press docs for a list of allowed fields. Use up to print_position_4. |
| print_bottom_offset or print_top_offset | Use only one. If not entered, the integration settings will be used. Use up to print_bottom_offset_4 or print_top_offset_4. |
| print_colors | For screenprinting only. Separate named colors or PMS colors with a comma. Available options are found in the Scalable Press docs. Use up to print_colors_4. |