
Order Desk can import orders from your shopping cart(s), sync in your print details and then automatically send them on to Fulfill Engine for fulfillment. When orders are shipped, the tracking details will be sent back to Order Desk and back to your shopping cart if your store is set up for it.
Setup
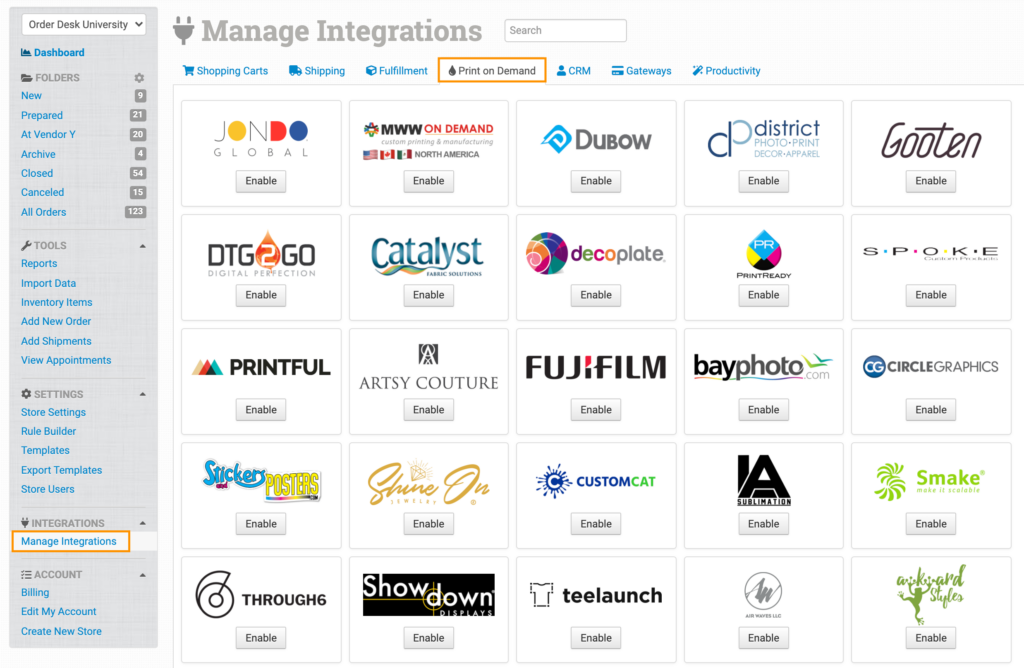
To connect to Fulfill Engine, click on the Manage Integrations link under the Integrations menu in the left sidebar, and under the Print on Demand tab find and enable Fulfill Engine.
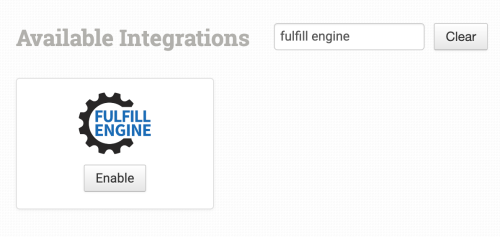
Alternatively, search for Fulfill Engine from the available integration search.
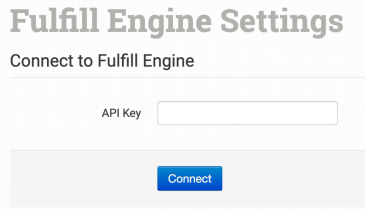
Once enabled, enter your Fulfill Engine API Key and click to connect.
NOTE
Order Desk isn’t able to help find or reset your credentials, as they can only be provided by Fulfill Engine.
Integration Settings
Once connected, you will have a few settings where you can set your preferences for this integration.
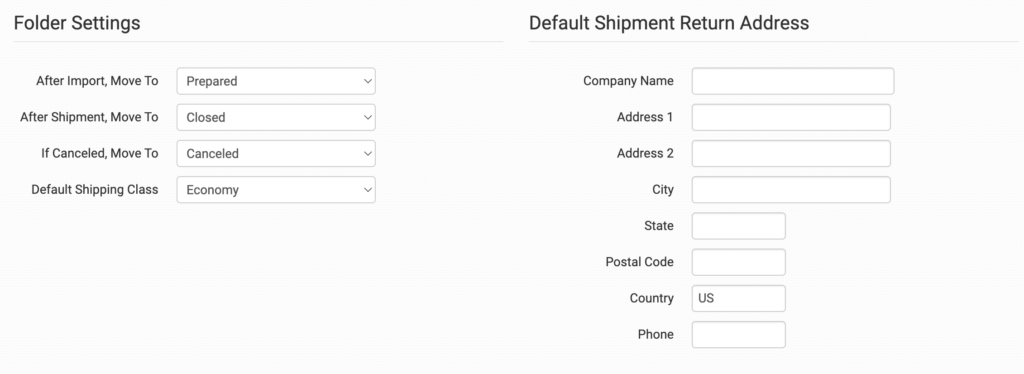
After Import, Move To
Select the folder you want orders to be moved into after they are successfully sent to Fulfill Engine.
You can use one of the default folders already in your store or create your own. Read the Working with Folders guide for more information.
After Shipment, Move To
Select the folder you want orders to be moved into after Fulfill Engine sends shipment details back to Order Desk.
If Canceled, Move To
Select the folder you want orders to be moved into after they get canceled at Fulfill Engine.
Default Shipping Class
Select the default mail class you want Fulfill Engine to use for your orders. The shipping method chosen here will be used for all orders where the method on the order does not match any of Fulfill Engine’s shipping method names.
If you need to apply specific methods for certain orders, match your method names to Fulfill Engine’s names in the Shipping Class Match section below.
Shipment Return Address
Set your default return address for Fulfill Engine to use on your order shipments.
If you need to customize the return address for certain orders, you can save different return addresses to your Store Settings and use a rule to set the return address on specific orders. If a return address is not added to the order, the default address set here in the Fulfill Engine settings will be used.
For information on adding additional return addresses and applying them to specific orders with a rule, read the Store Settings guide.
Product Settings
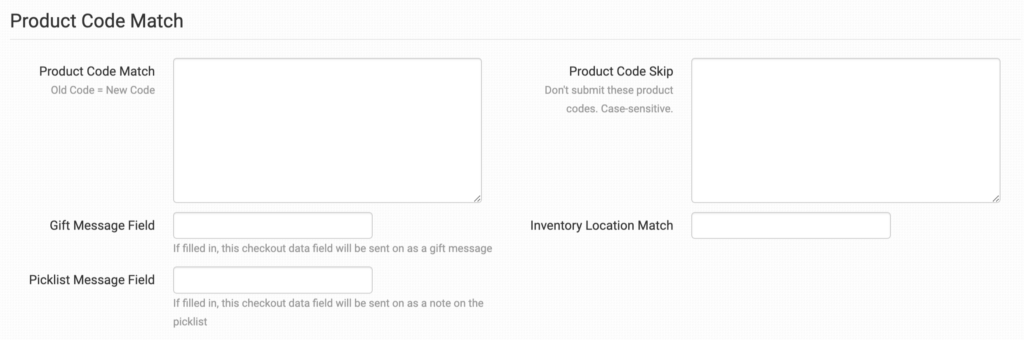
For more information on what these product settings within the Fulfill Engine integration are for, please refer to the Print on Demand Product Settings guide.
Shipping Class Match
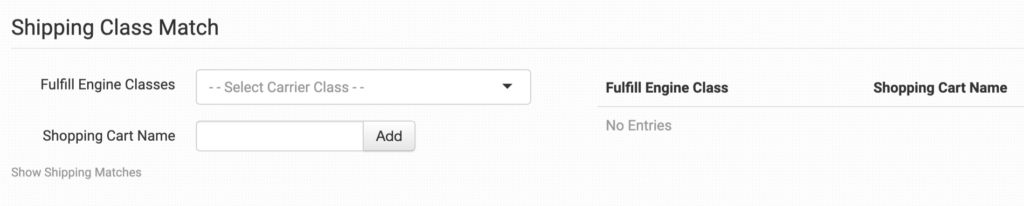
The shipping methods that you have set up in your shopping cart(s) may not match the methods that Fulfill Engine uses. To make sure your shipping preferences are sent through to Fulfill Engine with each order, match your methods to theirs in the shipping class match feature. If matches aren’t made, Fulfill Engine will use your default preferences set above.
To learn in more detail about how to set up your shipping class matches, see the shipping class match guide.
Custom Details for Fulfill Engine
Getting your orders ready to send to Fulfill Engine will take some set up time. For a detailed walkthrough of how to use Order Desk with your Print on Demand orders, please read through our Print on Demand Fulfillment guide.
Preparing Your Orders
The following details can be submitted for an order as either checkout data or order metadata.
| Field Name | Field Description |
| packingslip | Use this field to pass the URL for your packing slip. |
| shippinglabel | Use this field to pass the URL for your shipping label. |
| note | Use this field to pass an internal note for the order. |
| preferredDeliveryDate | Preferred delivery date. Format is YYYY-MM-DD HH:MM:SS (e.g. 2022-07-02 10:27:14). |
| ShippingAccount | Use this field to pass the shipping account number to be used for the shipment. |
| ShippingAccountZip | Use this field to pass the ZIP or postal code associated with the shipping account. |
| ShippingAccountCountry | Use this field to pass the country associated with the shipping account. |
Preparing Your Items
The following fields can be set as variations or item metadata for each item in an order.
| Field Name | Field Description |
| print_sku | Fulfill Engine product code. |
| print_preview | Preview of the image. |
| print_url_x | Link to the artwork file. For multi-print items, use print_url_1 through to print_url_5. |
| print_location_x | Location of the artwork on the item. Use print_location_1 to print_location_5 to correspond with the print_urls. Default location is “Front” for 1 and “Back” for 2. You can specify additional locations for other print files as needed. |
| print_type_x | The type of print you would like used for the item. Use print_type_1 to print_type_5 to correspond with the print_urls. Default is DirectToGarment. Other options are: ScreenPrinting, DyeSublimation, HTV, Embroidery, ScreenPrintTransfer, Engraving, UV, DTF, HeatSealPatch, SewnOnPatch, Label, and StickerApplication. |
| print_design_id_x | ID for the print design. Use print_design_id_1 to print_design_id_5 to correspond with the print_urls. |
| print_size_x | Size of the print on your item. Use print_size_1 to print_size_5 to correspond with the print_urls. |
| transfer_code_x | The transfer code for the relevant print file. Use transfer_code_1 to transfer_code_5 to correspond with the print_urls. |
| transfer_sku_x | The transfer sku for the relevant print file. Use transfer_sku_1 to transfer_sku_5 to correspond with the print_urls. |
| brand_x_y |
For embroidery prints, use this field to specify the brand of the desired thread color from the catalog of supported thread colors. The x corresponds to the print number (1 through 5), and y is the thread number (1 through 20).For example, use brand_1_1 for the first thread on print_url_1.
|
| code_x_y |
Use this to specify the code of the desired thread color from the catalog of supported thread colors. The x corresponds to the print number and y is the thread number.For example, code_2_3 would be the third thread color for print_url_2.
|
| size | Size of the item being printed on. |
| color | Color of the item being printed on. |
| htscode | Use to pass the Harmonized Tariff Schedule code. |
| country_of_origin | Country of origin for the item. Default is US. |
| declared_value | Declared value of the item. Default is the item price multiplied by the quantity. |