Order Desk can submit your print on demand orders to Lumaprints. As orders are fulfilled, the shipment info will automatically be pulled back into Order Desk and sent back to the original shopping cart.
Setup
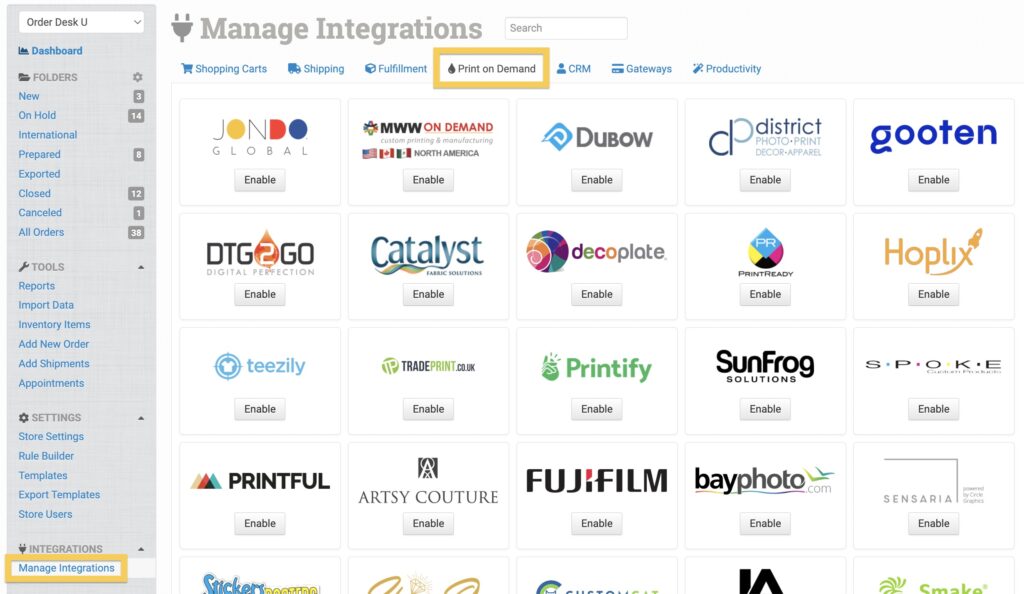
To connect to Lumaprints, click on Manage Integrations in the left sidebar. Under the Print on Demand tab, find and click to enable the Lumaprints integration.
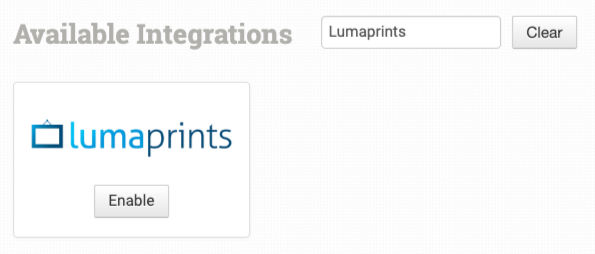
Alternatively, search for Lumaprints from the available integrations search.
Select your Environment, enter your Lumaprints credentials, and click to connect:
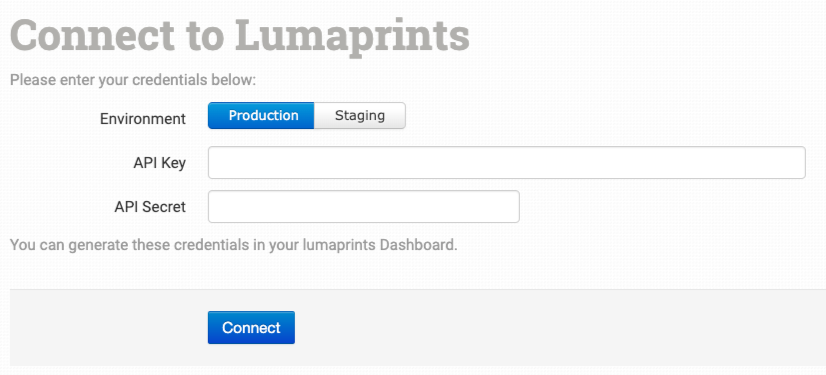
Please note that Order Desk isn’t able to help find or reset your credentials, as they can only be provided by Lumaprints.
Integration Settings

Lumaprints Help

Click Need Help Getting Started to access resources for Lumaprints, including available products.
Environment
Displays whether the store is in Staging or Production mode.
Once staging is completed, you can disconnect the integration by clicking on the Disconnect button at the bottom of the integration settings, then re-enable the integration using in Production mode.
Default Mail Class
Choose the mail class you want Lumaprints to use for orders.
Default Production Time
Choose the default production time for your orders. Options are Regular, Next Day, and Same Day.
After Import, Move To
Select the folder you want orders to be moved into after they are sent to Lumaprints.
If you want to use a custom folder, create your own from Store Settings. See the Working with Folders guide for more information.
After Shipment, Move To
Select the folder you want orders to be moved into when Lumaprints sends shipment details back into Order Desk.
Default Store
Choose the default store you want Lumaprints to use for orders.
Shipment Webhook URL
You will need to set this webhook URL in your Lumaprints account for Order Desk to download your shipment notifications and sync inventory stock counts.
Product Settings

For more information on what the product settings within the Lumaprints integration do, please read the Print on Demand Product Settings guide.
Shipping Class Match

The shipping methods that you have set up in your shopping cart(s) may not match the methods that Lumaprints uses. To make sure your shipping preferences are sent through to Lumaprints with each order, match your methods to theirs in the shipping class match feature. If matches aren’t made, Lumaprints will use your default preferences set above.
To learn in more detail about how to set up your shipping class matches, see the shipping class match guide.
Sending Orders to Lumaprints
Getting your orders ready to send to Lumaprints will take some set up time. For a detailed walkthrough of how to use Order Desk with your Print on Demand orders, please read through our Print on Demand Fulfillment guide.
Preparing Your Items
The following fields can be set as variations or item metadata for each order item.
| Field Name | Field Description |
|---|---|
| print_url | Link to your artwork file so Lumaprints can print it. |
| print_sku | Lumaprints’s product code/SKU for the item. |
| print_width | Use to set the width of your print on the item. Values for this field can be found in your Available Products. |
| print_height | Use to set the height of your print on the item. Values for this field can be found in your Available Products. |
| lumaprints_options | Lumaprints options. Comma separated values (e.g. 1, 2, 3, 4). |
| lumaprints_solid_hex_color | Hex color for prints. |
Preparing Your Orders
The following details can be submitted with an order as either checkout data or order metadata. If you are unfamiliar with checkout data, please read the How to Work with Checkout Data guide.
| Field Name | Field Description |
|---|---|
| production_time | Set the preferred production time for your order. Accepted values are regular , nextday , and sameday . If this field is left blank, a default value of regular will be used. |
| printout_x | Use this to pass links to additional documents for the order. You can include up to three documents by setting printout_1, printout_2, and printout_3. |