Order Desk can send orders directly to 3LINX then pull shipment details back into your orders here and send them to your shopping carts, if applicable.
Setup
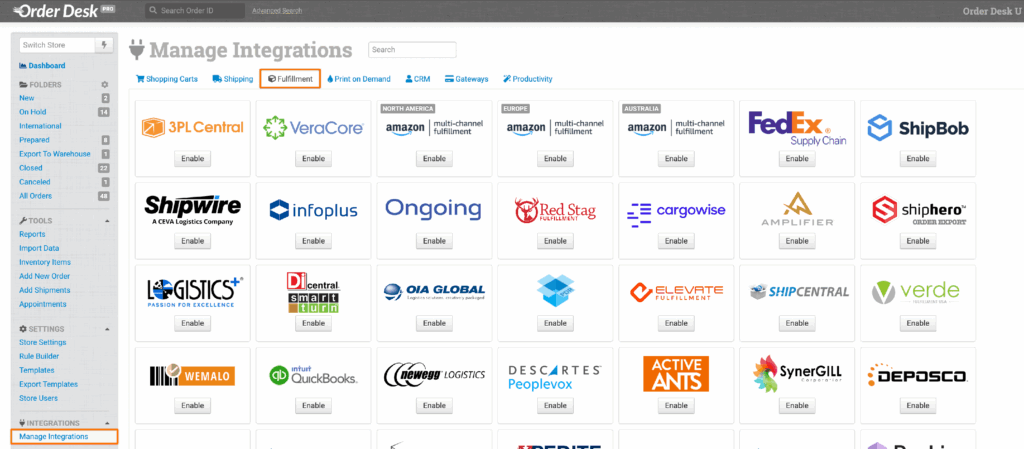
To connect to 3LINX, click on the Manage Integrations link in the left sidebar and under the Fulfillment tab find and enable the 3LINX integration.
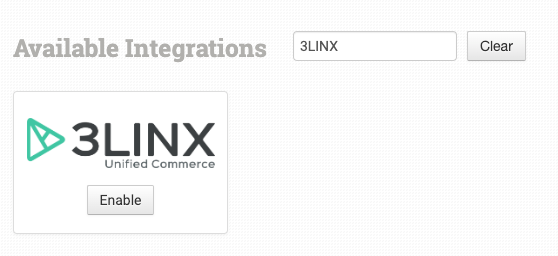
Alternatively, search for 3LINX from the available integration search.
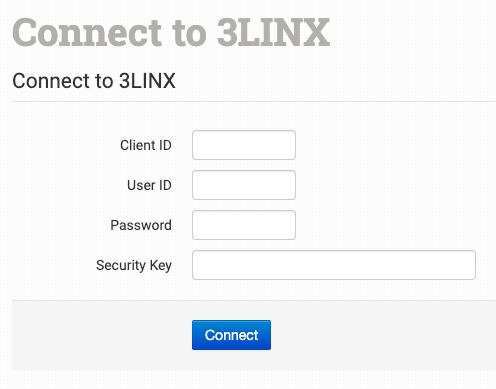
Once enabled, enter your credentials and click to connect.
Integration Settings
After you have connected the integration, you can apply any necessary details or preferences to the settings.
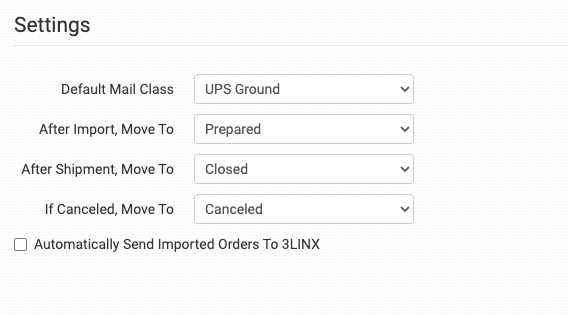
Default Mail Class
Choose the shipping class you want 3LINX to use for your orders.
If you need to apply specific methods for certain orders, match your method names to the names 3LINX uses in the Shipping Class Match section below.
After Import, Move To
Select the folder you want orders to be moved into after they are successfully sent to 3LINX.
You can use one of the default folders already in your store or create your own. Read the Working with Folders guide for more information.
After Shipment, Move To
Select the folder you want orders to be moved into as 3LINX sends shipment details back to Order Desk.
If Canceled, Move To
Select the folder you want orders to be moved into if they are canceled at 3LINX.
For more information, see the Working with Folders guide.
Automatically Send Imported Orders to 3LINX
If selected, every order that is added to Order Desk will automatically be sent to 3LINX.
Select this setting only if all orders will be sent to your fulfillment provider. If any orders will not be sent, or if you need a delay between when an order is imported into Order Desk and when it is sent do not select this.
Inventory Management Settings
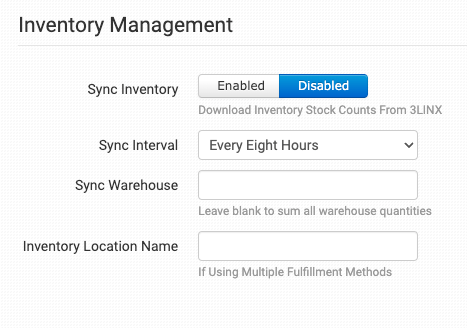
Sync Inventory
Enable if you want your inventory stock counts to be pulled in from 3LINX.
For more information, see the How to Work with Inventory Counts guide.
Sync Interval
If Sync Inventory is enabled, choose how often you want Order Desk to check 3LINX for inventory updates.
Sync Warehouse
Use to set which Warehouse you would like Order Desk to use for inventory sync. Leave blank to sum all warehouse quantities.
Inventory Location Name
If you want to set a specific inventory location name for the products you have at 3LINX, set that name here. As 3LINX sends back reports, your custom name will be added as the location.
Product Settings
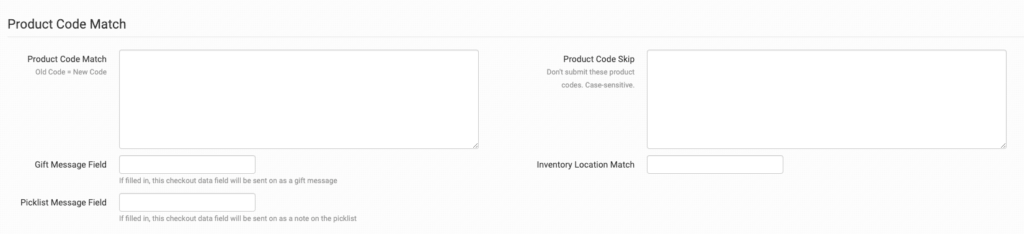
For more information on what these product settings in the 3LINX integration are for and how to use them, read the Fulfillment Integration Product Settings guide.
Shipping Class Match

If the shipping methods you set up in your shopping cart(s) don’t match the shipping method names 3LINX uses, they won’t know what methods you intend for them to use. When this happens, the default mail class applied above will be used instead for all of your orders.
Order Level Details
The following fields can be added as checkout data or order metadata to be passed through to 3LINX on an order by order basis:
| Field Name | Field Description |
| PONumber | If the PO number for your order differs from the order number, set that value here. |
| DC | The warehouse from which the order should be shipped. If nothing is set, 3LINX will send the order from the best warehouse they can. |
| Rush | Use with a value of Y for rush orders and a value if N if the order is not rush. If no value is set the default will be N. |
| PackingSlip | Use to pass the order’s packing slip URL. |
| ShippingLabel | Use to pass the order’s shipping label URL. |
| BillType | Use to pass the shipping account number. Accepted values are R (receiver) or 3P (third party). If this field isn’t blank, the following additional fields are required: ShippingAccount ShippingAccountName ShippingAccountAddress1 ShippingAccountAddress2 ShippingAccountCity ShippingAccountState ShippingAccountZip ShippingAccountCountry ShippingAccountPhone |
If you are unfamiliar with checkout data, see the How to Work with Checkout Data guide.