This integration allows you to connect to Xpedite Fulfillment’s VeraCore-backed warehouses.
Many warehouses use software provided by Xpedite to manage their orders. If your fulfillment provider uses this software, Order Desk can connect to them through the Xpedite integration and send your orders for fulfillment. As they fulfill your orders, the tracking numbers will be sent back into Order Desk and back through to the original shopping cart(s).
Setup
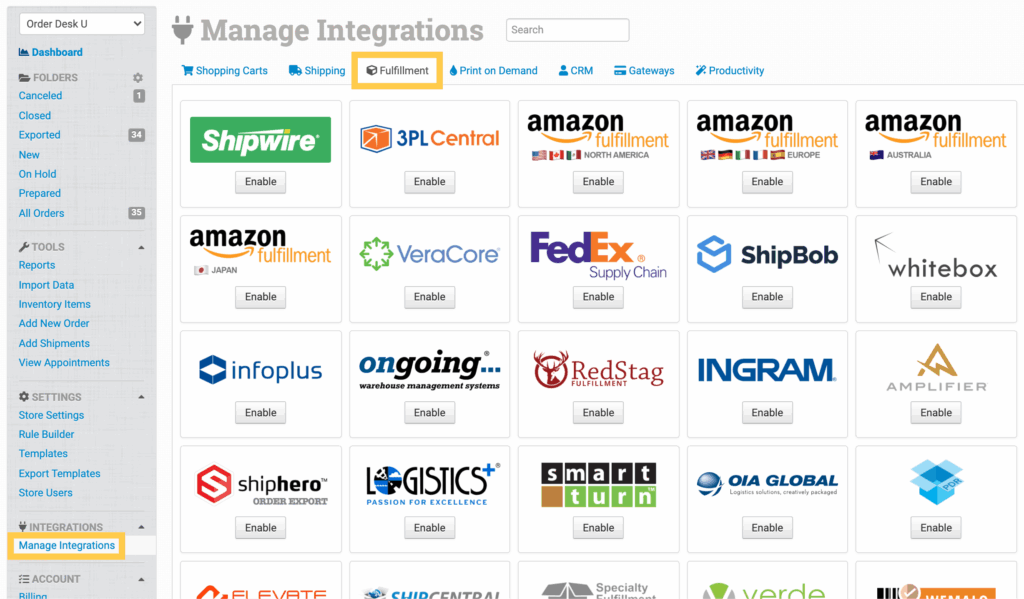
To connect to Xpedite, click on the Manage Integrations link in the left sidebar and under the Fulfillment tab find and enable the Xpedite integration.
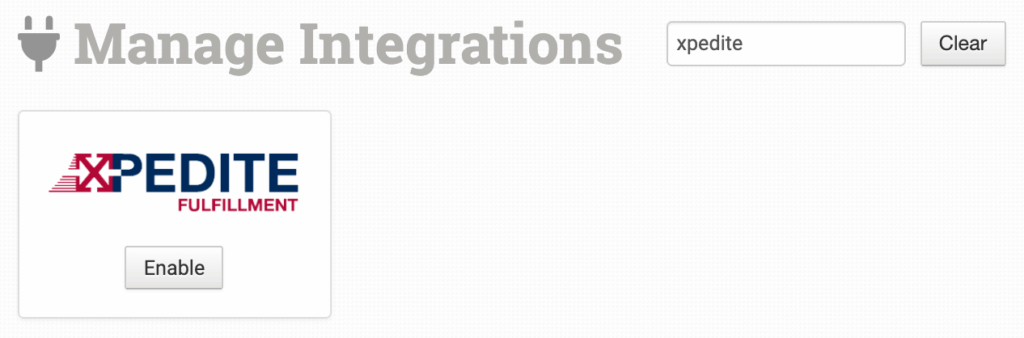
Alternatively, search for Xpedite from the available integration search.
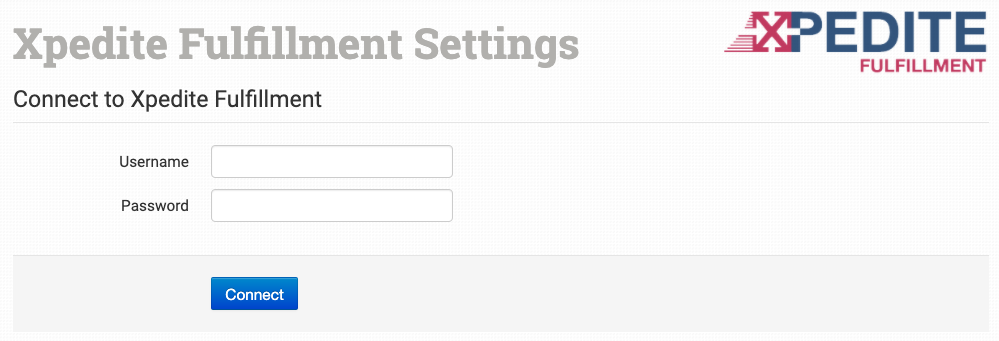
Once enabled, enter your Xpedite username and password and click to connect.
Then setting up Xpedite Web Service users, be sure to add permissions for the following services:
- AddOrder
- GetOffers
- GetOrderInfo
- GetShippingCharge
- CancelOrder
Integration Settings
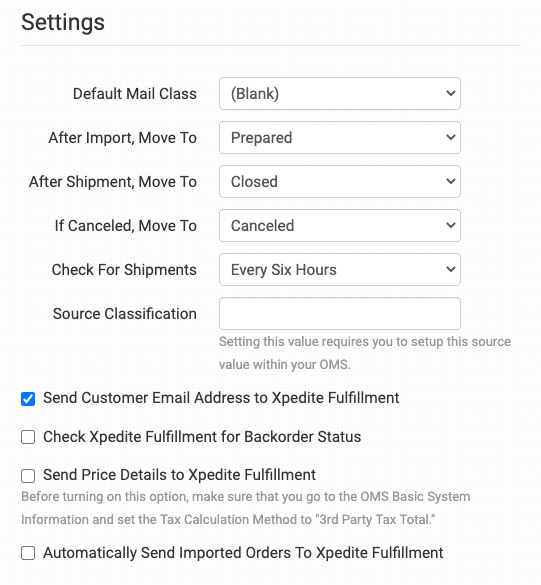
After you have connected the integration, you can apply any necessary details or preferences to the settings.
Default Mail Class
Choose the shipping class you want Xpedite to use for your orders.
If you need to apply specific methods for certain orders, match your method names to the names Xpedite uses in the Shipping Class Match section below.
After Import, Move To
Select the folder you want orders to be moved into after they are successfully sent to Xpedite.
You can use one of the default folders already in your store or create your own. Read the Working with Folders guide for more information.
After Shipment, Move To
Select the folder you want orders to be moved into as Xpedite sends shipment details back to Order Desk.
If Canceled, Move To
Select the folder you want orders to be moved to if an order is canceled in Xpedite.
Source Classification
To send the source name of your orders into VeraCore, set that value here. This will also need to be set up within your VeraCore OMS for the value to pass through.
This can be set on a case-by-case basis for different orders using SourceCode as order metadata or checkout data, details below.
Send Customer Email Address to Xpedite Fulfillment
Select if you want the email address on the orders to be sent to your Xpedite provider.
Check Xpedite Fulfillment for Backorder Status
Select this setting to schedule a daily appointment to check Xpedite Fulfillment for orders that have been set to the backorder status. You can edit the time the appointment runs from the View Appointments page in your Order Desk store, but it will only run once a day.
The appointment itself will not take any action on backorders. To have Order Desk take action when an order is reported as backordered by Xpedite Fulfillment, use the Rule Builder to create a rule on the event When Order Backordered at Xpedite Fulfillment and set any actions you want to have taken in the rule.
Once an order has been noted as backordered, Order Desk will stop checking to see if the order exits backer status. The next event expected is that the order is shipped, at which point the shipment details will be sent into Order Desk.
Send Price Details to Xpedite Fulfillment
If you want to send your price details to Xpedite with your orders, select this. Before enabling this, please set Tax Calculation Method to 3rd Party Tax Total in the OMS Basic System Information in Xpedite.
Automatically Send Imported Orders to Xpedite Fulfillment
If selected, every order that is added to Order Desk will automatically be sent to Xpedite.
Select this setting only if all orders will be sent to your fulfillment provider. If any orders will not be sent, or if you need a delay between when an order is imported into Order Desk and when it is sent do not select this.
Inventory Management Settings
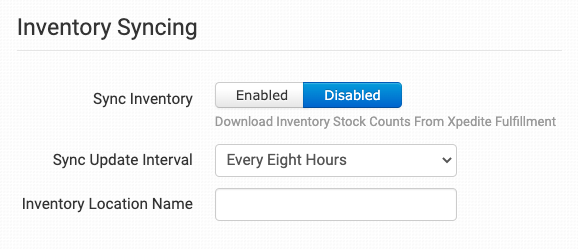
Sync Inventory
Enable if you want your inventory stock counts to be pulled in from Xpedite.
For more information, see the How to Work with Inventory Counts guide.
Sync Update Interval
If Sync Inventory is enabled, choose how often you want Order Desk to check Xpedite for inventory updates.
Inventory Location Name
If you want to set a specific inventory location name for the products you have at Xpedite, set that name here. As Xpedite sends back reports, your custom name will be added as the location.
Product Settings
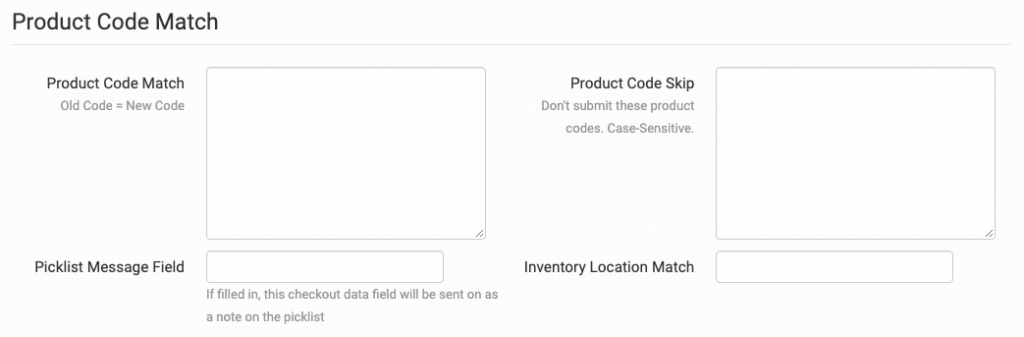
For more information on what these product settings in the Xpedite Fulfillment integration are for and how to use them, read the Fulfillment Integration Product Settings guide.
Shipping Class Match
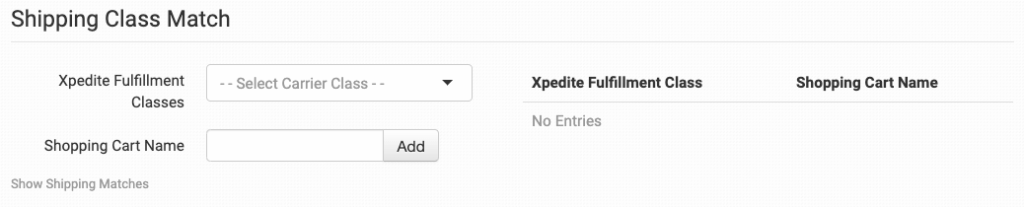
If the shipping methods you set up in your shopping cart(s) don’t match the shipping method names Xpedite uses, they won’t know what methods you intend for them to use. When this happens, the default mail class applied above will be used instead for all of your orders.
To tell Xpedite what methods you want them to use, you will need to match your method names to theirs. This can be done in the shipping class match section. For detailed instructions on setting this up, please read through the shipping class match guide.
Order Desk supports the Xpedite warehouse fulfillment solution. Orders can be submitted and tracking numbers will be pulled down. Inventory counts can also be synced into Order Desk.
Notes and Limitations
- Submitted SKUs are compared against Offers in the VeraCore system.
- If the first name in an order is longer than 15 characters, the first name will be sent as an empty field and the full name will be sent in the last name field instead.
- Xpedite has a 20 character limit for the order ID. Any order number that is longer than 20 characters will be sent with the last 20 characters as the order ID.
The following fields can be added as checkout data or order metadata to be passed through to Xpedite on an order by order basis:
| Field Name | Field Description |
| PO Number | Send a PO Number to Xpedite Fulfillment. |
| Reference Number | Send a Reference Number to Xpedite Fulfillment. Also works with ReferenceNumber as a Field Name. |
| ShippingAccount | Add a third party shipping account number. |
| ShippingAccountZip | The postal code connected to your shipping account. |
| ShippingAccountAddress1 | The address connected to your shipping account. Can only be used if ShippingAccountZip is added to your order as well. |
| ShippingAccountAddress2 | The second address line connected to your shipping account. Can only be used if ShippingAccountZip is added to your order as well. |
| ShippingAccountCity | The city connected to your shipping account. Can only be used if ShippingAccountZip is added to your order as well. |
| ShippingAccountState | The state connected to your shipping account. Can only be used if ShippingAccountZip is added to your order as well. |
| ShippingAccountCountry | The country connected to your shipping account. |
| ShippingAccountCompany | The company associated with your shipping account. |
| ShippingAccountEmail | The email connected to your shipping account. |
| ThirdPartyType | If setting ShippingAccount, use this field to specify a third party type number. Default is 4. |
| SourceCode | Set the source name on orders on a case-by-case basis if different from the default that comes from the source classification field in the settings above. |
| ReleaseDate | Specify a ship date for the order. |
| OrderEntryView | Assign a specific view for the order in Xpedite Fulfillment’s OMS. If not specified, the default view will be used. |
| customer_project_id | The customer project ID as it appears in Xpedite Fulfillment. |
| CampaignID | Use if you need to group orders together from the same campaign. |
| UTCEntryDateTime | Sends the timestamp as UTC. |
If you are unfamiliar with checkout data, see the How to Work with Checkout Data guide.
Item Level Details
The following can be set as item metadata or variations on the items in your orders.
| Field Name | Field Description |
| comments | Any information added as comments will be sent to Xpedite. |
If you are unfamiliar with how to add item metadata or variations to your items in Order Desk, see the How to Work with Inventory Details guide.