Order Desk can import orders from your shopping cart(s), sync in your print details and then automatically send them on to Smake for fulfillment. When orders are shipped, the tracking details will be sent back to Order Desk and back to your shopping cart if your store is set up for it.
Setup
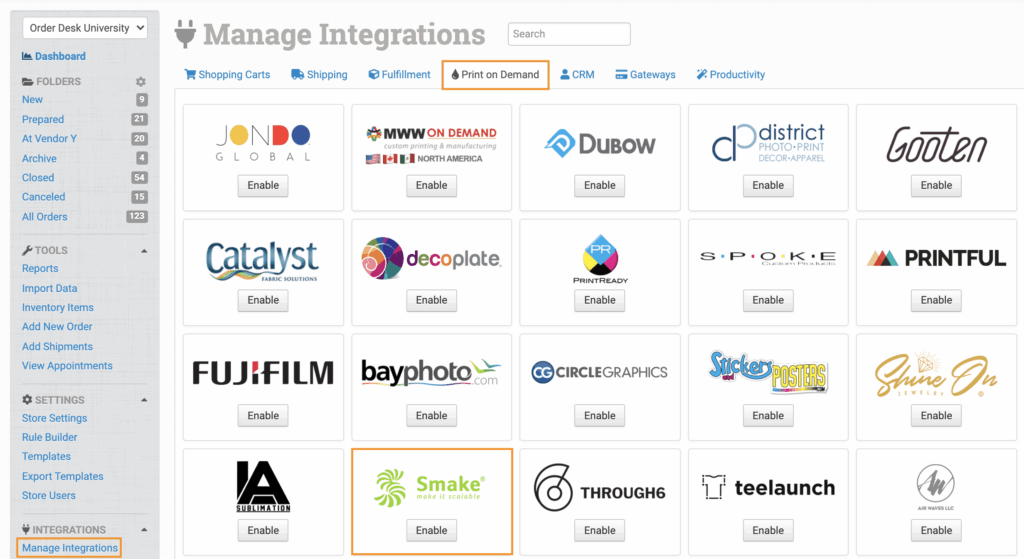
To enable the integration, click on Manage Integrations in the left sidebar. Under the Print on Demand tab, find and enable the Smake integration.
Enter your Smake App ID and API Token and click Connect.
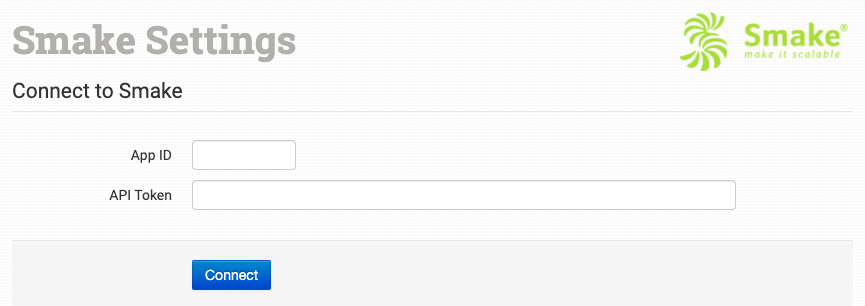
Please note that Order Desk isn’t able to help find or reset your credentials, as they can only be provided through Smake.
Integration Settings
Once connected, you’ll have some shipment and integration settings to adjust per your preferences.
Folder Settings
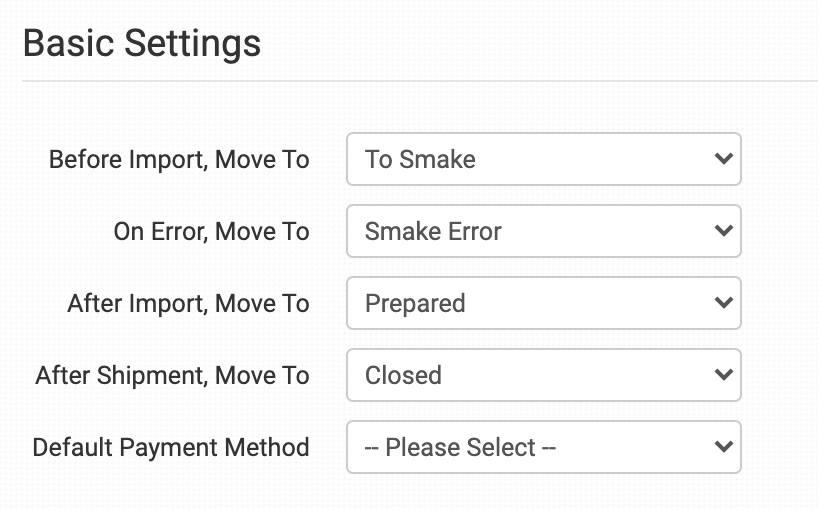
Orders are submitted to Smake through a series of calls to their system that look for the order and shipping info to be correct before the order is accepted. To facilitate this process, you will see four folder settings in the Smake integration:
Before Import, Move To
On Error, Move To
After Import, Move To
After Shipment, Move To
You can create your own custom folders to use in this process. Read the Working with Folders guide for more information.
Before Import, Move To
Choose the folder where orders should be moved into when the submission process to Smake begins. While in this folder, Order Desk is communicating with Smake about the orders, waiting to find out if there are any problems with the shipping methods. This process should only take a few seconds at most.
On Error, Move To
Select the folder where orders should be moved if Smake tells Order Desk there is a shipment specific error with the rate retrieval. If orders are moved to this folder, you will have to update your shipping options in Smake to accept the orders, then resubmit them again from Order Desk.
After Import, Move To
Select the folder where orders should be moved when they are successfully accepted by Smake.
After Shipment, Move To
Select the folder where orders should be moved when Smake sends the shipment information back to Order Desk after fulfilling them.
Default Payment Method
Select the default payment method for your orders.
Product Settings

For more information on what these product settings within the Smake integration are for, please refer to the Print on Demand Product Settings guide.
Shipping
During the order export process, the shipping method on the order will be matched against returned shipping rates. If an exact match is found, the shipping method will be updated with the rate, otherwise the first returned rate will be used.
Sending Orders to Smake
The product code you’ll need from Smake is what they call “product ID”. For print_sku, you’ll need the variation of that Product ID that Smake calls “variant ID”. For detailed instructions on how to use Order Desk with your Print on Demand orders, please read through the Print on Demand fulfillment guide.
Item Details
The following fields can be set as variations or item metadata for each item in an order.
| Field Name | Field Description |
| print_sku | Required. The variant ID of the Smake item. |
| print_url | Required. Link to your artwork file. Available in values 1 through 4 for items with multiple prints (eg. print_url_1, print_url_2, etc.) |
| print_location | Required. Location of the print on the item, set as front, back, left or right. For multi-print items, use print_location_1 through print_location_4 with the corresponding print_url_1 through print_url_4. |
| print_preview | Link to preview of artwork. If not included, the print_url will be used. |
| print_type | Required. Choose the type of print. Default is dtg. Contact Smake for more details if you need a different print type. |
| print_width | Required. Specify the width of the print. |
| print_height | Required. Specify the height of the print. |
If you are unfamiliar with how to add item metadata or variations to your items in Order Desk, see the How to Work with Inventory Details guide.