Order Desk can connect to I-dika and send your orders to them for fulfillment. As they ship your orders, tracking details will be sent back into Order desk and back through to the original shopping cart.
Setup
To connect the I-dika integration, click on the Manage Integrations link in the left sidebar and under the Fulfillment tab find and enable I-dika.

Alternatively, search for I-dika from the available integrations search.
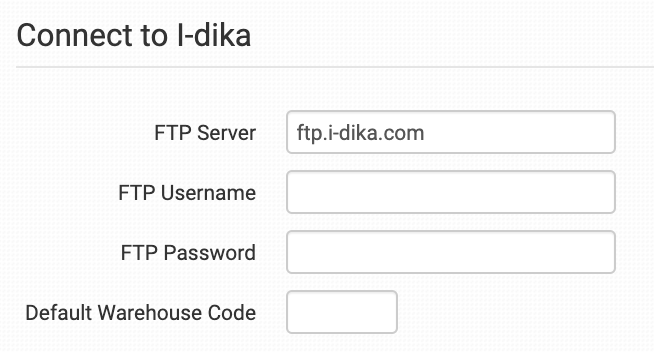
Once enabled, enter your I-dika credentials and click to connect.
Integration Settings
After you have connected the integration, you can apply your preferences in the settings.
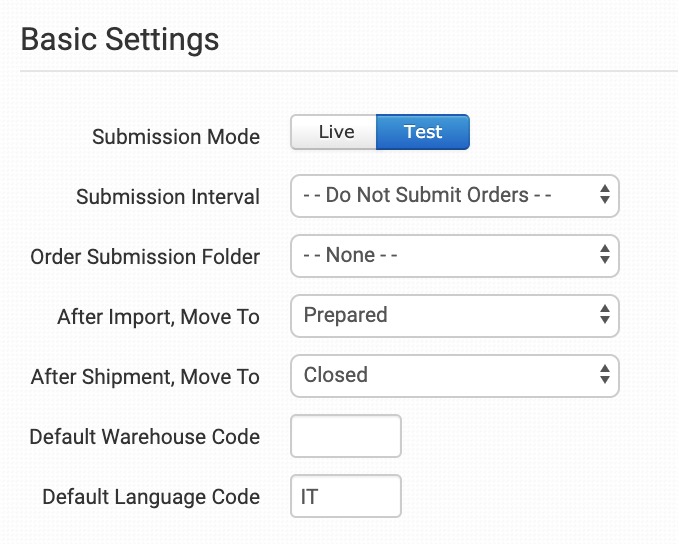
Submission Mode
Select whether your connection is in Live or Test mode.
In test mode, your orders will be placed in the tmp folder structure. Please ask I-dika support to add the following directories to your FTP server:
/out/archive
/tmp/in/elaborati
/tmp/out
/tmp/out/archive
Submission Interval
Choose how often you want Order Desk to submit orders to I-dika.
Submitting orders to I-dika works a little differently from most Order Desk fulfillment integrations. Orders will need to be placed in a folder specifically for I-dika. The integration will submit all of the orders from that folder to I-dika on the schedule you select.
Order Submission Folder
Select the folder that orders for I-dika should be pulled from. All orders in this folder will be sent to I-dika, so be sure not to use a folder that orders not meant for I-dika will be in.
You can use one of the default folders already in your store or create your own. Read the Working with Folders guide for more information.
After Import, Move To
Select the folder you want orders to be moved into after they are successfully sent to I-dika.
After Shipment, Move To
Order Desk checks for shipments from I-dika every 8 hours. Select the folder you want orders to be moved into when the shipment details are added to an order.
Default Warehouse Code
Set your default warehouse code. If you need to set a different warehouse code on some orders, use the custom option explained below.
Default Language Code
Set your default language code. If you need to set a different language code on some orders, use the custom option explained below.
Inventory Syncing
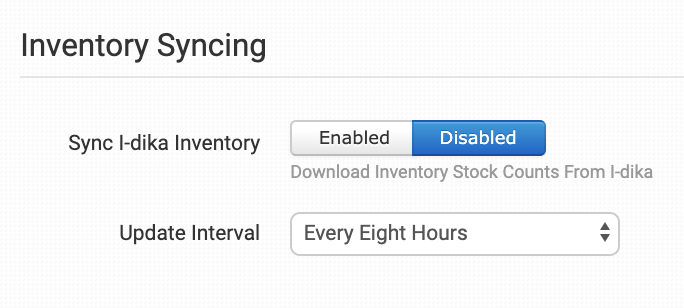
Sync I-dika Inventory
Enable this setting if you want I-dika to send inventory counts back to Order Desk.
Update Interval
If Sync Inventory is enabled, select how often you want Order Desk to pull inventory counts in from I-dika.
Product Settings
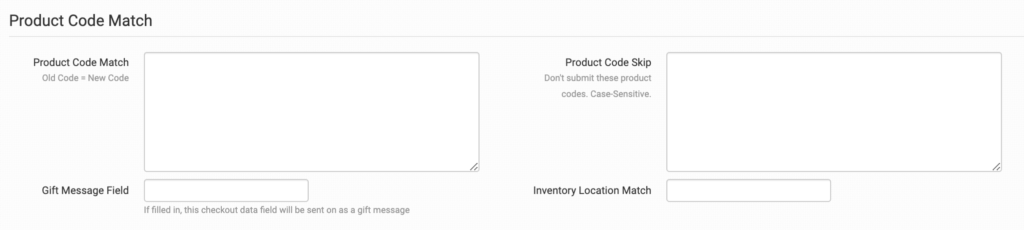
For more information on what these product settings in the I-dika integration are for and how to use them, read the Fulfillment Integration Product Settings guide.
Custom Instructions
Order numbers are limited to 12 characters. Order numbers longer than 12 characters will be sent to I-dika using only the last 12 characters in the order number string.
The shipping company field (OrdCor), item status and item packing instruction fields will always be empty.
To customize the details or instructions that are sent to I-dika for a particular order, you can set the following checkout data fields on the order:
| Field Name | Field Description |
| Vat or VatNumber | The VAT number that should be entered with the customer/shipping data for this order. |
| Language | The language code for this order. Default is the value from the settings. |
| Warehouse | Warehouse code for the order if different from the default value in your settings. |
| CashOnDelivery | Use this to set value to 1 to require cash on delivery for this order. |
| DeliveryDate | Use this to set a custom delivery date. |
If you are unfamiliar with checkout data, see the How to Work with Checkout Data guide.