Order Desk can pull in your Foxy orders, process them and send them for fulfillment based on the settings you choose. As orders are fulfilled, the tracking details will be sent back to Foxy.
Setup
To connect to your Foxy account, click on Manage Integrations in the left sidebar. Under the Shopping Carts tab, look for and enable the Foxy integration.

Once enabled, click the Connect To Foxy button. You will be redirected to Foxy so you can sign in and authorize the Order Desk app.

Integration Settings

Once authorized, there will be a few preferences you can set in Order Desk.
Check For New Orders
Choose how often you want Order Desk to pull new orders in from Foxy. The most frequent check is for every hour.
If you would like to have orders imported into Order Desk instantly, you will need to point your Foxy datafeed to Order Desk following the instructions below.
Folder for New Orders
Choose the folder where orders should be moved into as they are pulled into Order Desk from Foxy..
You can choose the default New folder for this, or create your own folders in your Store Settings. Read the Working with Folders guide for more information.
Order Prefix
If you need to add a prefix to your orders as they are downloaded to Order Desk, set that here.
Download Archived Orders
Select this setting for Order Desk to look for archived orders in addition to new orders.
Import Orders
If you would like to manually import orders from a specific date or instead of letting them automatically download, do so from here. Set the date you want Order Desk to start looking for orders.
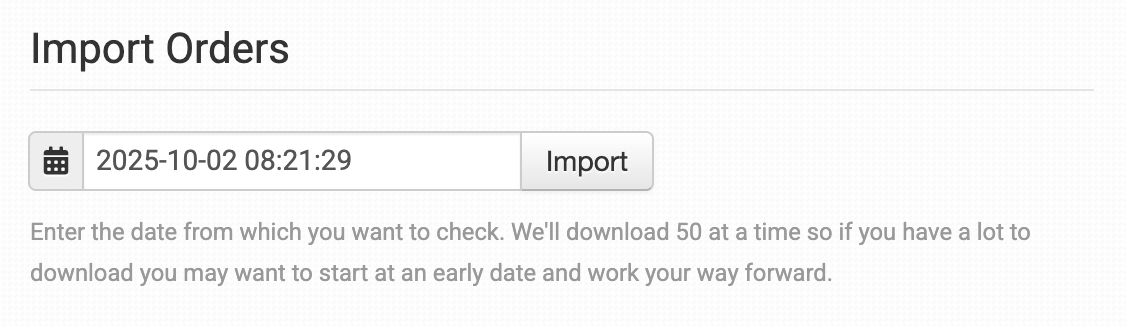
Orders will be downloaded 50 at a time, so depending on how far back you search or how many orders you have had since that date, you may have to run several searches as the date moves forward each 50 orders.
Sending Shipment Updates to Foxy
Sending shipment updates to Foxy requires using rules in Order Desk. If you have not worked with rules before, it’s a good idea to first read the how to work with rules guide so you understand how they work.
You can send shipment details to Foxy using the Set Transaction Attribute at FoxyCart rule action. This rule lets you set any transaction field in Foxy, including custom fields. Since tracking fields in Foxy are custom, this is the way to send tracking numbers from Order Desk.
When setting this up, use the name of your custom tracking field in Foxy as the field name. Then set the field value to tracking_numbers .
For example, if your custom field in Foxy is called my_foxy_tracking_number_field , you would use that as the field name and use tracking_numbers as the field value. The rule would be set up like this:
- Rule Type: Order Rule
- Event: Shipment Is Added
- Filter: Order Source Equals FoxyCart
- Action: Set Transaction Attribute at FoxyCart
- Field name: my_foxy_tracking_number_field
- Field Value: tracking_numbers
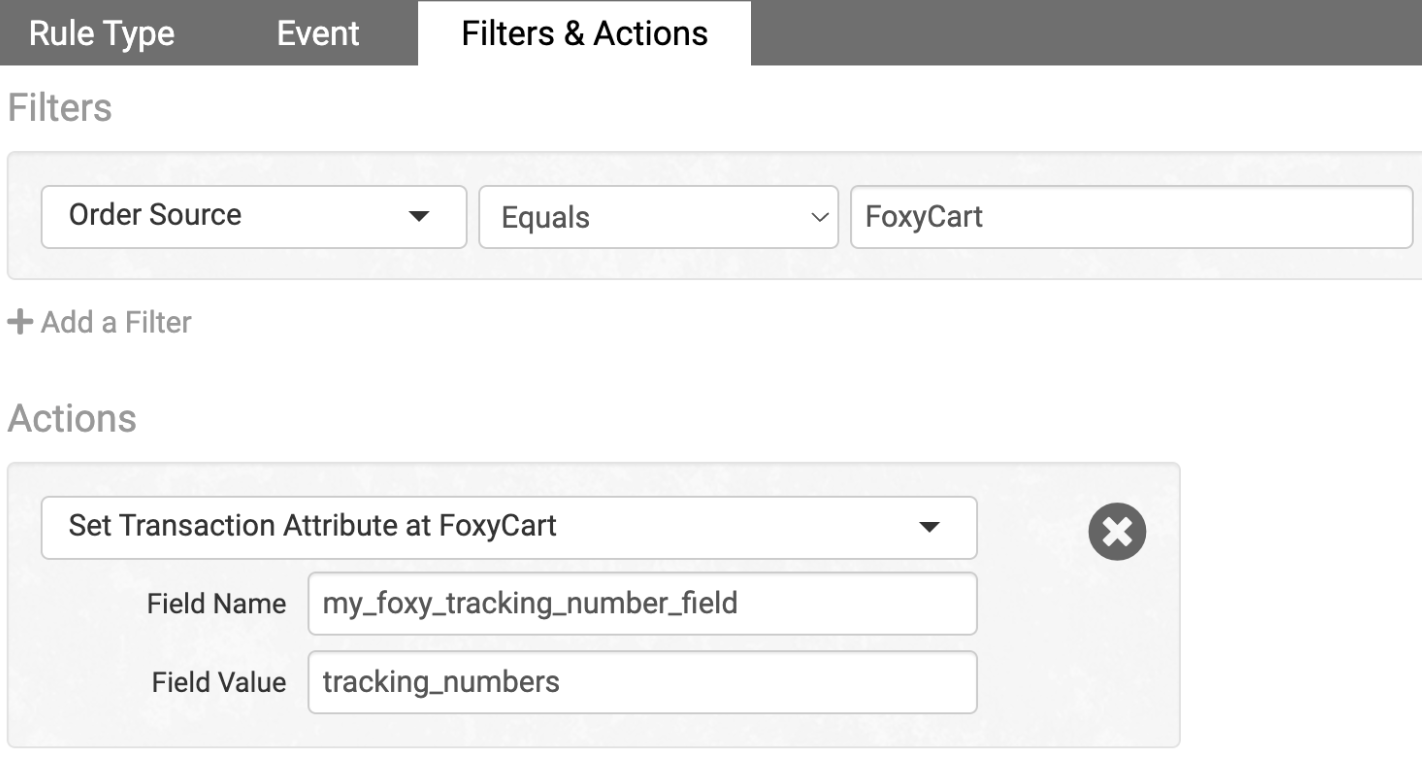
When the rule runs, Order Desk will send the tracking numbers to that custom field in Foxy. This makes the tracking information show up directly on the transaction.
Custom Tools
The Foxy integration comes with a few custom tools to help you better manage your store and your subscriptions from Foxy. To access these tools, look under the Custom Tools menu in the left sidebar. The information shown here is a view into your Foxy account.
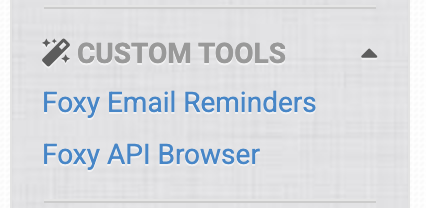
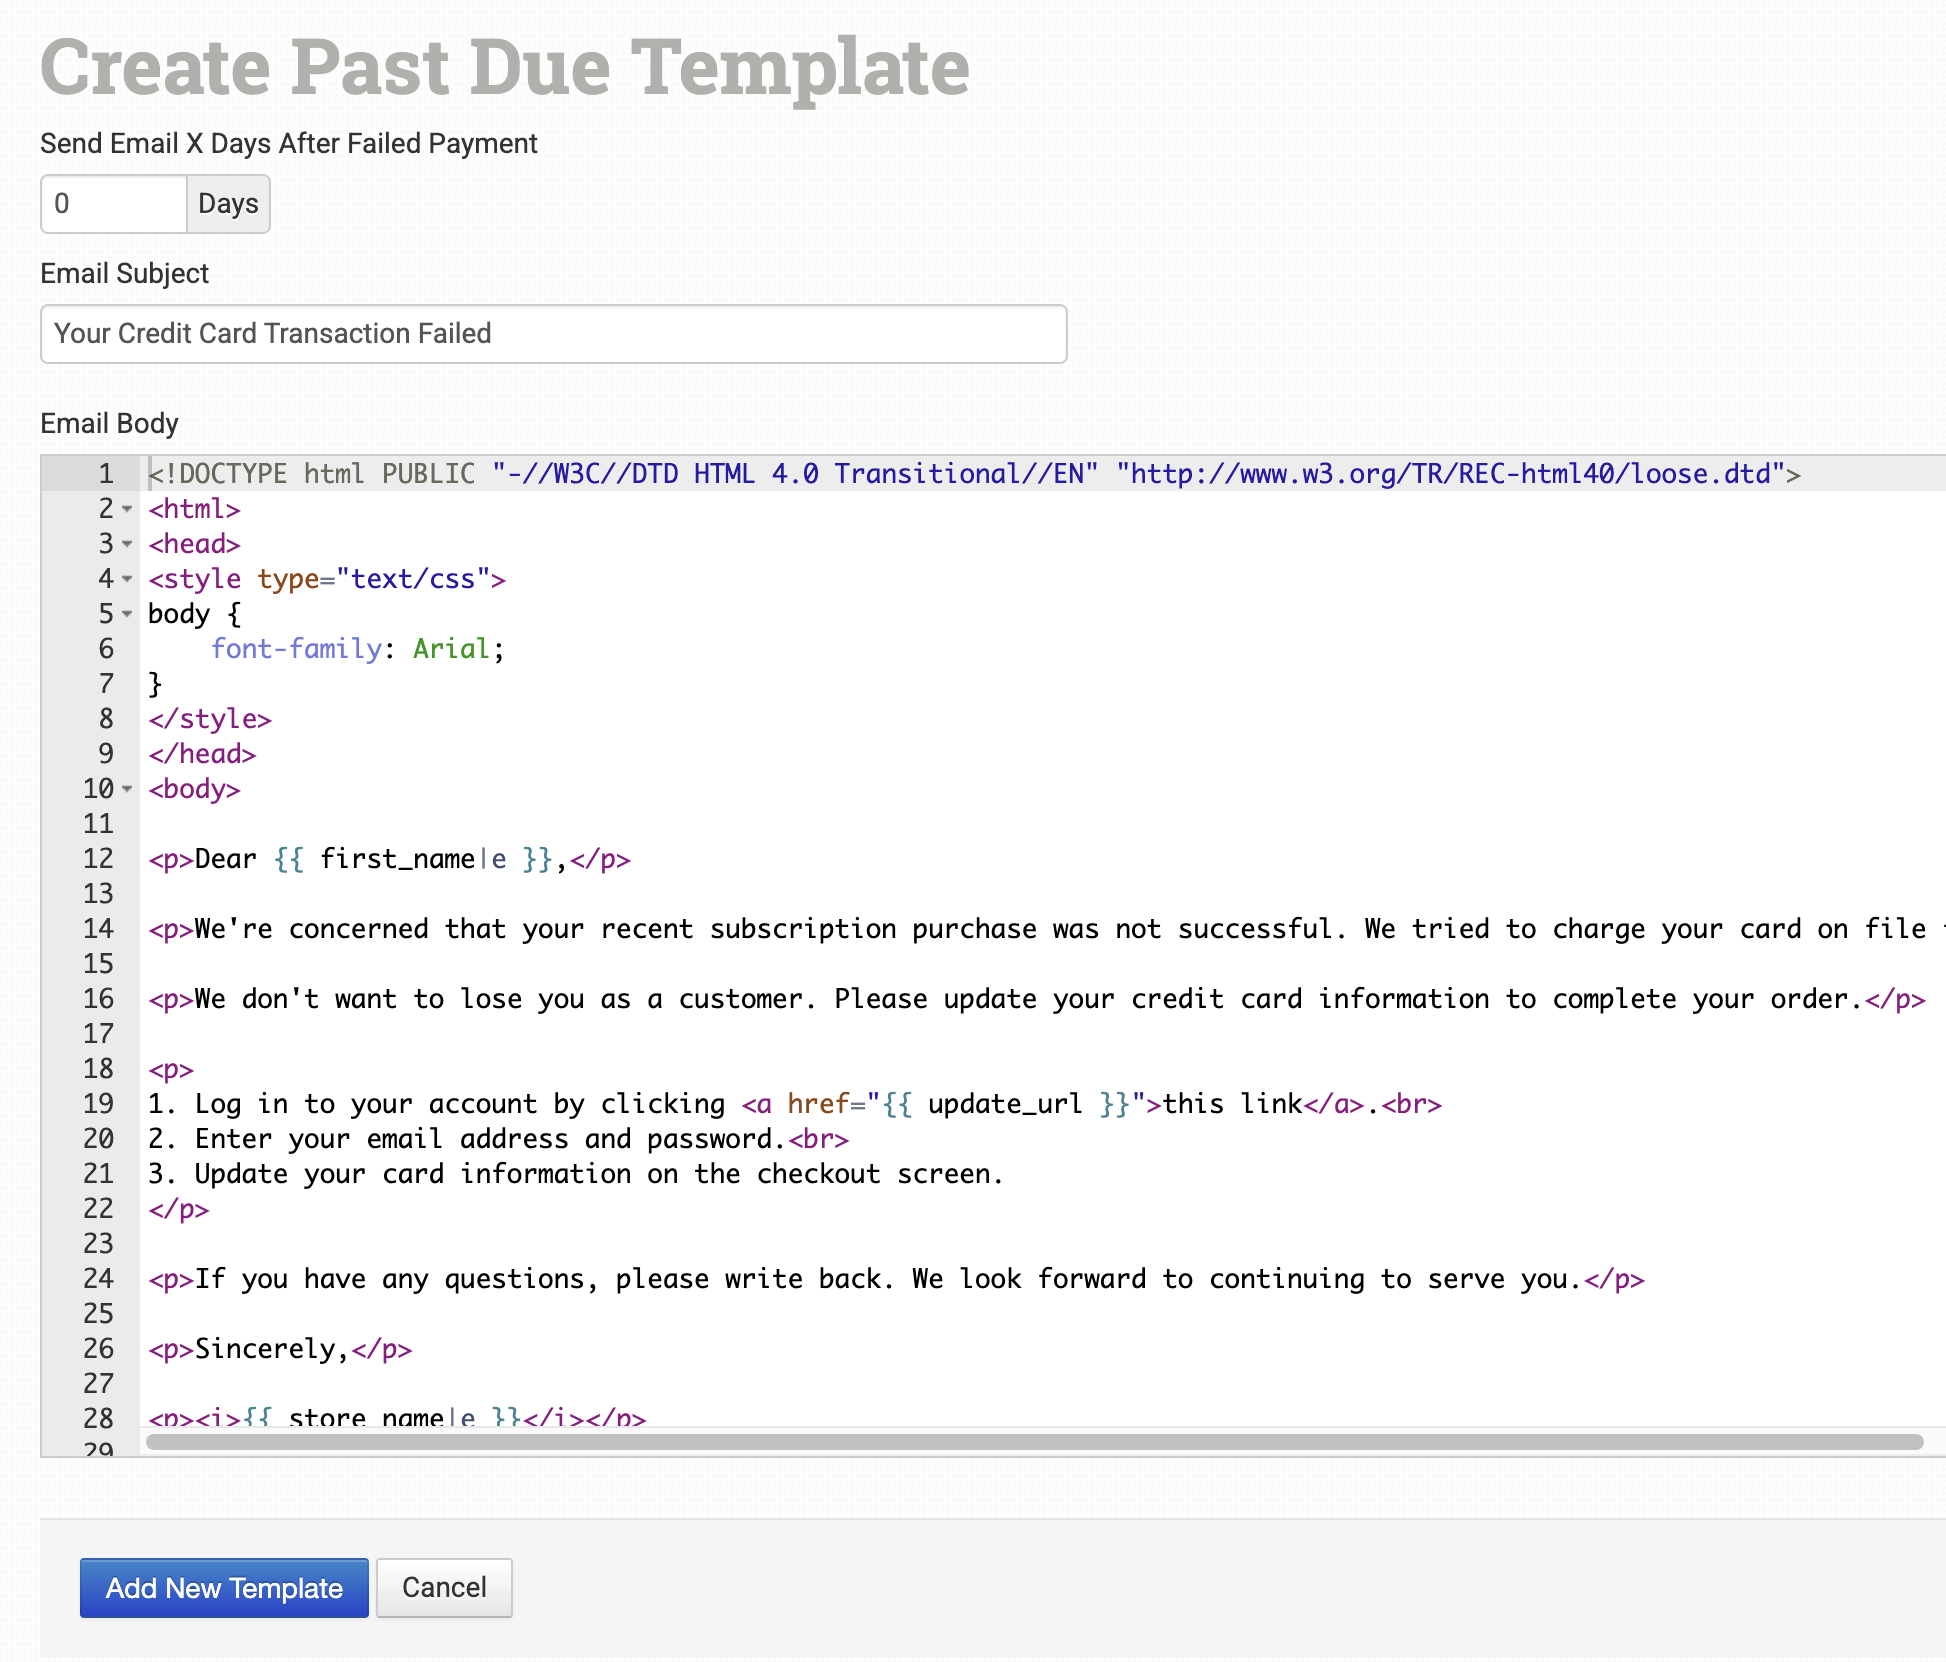
Foxy Email Reminders
When on this page, click Add New Reminder Email to create an email template to be sent to customers with failed subscription payments:
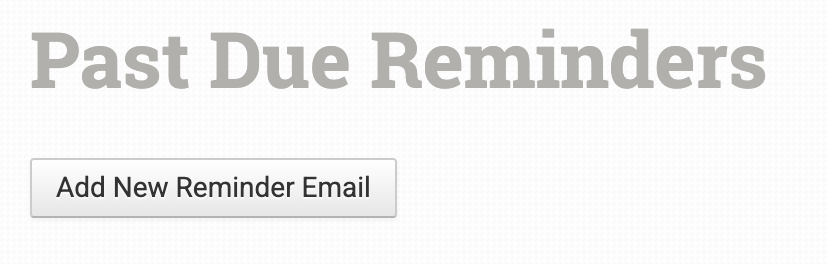
You can choose how many days after the failed payment to send the notice and edit the subject and content of the email here.
Foxy API Browser
Foxy has supplied API information for merchants to gain more insight into their store data using the API Browser. Learn more about the details that are going on behind the scenes by searching your Transactions or subscriptions, among other data in the API.