Setup
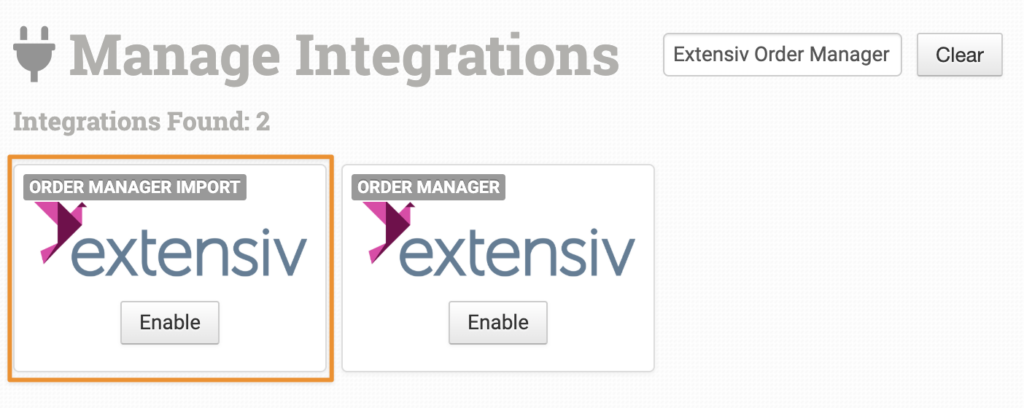
In Order Desk, click Manage Integrations under the Integrations menu in the left sidebar. Under the Shopping Carts tab, find and enable the Extensiv Order Manager integration:

Alternatively, search for Extensiv Order Manager from the available integrations, then click Enable for the import integration.
On the next screen, enter your Installation URL and click Connect:
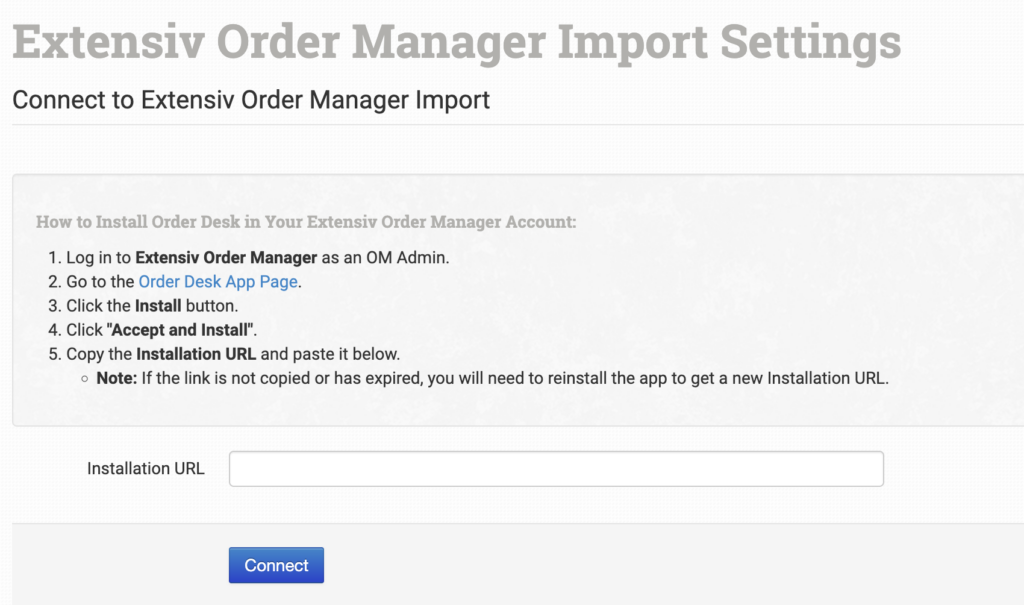
To get your Installation URL, follow the steps below. These steps are also listed on the integration page:
- Log in to Extensiv Order Manager as an OM Admin.
- Go to the Order Desk App Page.
- Click Install.
- Click Accept and Install.
- Copy the Installation URL and paste it into Order Desk.
Settings
Once connected, set your preferences in the integration settings.
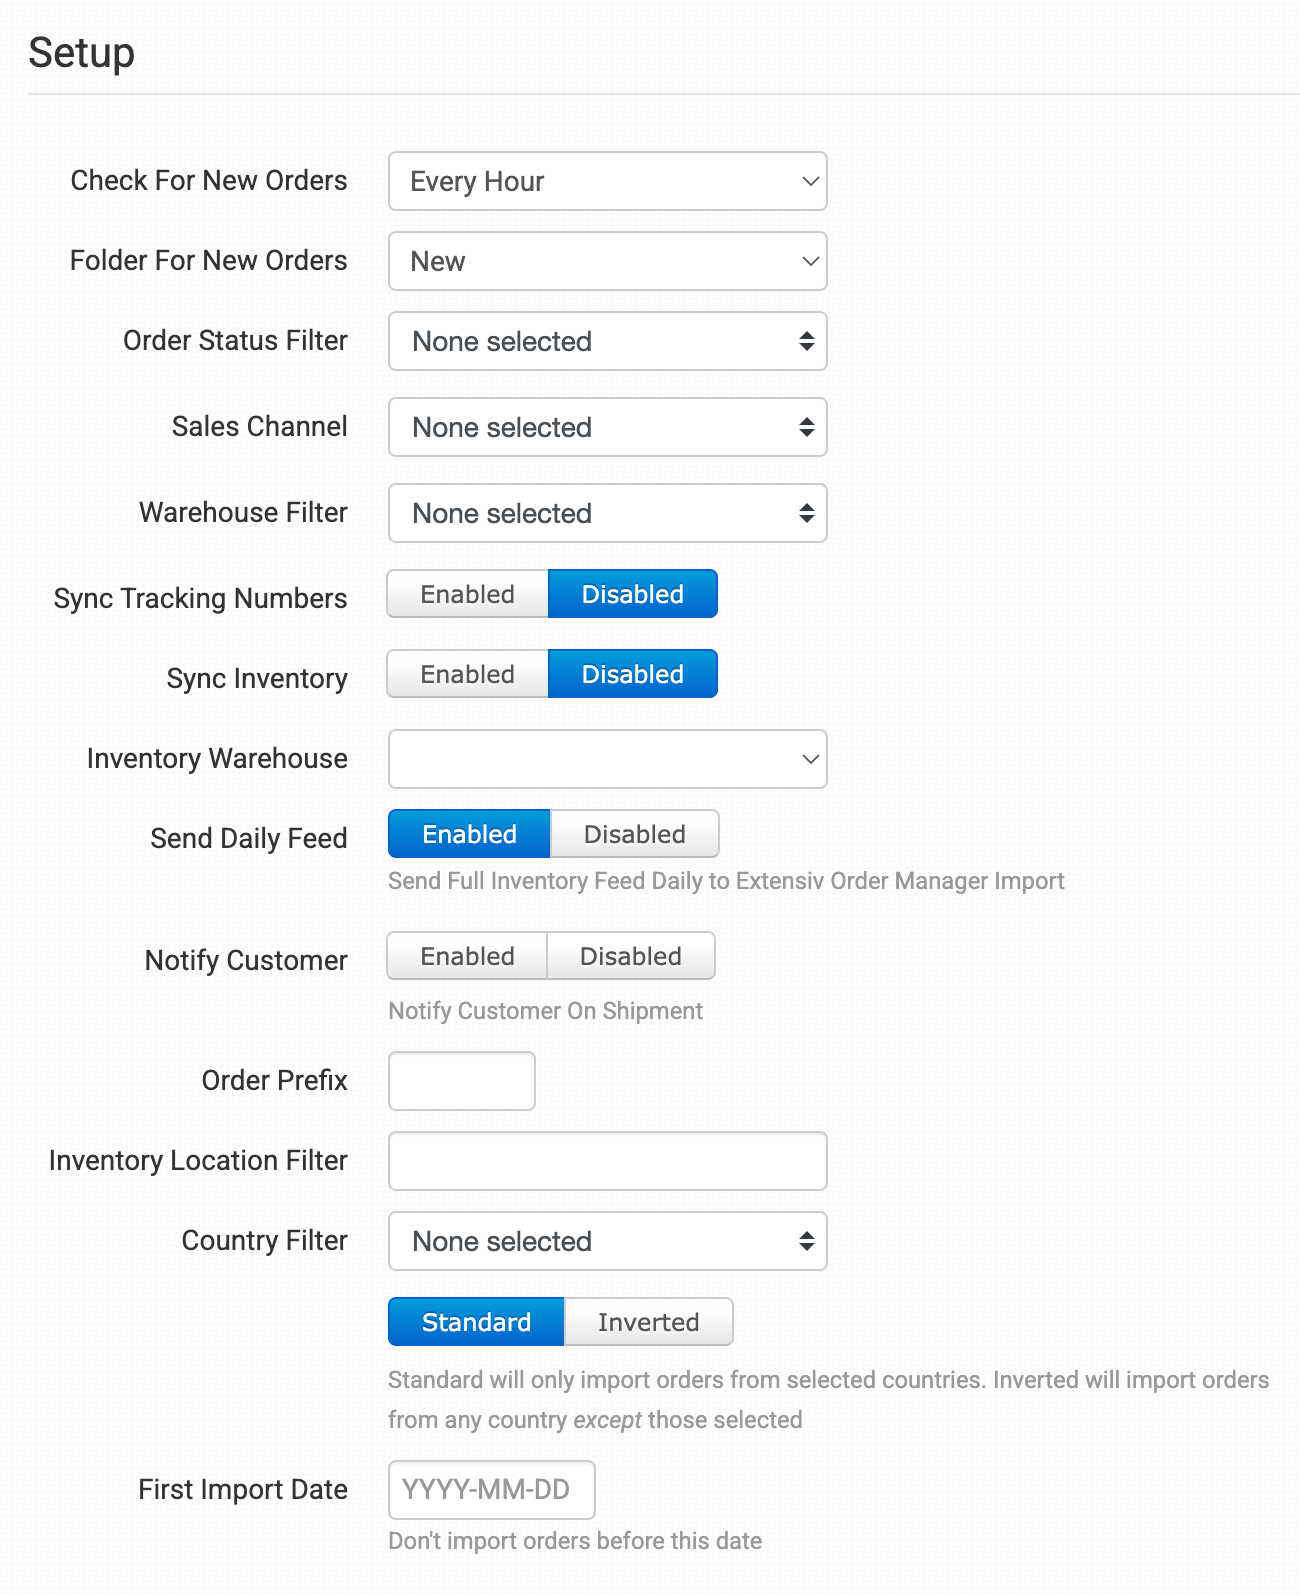
Check for New Orders
Select how often you want Order Desk to import orders from Extensiv Order Manager.
Folder for New Orders
Select the folder where newly imported orders from Extensiv Order Manager should be placed.
For more information about folders, see the Working with Folders guide.
Order Status Filter
Select which order statuses should be imported from Extensiv Order Manager. You can select multiple statuses, if needed.
Sales Channel
Select whether Order Desk should only import orders from specific sales channels. You can select multiple channels, if needed.
Sync Tracking Numbers
Enable this setting to have Order Desk automatically send shipment information back to Extensiv Order Manager and update the orders there.
Sync Inventory
If you want Order Desk to sync your inventory availability back to Extensiv Order Manager, enable the Sync Inventory setting. As inventory counts are updated in Order Desk, those updates will be sent back to Extensiv.
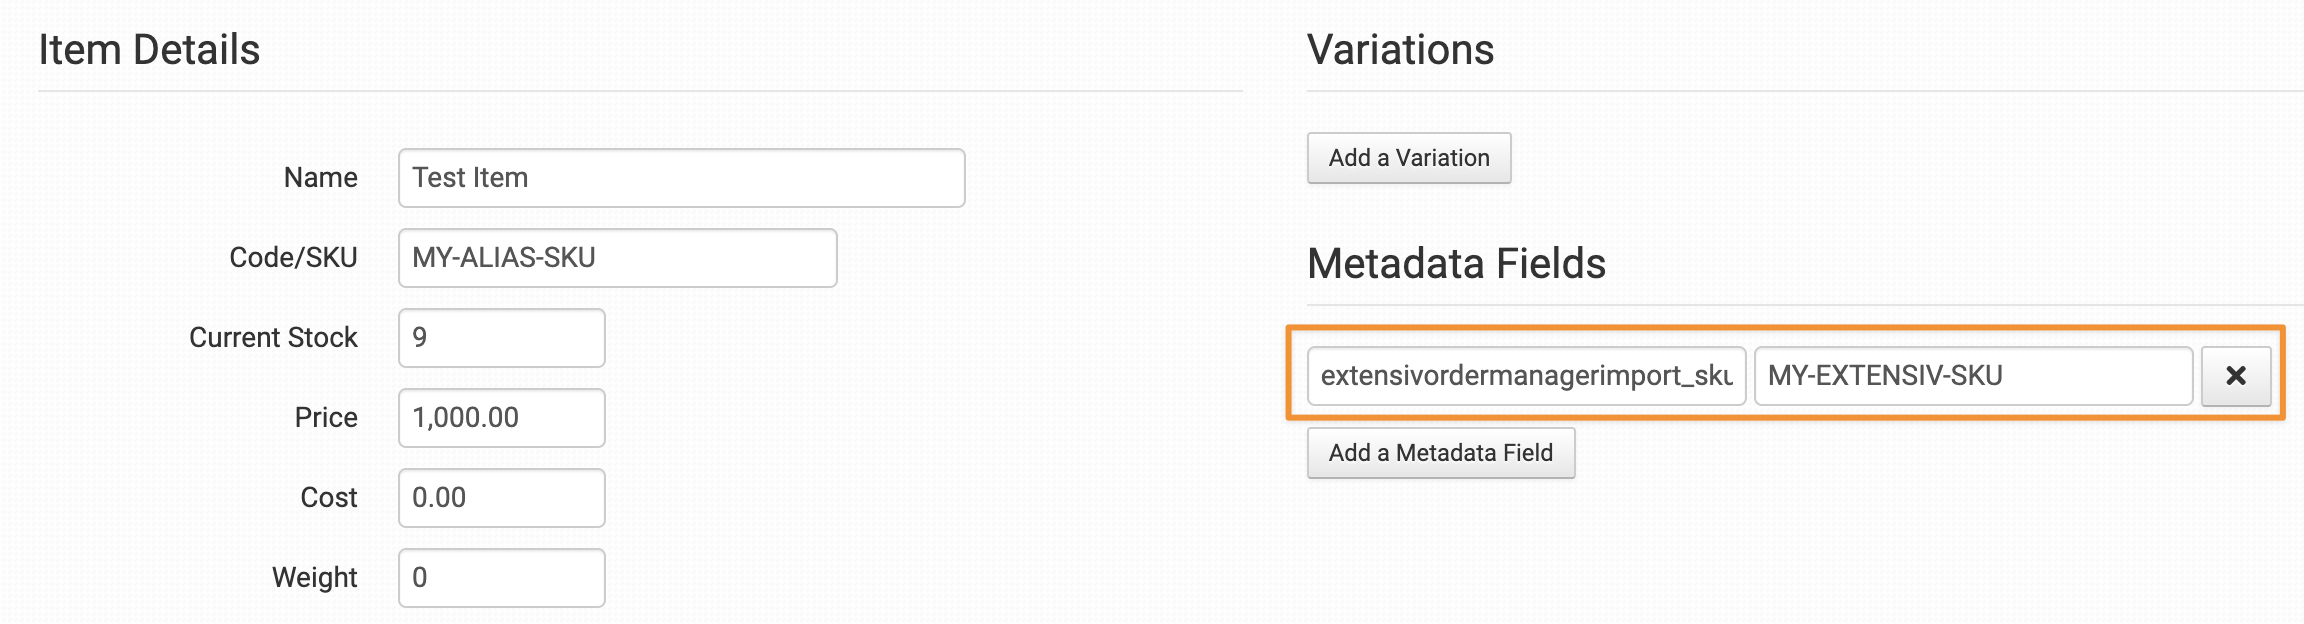
If you want to sync inventory for an item that uses a different SKU in Extensiv than it does in Order Desk, add extensivordermanagerimport_sku as an item metadata field on the inventory item. Set its value to the SKU used in Extensiv.
When that item gets a stock update, Order Desk will use this metadata field to find the matching SKU to update in Extensiv.
Inventory Warehouse
Select the Extensiv warehouse location where you want Order Desk to update stock during inventory sync.
Send Daily Feed
Enable this setting to have all of your inventory items and counts sent to Extensiv at a specific time each day.
Sync Inventory or Send Daily Feed?
The Sync Inventory setting sends stock updates to Extensiv for items whose stock counts have been updated in Order Desk. The Send Daily Feed setting triggers a stock sync for all items in Order Desk at a specific time each day, whether or not their stock counts have changed.
Order Prefix
If you would like to add an order prefix to your Extensiv Order Manager orders as they import into Order Desk, enter that value here.
Inventory Location Filter
If you only want to import specific orders, use the Inventory Location Filter field to specify which ones you want. Enter multiple locations separated by commas.
The inventory location name must match exactly as it appears on your inventory items in Order Desk. When importing new orders from Extensiv Order Manager, Order Desk will look at the SKUs on the items and compare them to the SKUs in your inventory. Any orders with items for a location that isn’t listed in this field will not be imported.
For this to work, your inventory must already be added to Order Desk, and the inventory location should be set on each item. For details, see How to Add Inventory and How to Store Extra Item Details.
Country Filter
Select countries from the dropdown menu, or choose Select All.
Choose Standard for Order Desk to import only orders from the selected countries. Choose Inverted to import all orders except those from the selected countries.
First Import Date
Set the date from which you would like orders to begin importing from Extensiv Order Manager.
Manual Imports
Manually Import Orders
You can manually import orders from Extensiv at any time. You can import orders by Date if you need to bring in multiple orders, or by a specific Order ID if you only need to import one order.
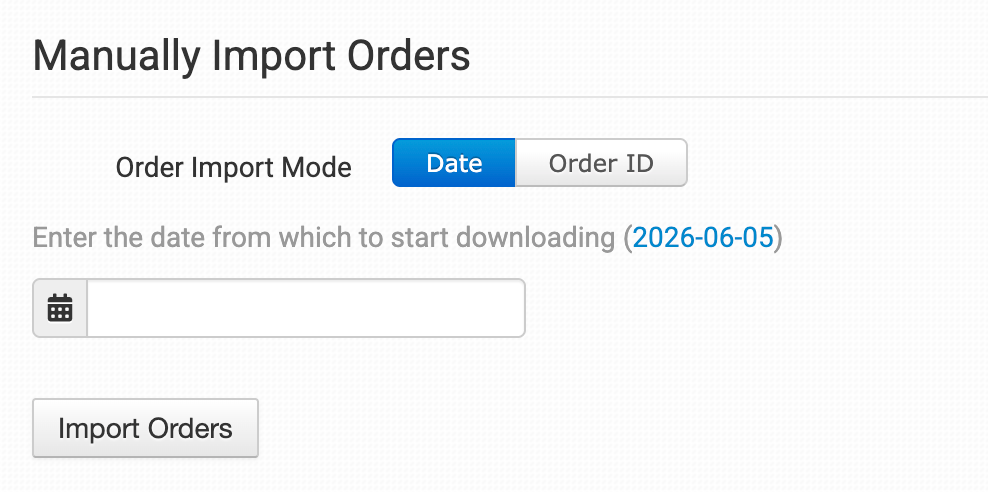
Tip: Importing Orders by Date
If Extensiv has a large number of orders in the selected date range, you may need to click the Import button a few times to bring them all in.
Rules
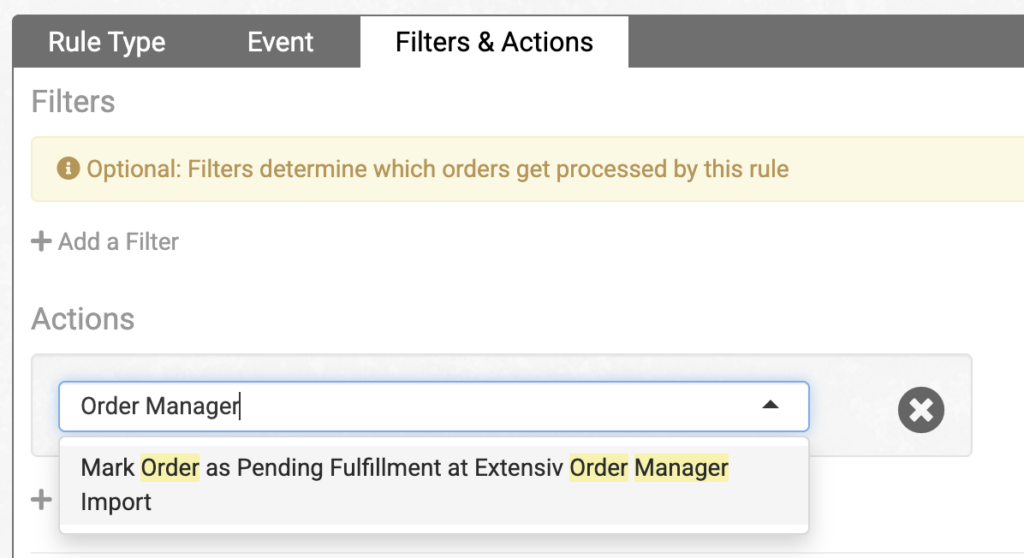
You can mark an order as pending fulfillment in Extensiv Order Manager by using the Mark Order as Pending Fulfillment at Extensiv Order Manager Import rule action.
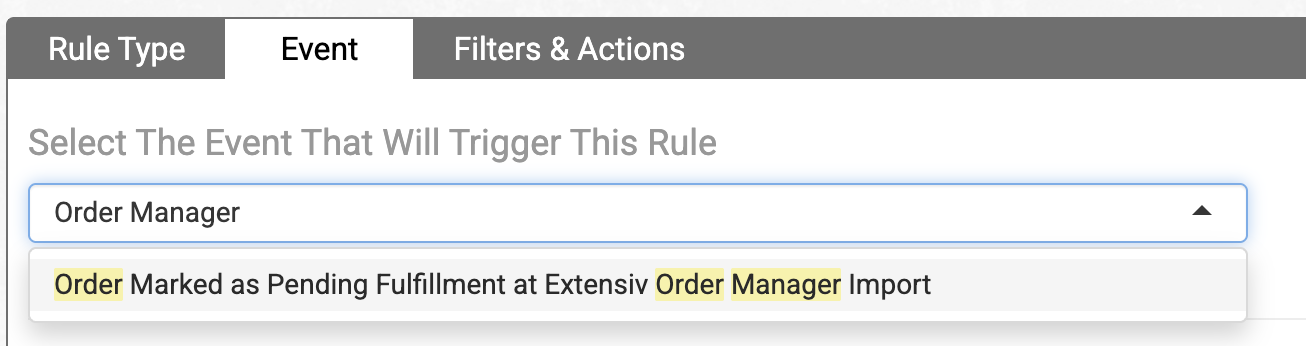
You can also listen for cases where an order has been marked as pending fulfillment by using the Order Marked as Pending Fulfillment at Extensiv Order Manager Import rule event.
If you aren’t familiar with rules, you can check out this guide.