Amazon Shipping Integration
Amazon Shipping is a service allows you to create labels for both Amazon and non-Amazon orders. You can use the integration to compare couriers available through Amazon, find the best shipping rates, then purchase and print labels directly from Order Desk.
This guide explains how to enable and set up the Amazon Shipping integration.
IN THIS GUIDE
Setup
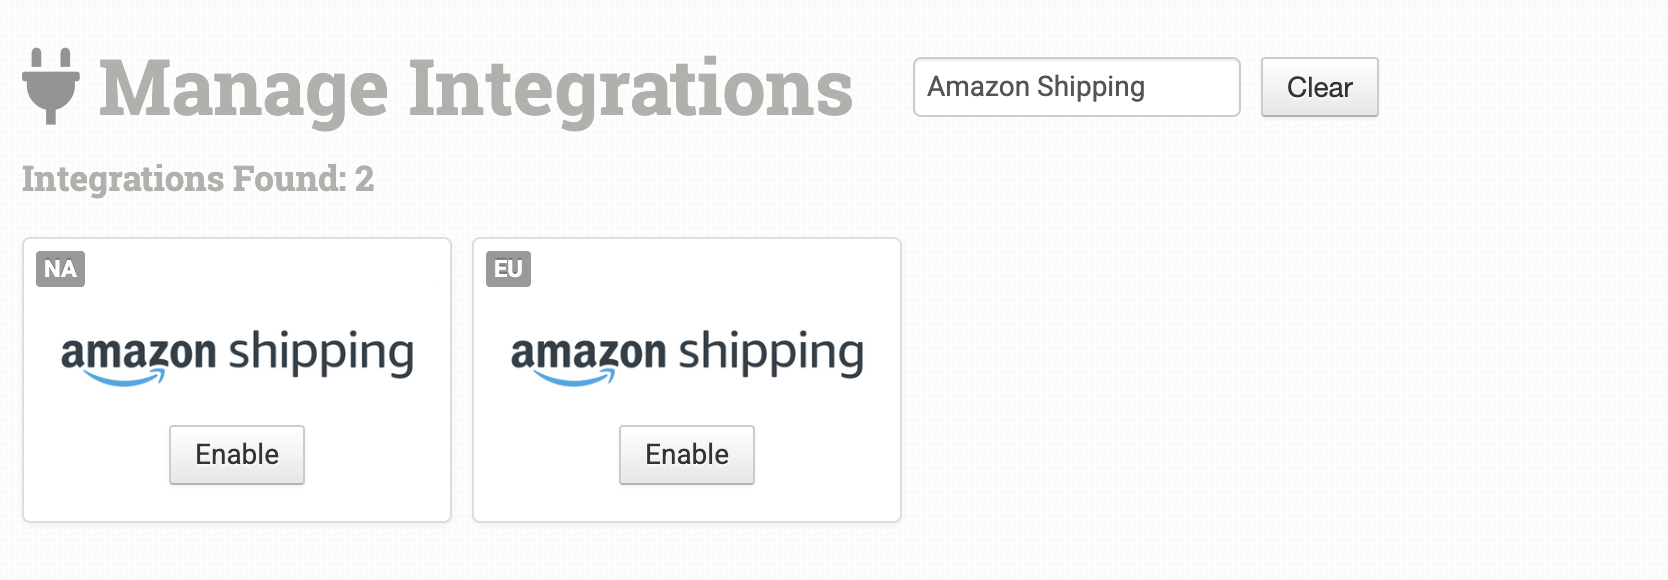
In Order Desk, click on Manage Integrations in the left sidebar. Under the Shipping tab, find and enable the Amazon Shipping integration for your preferred region.

Alternatively, search for Amazon Shipping from the integration search bar.
Once enabled, click the Connect to Amazon Shipping button to begin the connection process.
Connecting Your Account
Complete the connection between Order Desk and your Amazon account by following the prompts in the integration setup window.
Click Connect to Amazon to begin setting up the connection with your Amazon store.
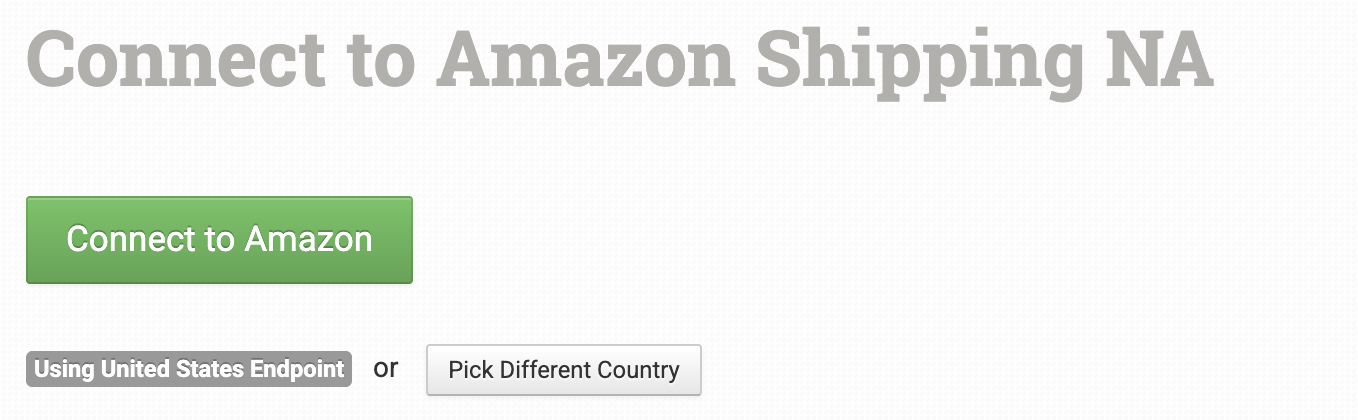
If you sell in multiple regions, click Pick Different Country and select the country for your Amazon account.
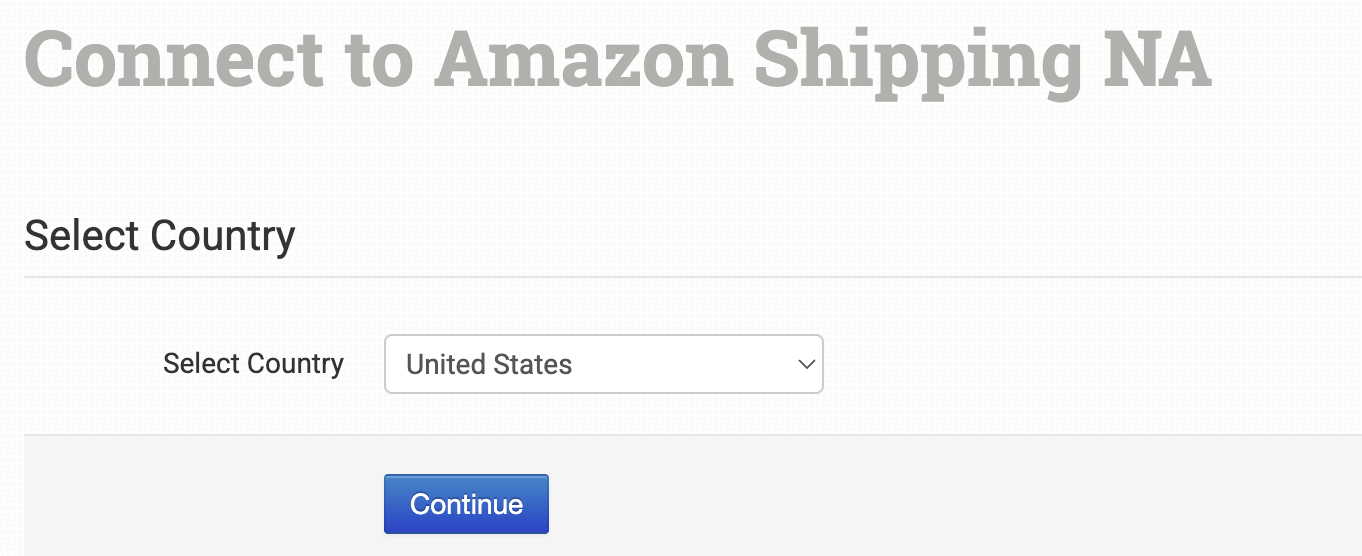
After selecting your country, click Continue. You’ll then be redirected to the Connect to Amazon screen, where you can authorize Order Desk to access your Amazon account.
Settings
These settings define how labels are created and how rates are selected when using Amazon Shipping through Order Desk. The values you set here will apply by default, but you can override them on an order-by-order basis.
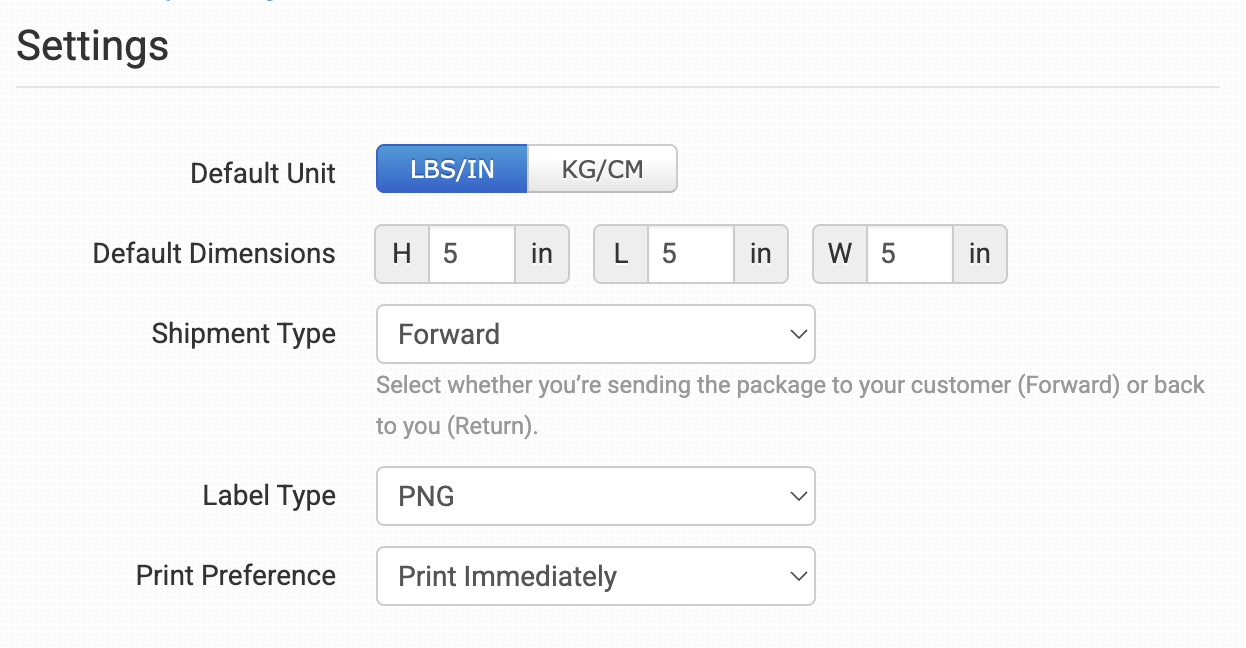
Default Unit
Choose whether your package dimensions will use imperial units (LB/IN) or metric units (KG/CM).
Default Dimensions
Select the default dimensions for your packaging.
Shipment Type
Choose whether you’re sending packages to customers (Forward) or receiving returns (Return).
Label Type
Select the file format for your labels. Options include PNG (image), PDF (document), or ZPL (for label printers).
Print Preference
Choose whether you want labels to Print Immediately or Not Print Automatically.
This option is helpful if you prefer to create labels first and print them later.
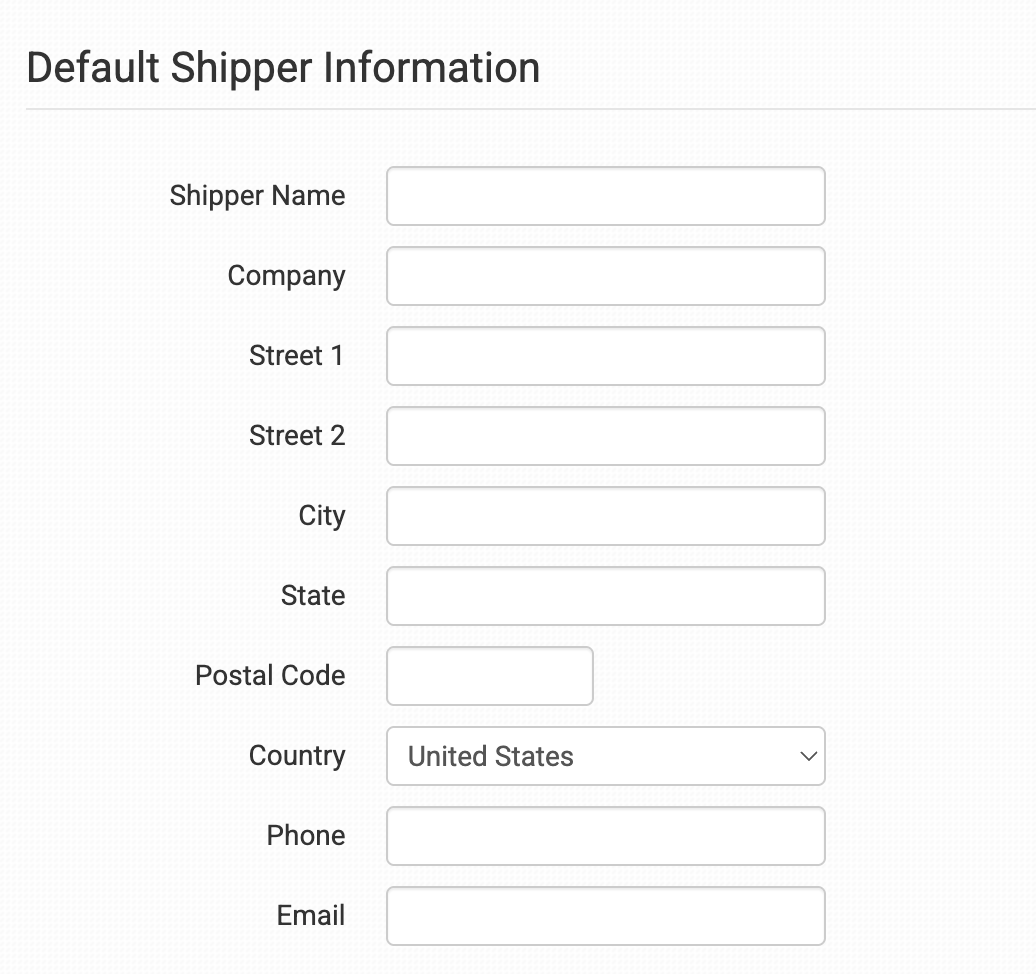
Default Shipper Information
Fill out your default shipper details in this section. This information will be used on all labels unless overridden by an order.
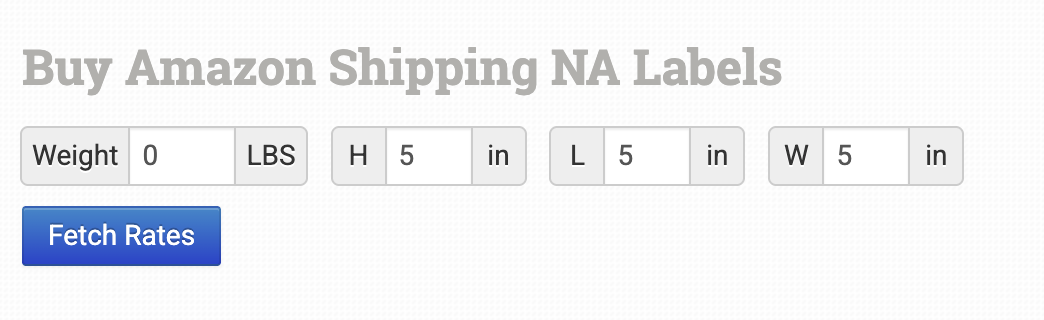
Amazon Shipping Label Creator
When the integration is enabled, a label creator will appear beneath the product details on each order. You can update the package dimensions if needed, then click Fetch Rates.
Rates will appear in a dropdown list for you to choose from before creating a label. If necessary, you can edit the settings and fetch rates again.
Order Level Details
The following fields can be set as checkout data or order metadata to override the default settings for individual orders.
| Field Name | Field Description |
|---|---|
| package_weight | Use this to override the package weight for a specific order. |
| package_width | Use this to override the width of the package. |
| package_length | Use this to override the length of the package. |
| currency | Set the currency code for the shipment (e.g., USD, GBP, EUR). |
| shipper_instruction | Pass any delivery or shipper instructions for the carrier. |
If you’re unfamiliar with checkout data, see the How to Work with Checkout Data guide.
Purchasing Amazon Shipping Labels with Rules
If you’re new to using rules in Order Desk, we recommend starting with our How to Work With Rules guide.
💡 TIP
Before using rules to purchase labels automatically, make sure your orders have the required order-level fields set. This ensures the correct labels are purchased and helps prevent errors.
It’s also a good idea to manually purchase a few labels first. This gives you a chance to test your setup and catch any issues before automating the full process.
You can purchase labels automatically using the Create Amazon Shipping Label rule action. This sends a request to Amazon Shipping with data from your orders.

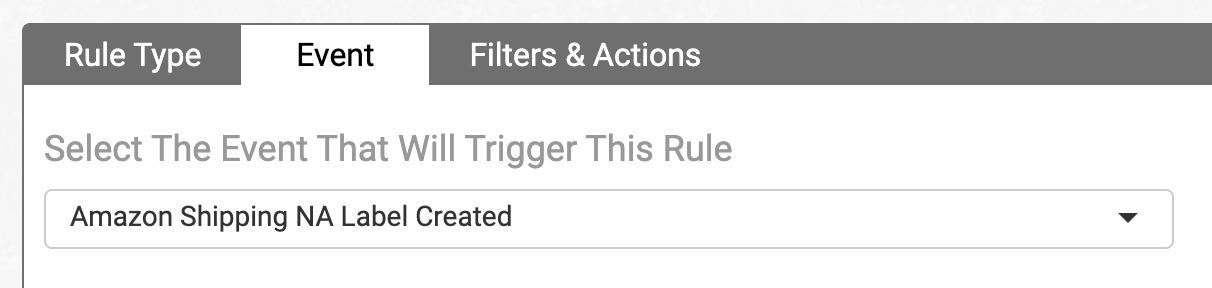
You can also take action after a label has been successfully purchased by using the Amazon Shipping Label Created rule event.