Order Desk can send orders directly to Infoplus then pull shipment details back into your orders here and send them to your shopping carts, if applicable.
Setup
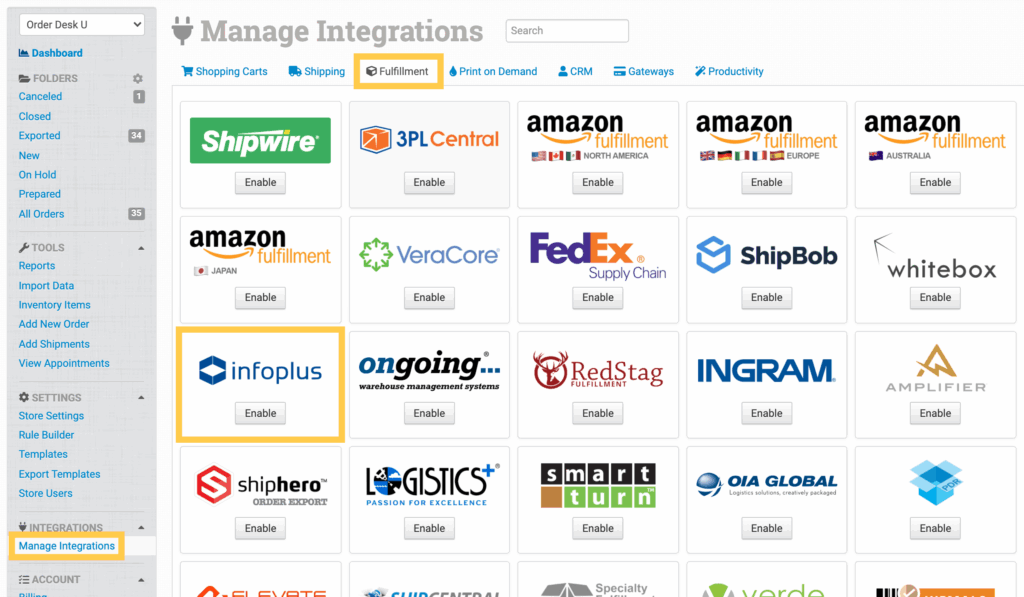
To enable the integration, click on the Manage Integrations link in the Integrations menu in the left sidebar. Under the Fulfillment tab, find and enable Infoplus.
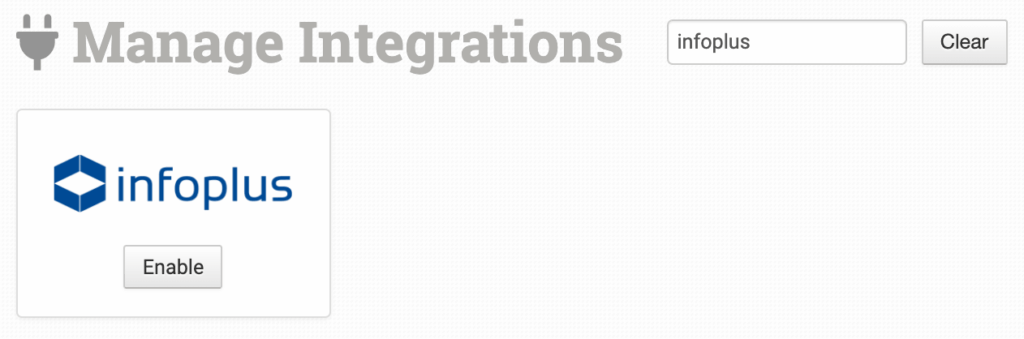
Alternatively, search for Infoplus from the available integration search.
In the integration page, add your Infoplus credentials to connect.

Please note that Order Desk isn’t able to help find or reset your credentials, as they can only be provided by Infoplus.
Integration Settings
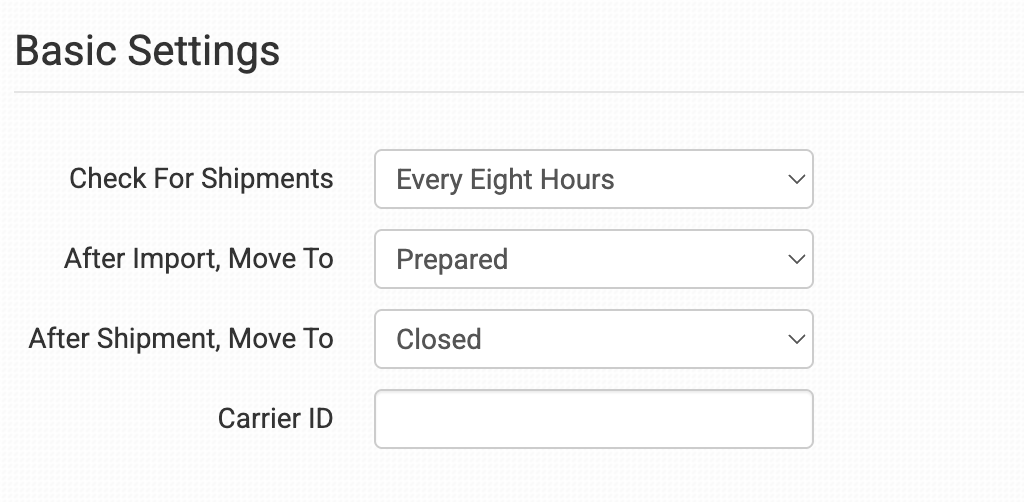
Check For Shipments
Choose how often you’d like Order Desk to check for shipment updates at Infoplus.
After Import, Move To
Select the folder orders should be moved to after they are sent to Infoplus from Order Desk. Typically this is set to Prepared, but any custom folder can be used.
After Shipment, Move To
Select the folder orders should be moved to when Infoplus sends tracking details back to Order Desk.
Carrier ID
Enter the ID of the default carrier you’ll be using.
Inventory Syncing
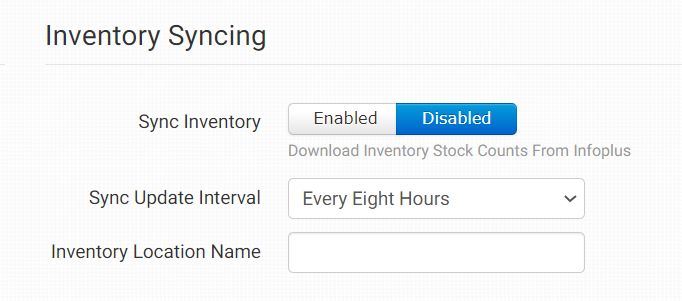
Sync Inventory
If you would like Infoplus to send inventory reports to Order Desk, enable this setting. If enabled, your stock counts will be pulled into Order Desk on the interval selected in the next setting.
Sync Update Interval
If Sync Inventory is enabled, select the interval you would like Order Desk to pull in inventory updates from Infoplus.
Inventory Location Name
By default, inventory updates will add Infoplus as the location name on each item updated. If you would like to override this to use a different name, add that here.
Product Settings
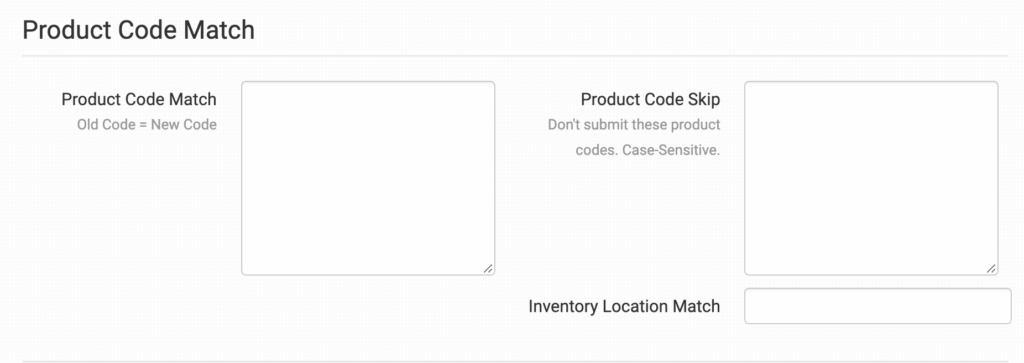
For more information on what these product settings in the Infoplus integration are for and how to use them, read the Fulfillment Integration Product Settings guide.
Sending Orders to Infoplus
The following fields can be set as checkout data or order metadata to specify what gets sent to Infoplus on each order. If you have any questions on which of these to include, check with your Infoplus rep.
| Field Name | Field Value |
| carrier_id | If different from the default value from the integration settings, use carrier_id to set a specific carrier ID on orders to specify which to use on each order. |
| lob_id | Add a Line of Business ID to be sent with your order. |
| warehouse_id | Use this to specify a warehouse to pull from on an order-by-order basis. |
| gift_message | Include a gift message along with your order. |
| service_type_id | Include if you have a service type that needs specifying with your order. |
| ship_via | Include which shipment service you’ll be sending the order through. |
| first_ship_date | Add the first ship date of your order. |
| last_ship_date | Add the last ship date of your order. |
| order_source_id | Enter an order source ID number. |
| po_number | Enter a purchase order number. |
If you are unfamiliar with checkout data, see the How to Work with Checkout Data guide.
Inventory Item Details
Customize certain details about your inventory submission by setting item metadata values on the individual inventory items. The following fields are accepted:
| Field Name | Description |
| lob_id | Add a Line of Business ID to be included with your item. |
| custom_field_name_1-5 | Include up to 5 custom field names with your item. |
| custom_field_value_1-5 | Include up to 5 custom field values with your item. |
For more information on working with inventory items in Order Desk, including how to store extra item details as item metadata, please read the How to Work with Inventory Details guide.