Order Desk can connect to Webflow and import your orders.
Setup
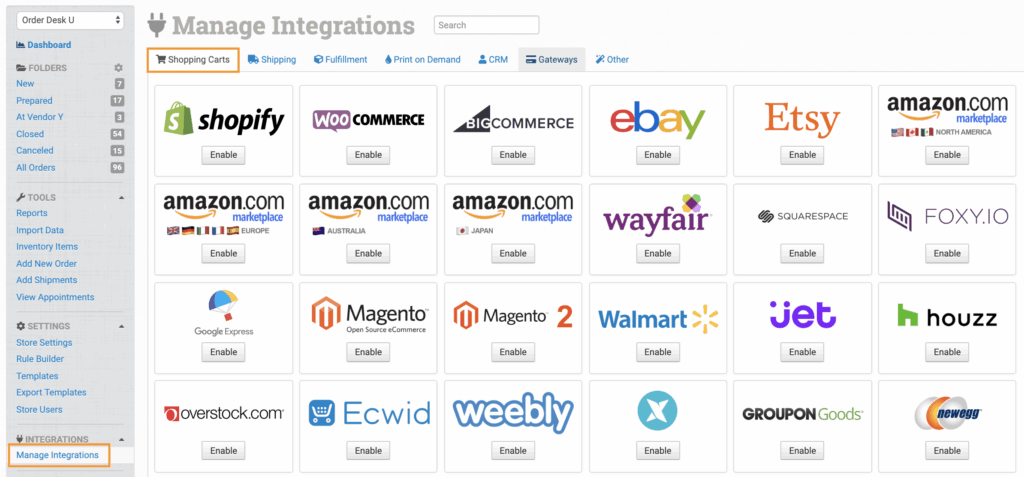
In Order Desk, click on Manage Integrations under the Integrations menu in the left sidebar. Under the Shopping Carts tab, find and enable Webflow.
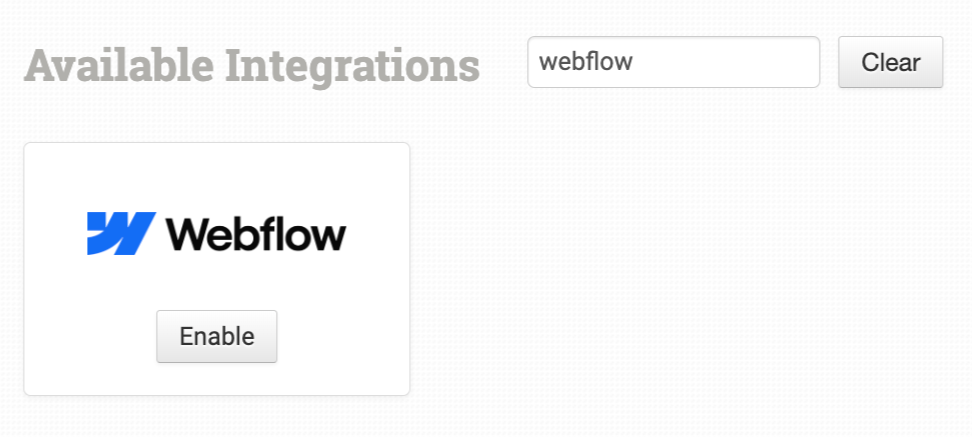
Alternatively, search for Webflow from the available integrations search.
Click the green Connect to Webflow button to connect Order Desk to your Webflow account.

Integration Settings
After the integration has been successfully connected, you can set your preferences in the integration settings.
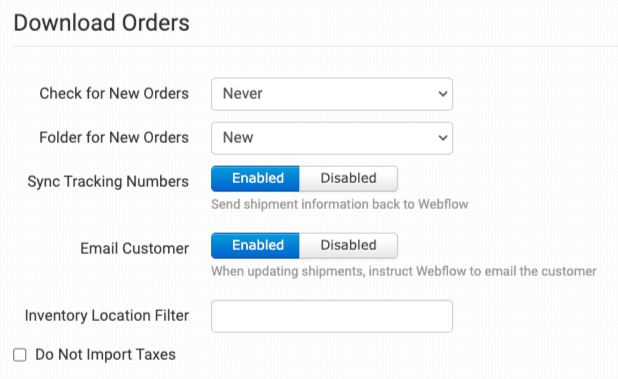
Check for New Orders
Select how often you want Order Desk to download orders from Webflow.
Folder for New Orders
Select the folder where newly imported orders from Webflow should be placed.
For more information, see the Working with Folders guide.
Sync Tracking Numbers
If the Sync Tracking Numbers setting is enabled, Order Desk will send the shipment information back to Webflow automatically to update the orders there.
Inventory Location Filter
If you only want to download orders with specific items, you can use the Inventory Location Filter field to specify which ones you want. Enter multiple locations separated by a comma.
The inventory location name must match exactly as it is on your inventory items in Order Desk. When importing new orders from Webflow, Order Desk will look at the SKUs on the items and compare to the SKUs in your inventory here. Any orders with items for a location that isn’t listed in this field will not be imported.
For this to work, your inventory must be added to Order Desk. The inventory Location should be set on each item. For details, please see How to Add Inventory and How to Store Extra Item Details.
Do Not Import Taxes
Select to import orders without the tax information.
Manual Imports
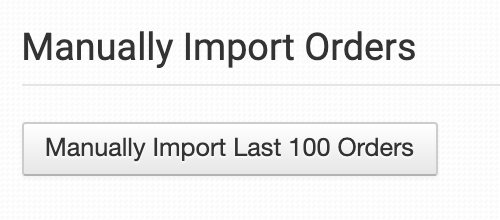
If you would rather manually import orders, you can do so by clicking the Manually Import Last 100 Orders button.